12
Utility
12-68 C300
Utility Chapter 12
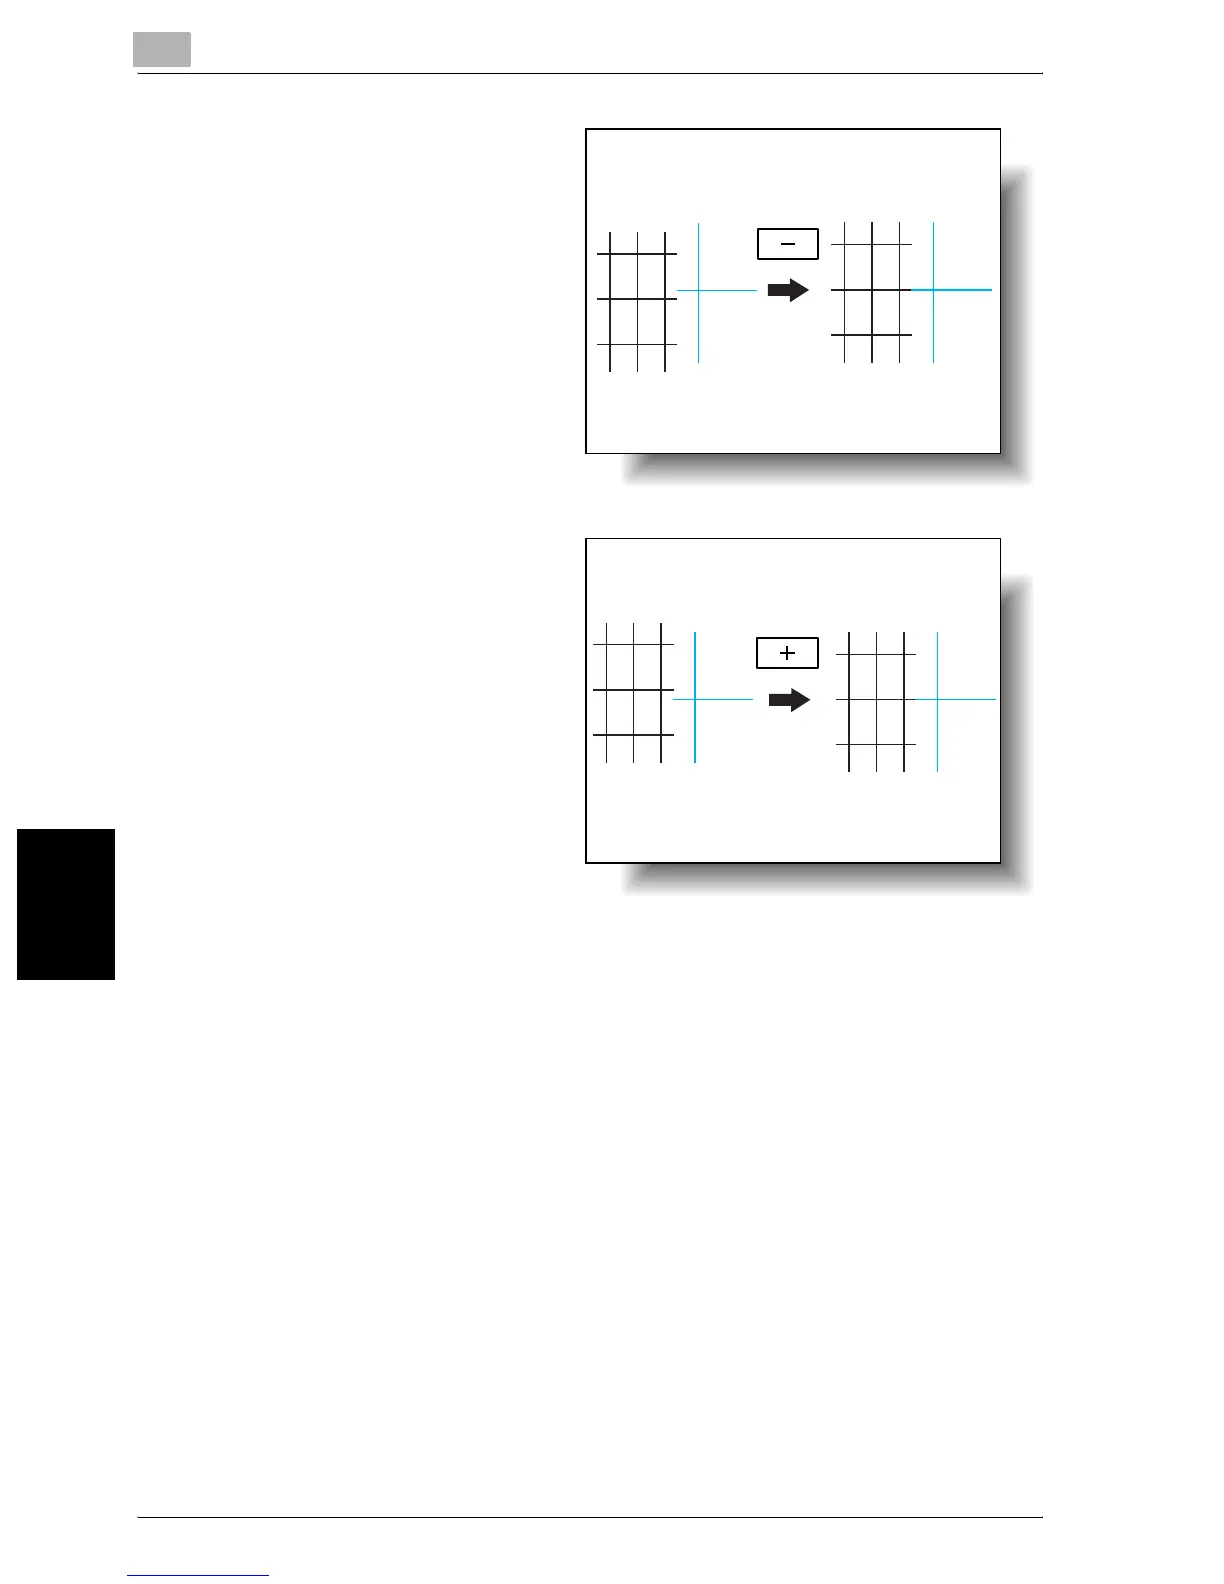
– If the lines are shifted
in the Y direction as
shown below, touch
[–] under “Y” to re-
duce the adjustment
(between –1 dot and
–6 dots).
– If the lines are shifted
in the Y direction as
shown below, touch
[+] under “Y” to in-
crease the adjust-
ment (between 1 dot
and 6 dots).
– Each time [+] or [–] is
touched, the value is
increased or de-
creased by one in-
crement.
– If the lines are not
shifted from the ref-
erence lines, skip to step 10.
8 Press the [Start] key.
The adjusted test pattern is printed.
?
When is the adjustment applied?
% The adjustment is applied when the [Start] key is pressed. To can-
cel the adjustment, touch [Cancel] instead of pressing the [Start]
key.
9 Check the print result.
– If there is no shift between the black and cyan lines, continue with
step 10.
– If more adjustment is necessary, repeat steps 7 and 8.
10 Touch [OK].
– To cancel changes to the settings, touch [Cancel].
 Loading...