ENGLISH
4
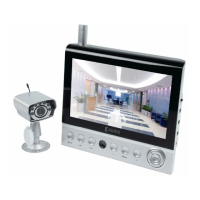
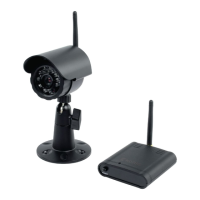
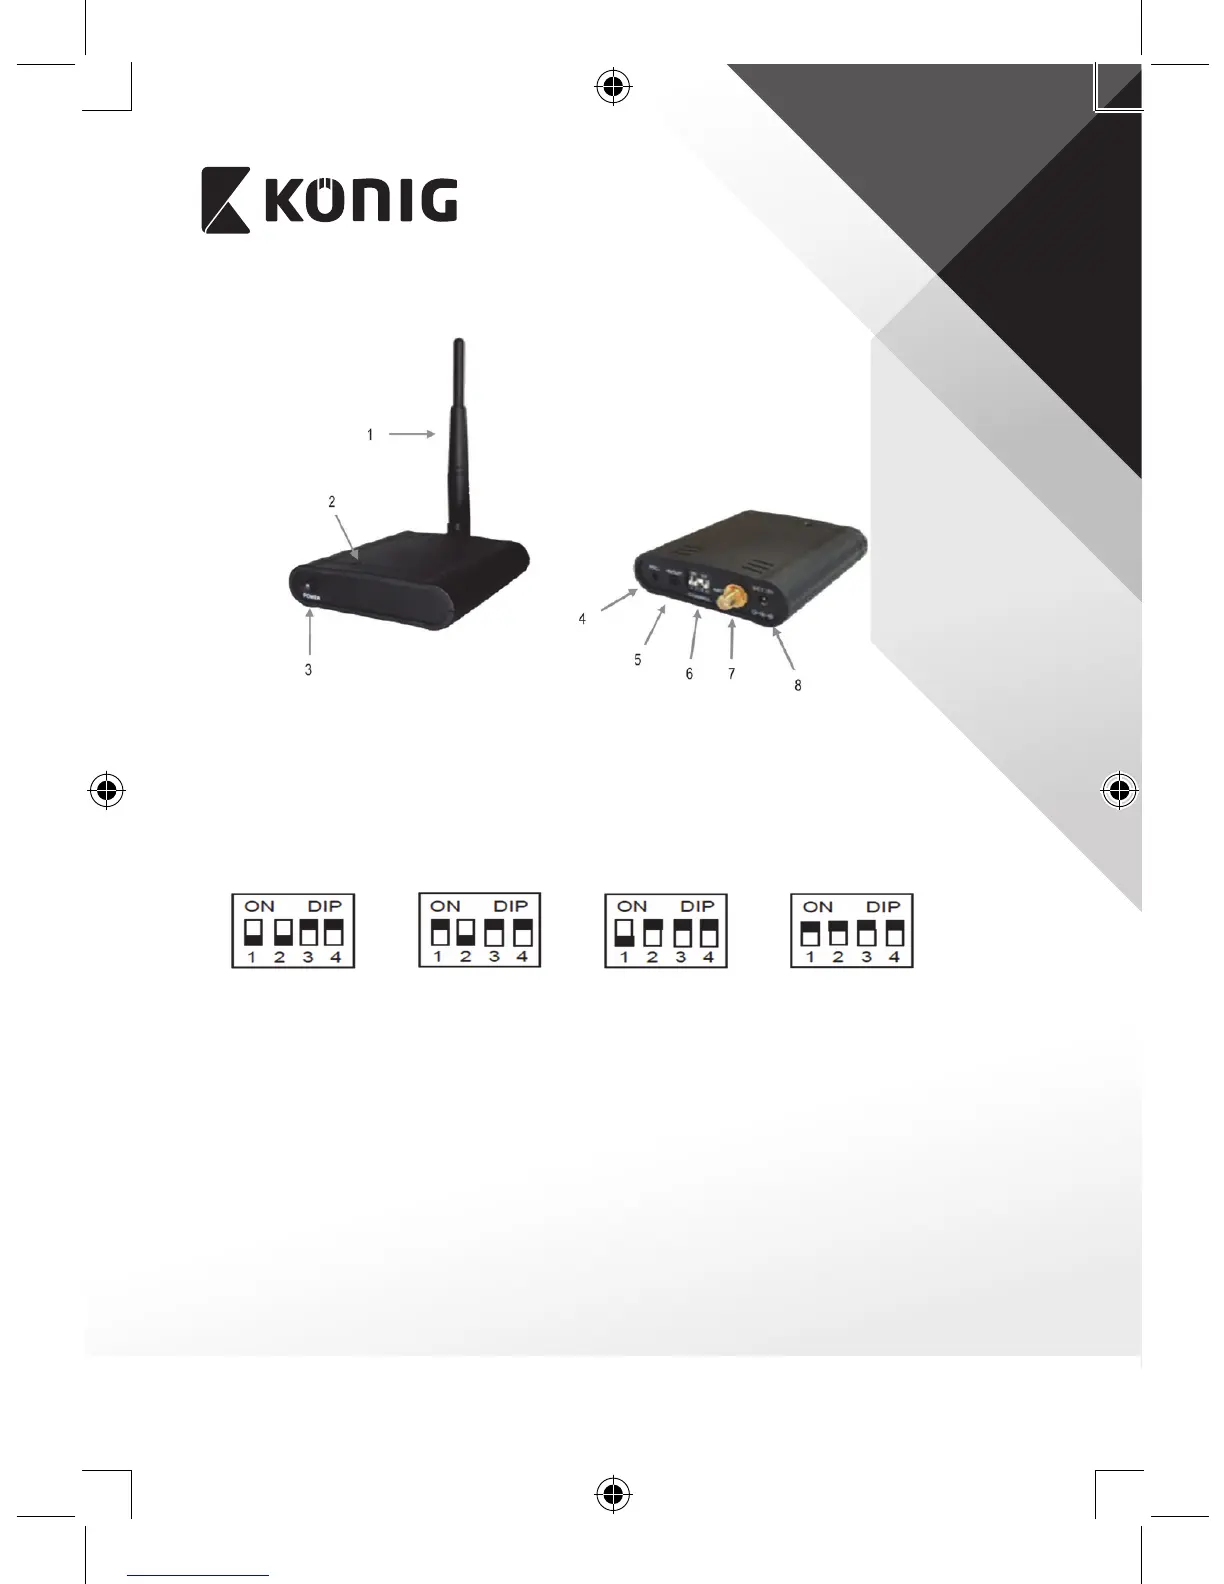
Description of receiver:
1. 5.8 GHz ANTENNA
2. POWER LED, lights up red when the power is switched on
3. POWER SWITCH
4. REC, output for recording images
5. AV OUT, output for monitor or TV
6. CHANNEL SWITCH
Channel 1 Channel 2 Channel 3 Channel 4
(Make sure that both the camera and receiver are set to the same channel)
7. ANTENNA CONNECTOR
8. DC POWER INPUT (only use the supplied 7.5 V/300 mA, AC/DC adapter)
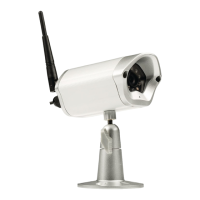
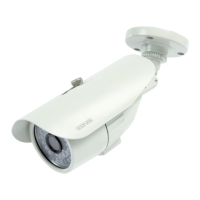
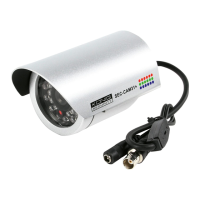
Installing the camera:
1. The camera can be mounted to a wall. Fix the antenna to the antenna
connector. Monitor reception should be tested before mounting the
camera. If interference or other problems occur, select another channel or
dierent location to mount the camera.
2. Connect the 9 V/400 mA, AC/DC adapter to the DC power plug and a 230V
wall outlet. The camera is switched on automatically.
 Loading...