ENGLISH
5
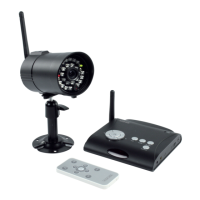
Installing the receiver:
1. Connect the receiver’s AV OUTPUT with the AV cable
to the input of a monitor or TV.
2. Fix the antenna to the antenna connector.
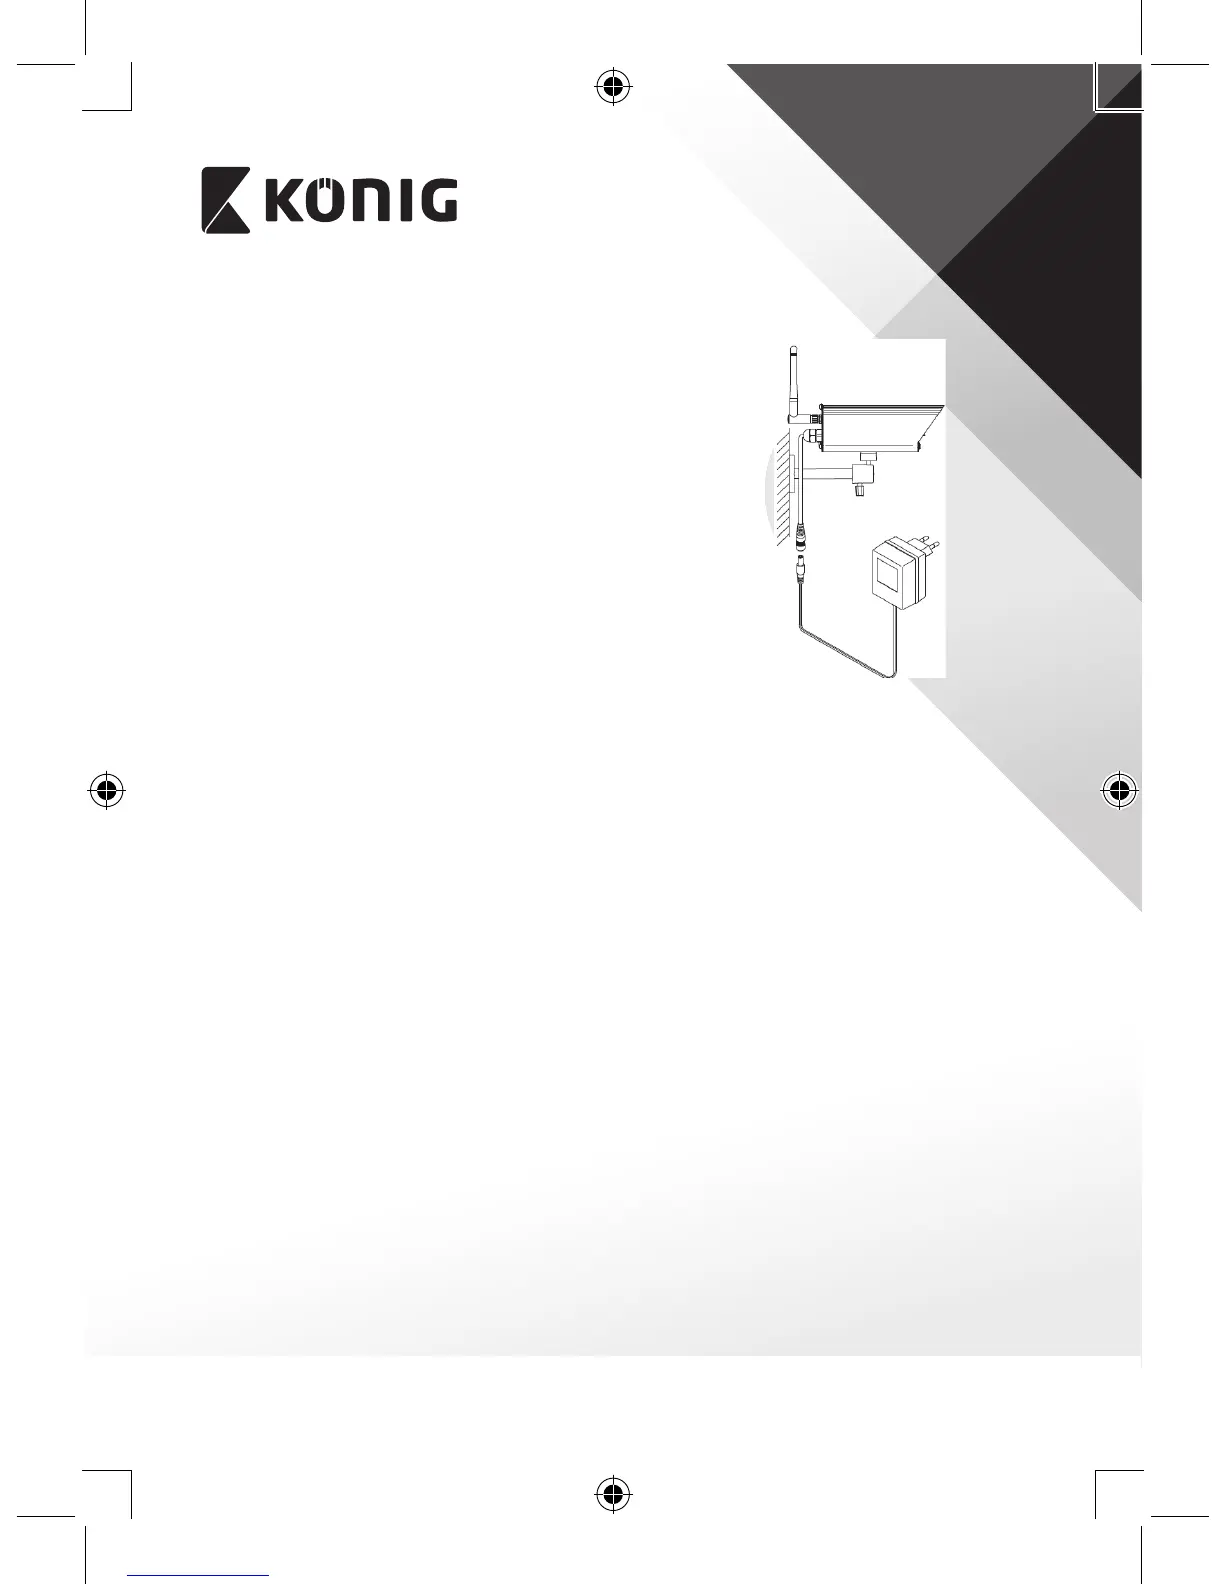
3. Connect the plug of the 7.5V/300mA, AC/DC
adapter to the DC power input and a 230V wall
outlet.
4. Select the desired channel on both the camera and
the receiver. For optimum performance, it could
be necessary to point the transmitter and receiver
to each other in an imaginary straight line. A few
centimeters could already be enough to improve
the sound and picture quality. If the reception is
perfect, no adjustments are necessary.
5. Turn on the TV or monitor to watch the images of
the camera.
Option: connect a recording device for recording images to the REC output
Specications:
Camera:
Operating frequency: 5.8 GHz
Image chip: 1/4” CMOS
Channels: 4 with PLL frequency synthesizer
Antenna: Omni directional
Power: 9 V DC/400 mA
Dimensions: 90 x 63 x 65 mm
Weight: 230 g
Receiver:
Operating frequency: 5.8 GHz
Channels: 4 with PLL frequency synthesizer
Output: 2x 3.5 mm
Antenna: Omni directional
Power: 7.5 V DC/300 mA
Dimensions: 90 x 74 x 20 mm
Weight: 110 g




 To Next Page