6.1 Installing the Front Panel Button Caps, Labels
To install the button caps and labels:
1. Remove the required labels from the supplied button label sheet.
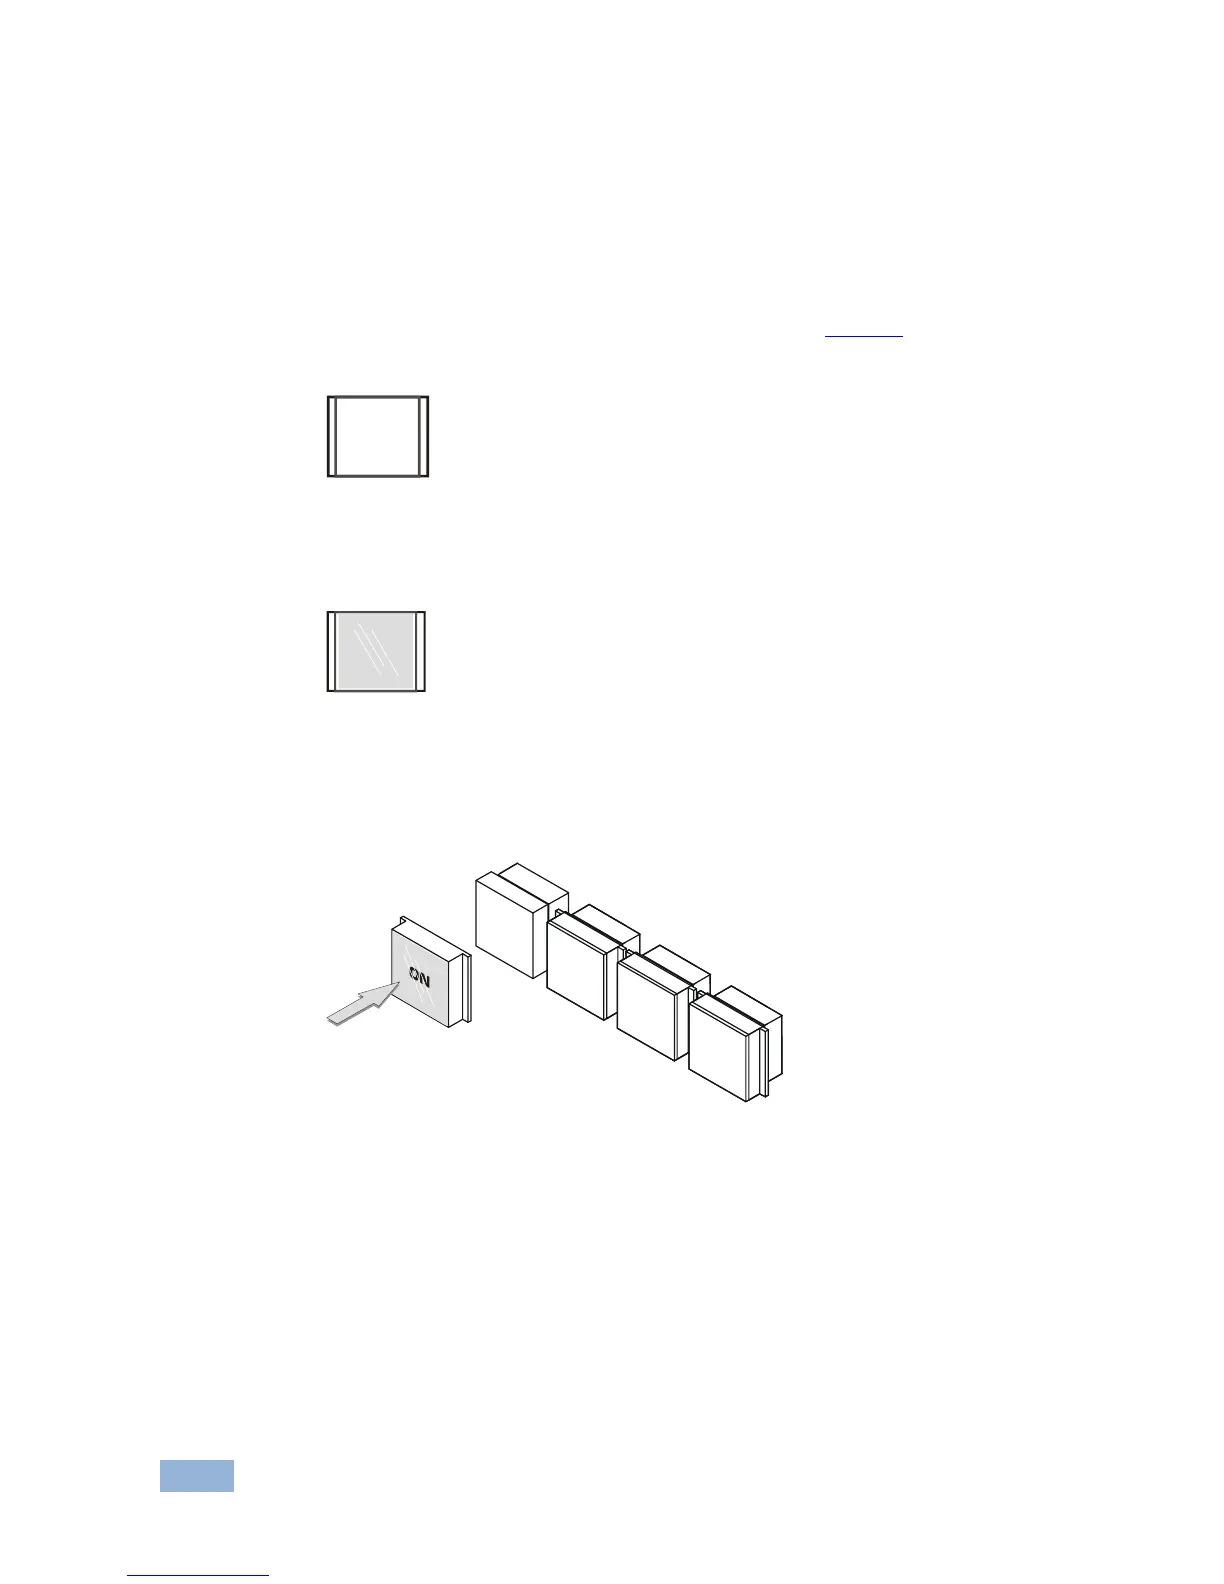
2. Hold the button cap so that it is oriented as shown in Figure 6 with the
“wings” on the left and right sides.
Figure 6: Button Cap Orientation
3. Insert the label inside the cap.
Figure 7: Button Cap Orientation with Label
4. Retaining the orientation, place the button cap on the buttons of the
RC-74DL.
Figure 8: Placing the Button Cap
5. Repeat for all caps.
6. Remove the protective foils from both sides of the Perspex (acrylic glass)
windows.
7. Place the faceplate on the RC-74DL so that the four screw mounting holes
are aligned.