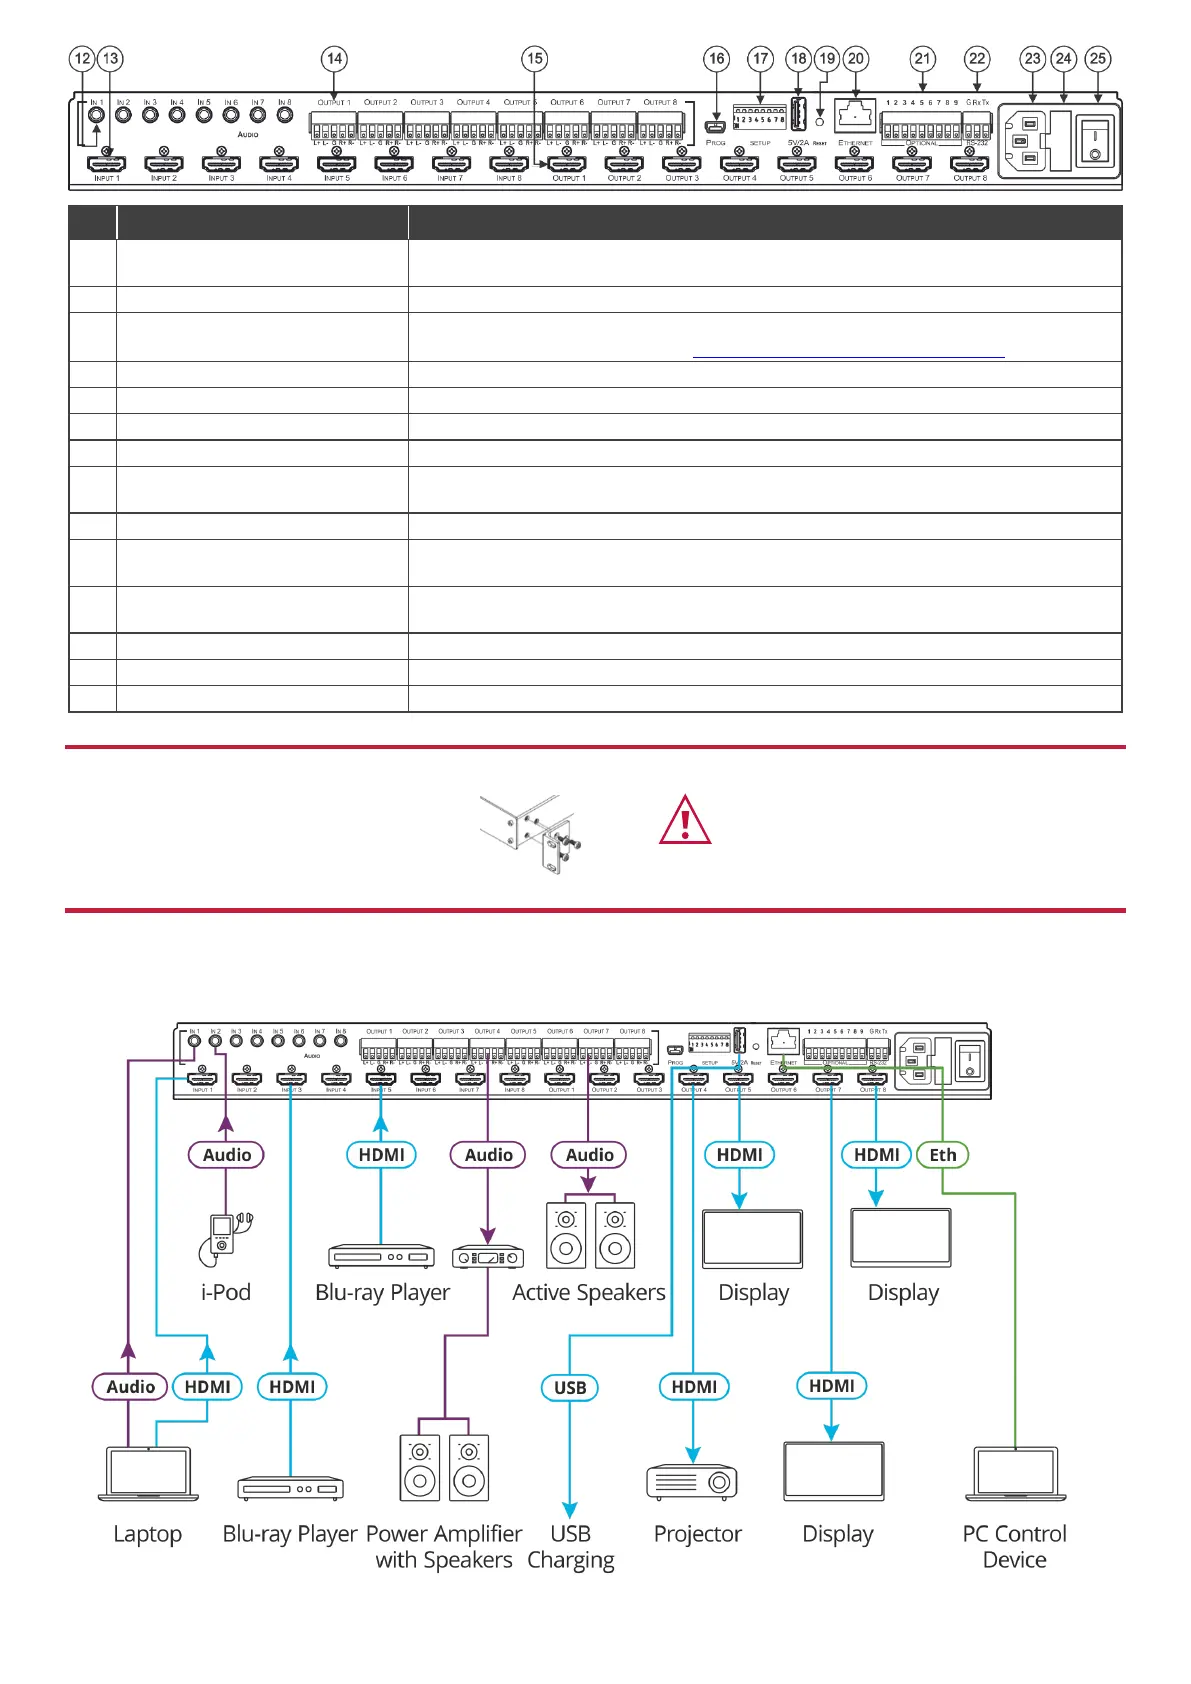
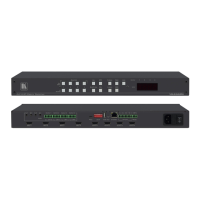
AUDIO IN on 3.5 Mini Jack
Connectors
Connect to unbalanced stereo analog audio sources (from 1 to 8).
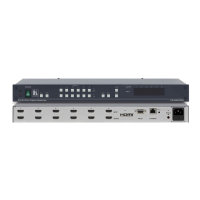
Connect to HDMI sources (from 1 to 8).
AUDIO OUTPUT on 5-pin
Terminal Block Connectors
Connect to balanced stereo analog audio acceptor (from 1 to 8).
For information on the pinout, see Step 4: Connect the inputs and outputs.
Connect to HDMI acceptors (from 1 to 8).
Use for firmware upgrade or communication (connecting to a PC or a serial controller).
Press and hold for 7-8 seconds to hard-reset the device to its factory default values (IP
settings included).
OPTIONAL Terminal Block
Connectors
RS-232 3-pin Terminal Block
Connectors
Connect to a PC or a serial controller.
Connect to the mains power.
Fuse for protecting the device.
Switch for turning the device on or off.
Step 3: Install the VS-88H2A
To rack mount the machine, attach both rack ears
(by removing the screws from each side of the
machine and replacing those screws through the
rack ears) or place the machine on a table.
• Ensure that the environment (e.g., maximum ambient temperature &
air flow) is compatible for the device.
• Avoid uneven mechanical loading.
• Appropriate consideration of equipment nameplate ratings should be
used for avoiding overloading of the circuits.
• Reliable earthing of rack-mounted equipment should be maintained.
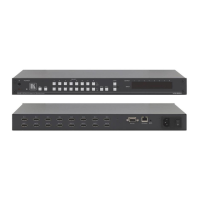
Step 4: Connect the inputs and outputs
Always switch OFF the power on each device before connecting it to your VS-88H2A. For best results, we recommend that
you always use Kramer high-performance cables to connect AV equipment to the VS-88H2A.