10
Cold
Hot
1
2
3
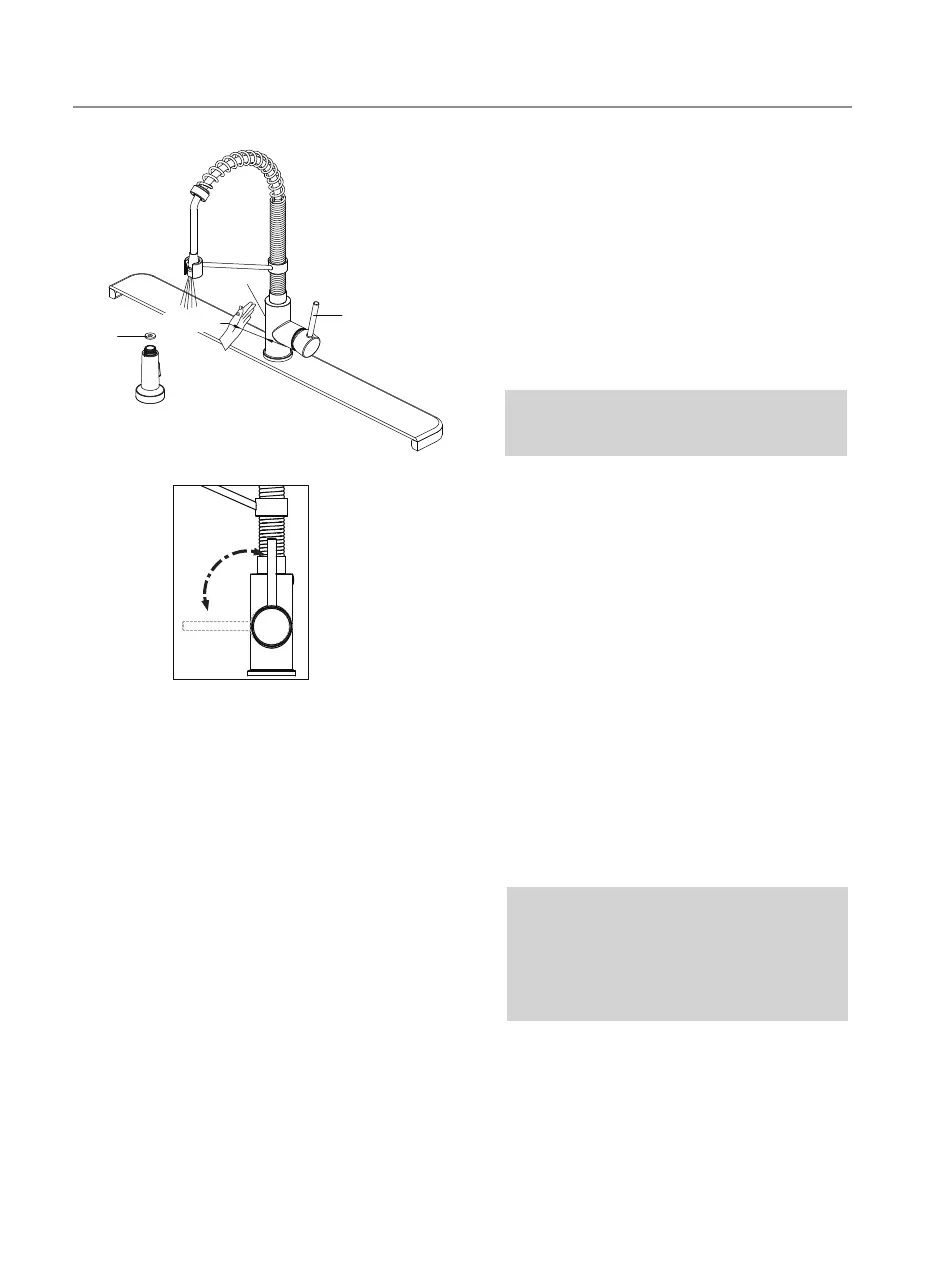
6cm MAX
NOTE: Please make sure washer (1) is
installed attaching spray head to hose.
Step 9: Flush faucet
Flushing and checking for leaks: After
the installation is complete, unscrew
and remove the spray head in order to
flush the line. Turn on the water supply
and allow both hot and cold water to
run for at least one minute each. This
flushes away any debris that could
cause damage to internal parts. Check
for leaks. Reattach the spray head. Do
not lose the gasket (1) in the hose.
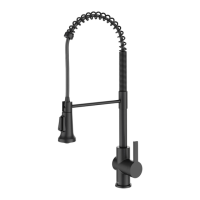
O
perating
the senso
r:
Turn the h
andle
(2
)
away
from the faucet to the full on
position. Turn the water on by
activating the sensor (3) by waving
your hand within 6cm of the sensor.
Move the handle towards you and
away from you, the water flow pattern
can be switched from hot water to cold
water. If the sensor does not work,
then you can refer to the
troubleshooting. If you want to use the
faucet without the sensor feature, then
you can refer to troubleshooting 5.
Then, turning on the water can be
done by moving the handle away from
the faucet to the full on position.
NOTE: The sensor is active only when
the handle is in the ON position. As a
water saving feature, the water will
turn off automatically after 3 minutes
of continuous flow.
 Loading...