
B
browningnancyAug 5, 2025
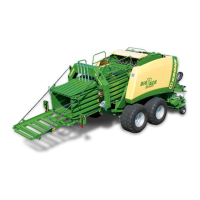
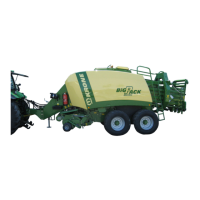
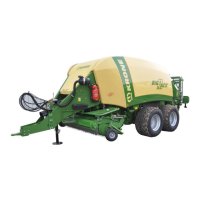
What to do if Krone 870 HDP Farm Equipment hand lever is hard to move?
- AAmy Salinas MDAug 5, 2025
If the hand lever on your Krone Farm Equipment is hard to move, it indicates a blockage in the system or a connected bearing. First, check if the conveyor pump is working by loosening the pump outlet and activating the pump. If the pump works, reconnect the outlet. Then, loosen the threaded input connections on the subdistributors or main distributor (or single-level systems). The distributor from which lubricant leaks when loosened indicates the fault's source. Tighten the connections again and loosen the threaded bearing input connections one by one. The bearing from which lubricant leaks is the blocked one. Clear the blockage on that bearing.