Do you have a question about the KTM 85 SX 2017 and is the answer not in the manual?
Explains the meaning of specific symbols used in the manual.
Details the typographical formats and their meanings used within the document.
Step-by-step guide to unpack and set up the motorcycle from its packaging.
Procedures for safely lifting and removing the motorcycle using a lift stand.
Instructions for installing the front wheel, including bearing checks and tightening.
Guidance on mounting the front fender and the start number plate.
Instructions for opening and closing the fuel filler cap.
Detailed instructions and safety precautions for refueling the vehicle.
Comprehensive list of torque specifications for all chassis fasteners.
Details required 2-stroke engine oil, including standards and recommended brands.
Information on super unleaded fuel specifications and the correct mixture ratio with 2-stroke oil.
Specifies the recommended long-life grease for maintenance purposes.
Explanation of the JASO FD classification for 2-stroke engine oil quality.
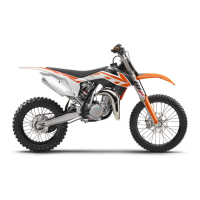
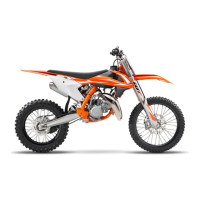
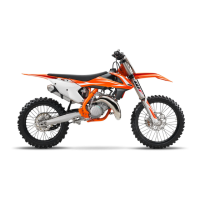
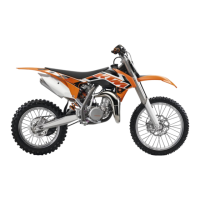
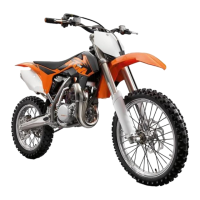
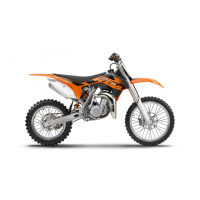
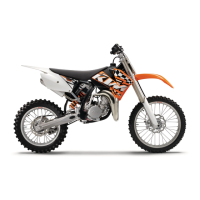
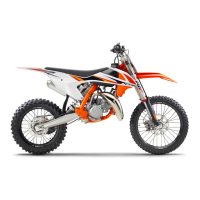
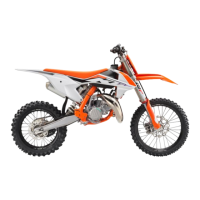
This document outlines the setup instructions for the 2017 KTM 85 SX motorcycle, specifically models 85 SX 19/16 (F6001Q9) and 85 SX 17/14 (F6001Q8). It is intended for trained mechanics to perform the necessary work before the vehicle is delivered to the customer. The instructions emphasize safety and proper procedures to ensure the motorcycle is correctly assembled and ready for use.
The KTM 85 SX is a high-performance off-road motorcycle designed for racing. Its primary function is to provide a robust and agile platform for competitive motocross, offering a balance of power, handling, and durability. The setup process ensures that all components are correctly installed and adjusted to meet the manufacturer's specifications, optimizing the vehicle's performance and safety from the outset. This includes the proper assembly of the front wheel, shock absorber, handlebars, and other critical parts, all of which contribute to the motorcycle's overall function and rider experience.
The setup instructions detail several key features related to the motorcycle's initial use and handling. The process begins with unpacking the vehicle from its shipping container, which involves removing the box and plastic packaging, and carefully taking the motorcycle off the palette with an assistant to prevent falls. The use of a lift stand (part number 78929955100) is crucial for positioning the vehicle during assembly, allowing for easy access to various components.
One of the first steps involves installing the front wheel. This requires removing a tension belt, positioning the front wheel into the fork, inserting the wheel spindle, and tightening the screw to a specified torque of 35 Nm (25.8 lbf ft). The instructions highlight the importance of ensuring the fork rebounds correctly and that the brake linings are properly seated against the brake disc by operating the hand brake lever several times. The fork legs are aligned by activating the front brake and compressing the fork forcefully a few times before tightening the fork stub screws to 15 Nm (11.1 lbf ft).
The installation of the shock absorber is another critical step, involving positioning the unit and tightening its screws. The top and bottom shock absorber screws (M12) are tightened to 60 Nm (44.3 lbf ft) using Loctite® 2701™ to ensure secure fastening. The longer screw is specifically designated for the bottom position.
Handlebar setup is also detailed, emphasizing correct positioning and alignment. The handlebars should be centered within the clamps, with equal gap widths maintained during tightening. The handlebar clamps (M8) are tightened to 20 Nm (14.8 lbf ft). The handlebar cushion is then positioned and secured with cable ties.
The front fender and start number plate are installed next. The fender is mounted and its screws (M6) are tightened to 10 Nm (7.4 lbf ft), ensuring the holding lugs engage correctly in the start number plate. The start number plate itself is mounted with screws (M6) tightened to 4 Nm (3 lbf ft), and the brake line and clamp are positioned and tightened. The fuel line must also be connected to the fuel tap.
Footrests are mounted with their springs and pins, secured using washers and cotter pins. A specific tool, pliers for footrest spring (58429083000), is recommended for this task.
Finally, the vehicle is refueled, with strict safety warnings regarding the flammability and toxicity of fuel. The filler cap is opened by turning it counterclockwise and lifted off. Fuel is added up to a measurement of 35 mm (1.38 in), with a total fuel tank capacity of approximately 5.0 liters (1.32 US gal). The recommended fuel is Super unleaded (98 octane) mixed with 2-stroke engine oil (1:40 ratio), specifically JASO FD classified oil. The filler cap is then closed by turning it clockwise until tightly secured, ensuring the fuel tank breather hose runs without kinks.
While the document primarily focuses on initial setup, it implicitly touches upon maintenance aspects through the detailed assembly instructions and torque specifications. The emphasis on correct tightening torques for various screws and nuts (e.g., front wheel spindle, shock absorber, handlebar clamps) is a fundamental maintenance practice that ensures the longevity and safe operation of the motorcycle. Using specified thread-locking compounds like Loctite® 2701™ and Loctite® 243™ for critical fasteners (e.g., shock absorber screws, brake disc screws, rear sprocket screws) is crucial for preventing loosening due to vibrations and stresses during operation, thereby reducing the need for frequent re-tightening and enhancing safety.
The instructions for checking the wheel bearing for damage and wear during front wheel installation highlight a key maintenance inspection point. If damage or wear is found, the wheel bearing must be changed, underscoring the importance of preventative replacement to avoid operational failures. Cleaning and greasing shaft seal rings and contact surfaces of spacers with long-life grease (Motorex® Bike Grease 2000) are also specified, which helps protect components from wear and corrosion, extending their lifespan. Similarly, cleaning and greasing the wheel spindle with long-life grease ensures smooth operation and prevents seizing.
The warnings regarding fuel handling, such as avoiding skin and eye contact, not inhaling vapors, and cleaning up spills immediately, are not only safety precautions but also contribute to proper maintenance by preventing damage to the vehicle's paint or components from fuel exposure. The recommendation to use high-grade 2-stroke engine oil of a reputable brand that meets JASO FD classification (Motorex® Cross Power 2T) is a direct maintenance guideline, ensuring optimal engine performance and protection. The specified mixture ratio of 1:40 for fuel and 2-stroke engine oil is vital for engine health, preventing issues related to improper lubrication or fuel combustion.
The overall structure of the setup instructions, with its clear, step-by-step approach and detailed guidelines, serves as a foundational reference for ongoing maintenance. By establishing the correct initial assembly and component conditions, it sets a benchmark for future inspections and servicing, ensuring the motorcycle remains in optimal condition throughout its operational life.
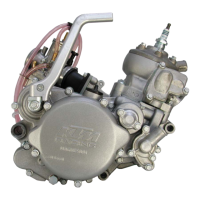
| Engine Type | 1-cylinder, 2-stroke engine |
|---|---|
| Displacement | 84.9 cm³ |
| Starter | Kickstarter |
| Transmission | 6-speed |
| Front Brake | Disc brake |
| Rear Brake | Disc brake |
| Front Brake Diameter | 240 mm |
| Weight (without fuel) | 68 kg |
| Cooling | Liquid cooled |
| Front Suspension | WP USD, 43 mm |
| Rear Suspension | WP monoshock |
| Fuel Tank Capacity | 5 L |
| Frame Design | Central double-cradle type, Chromium-Molybdenum |