29
GB
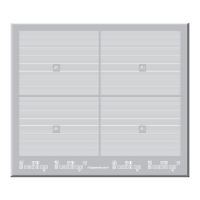
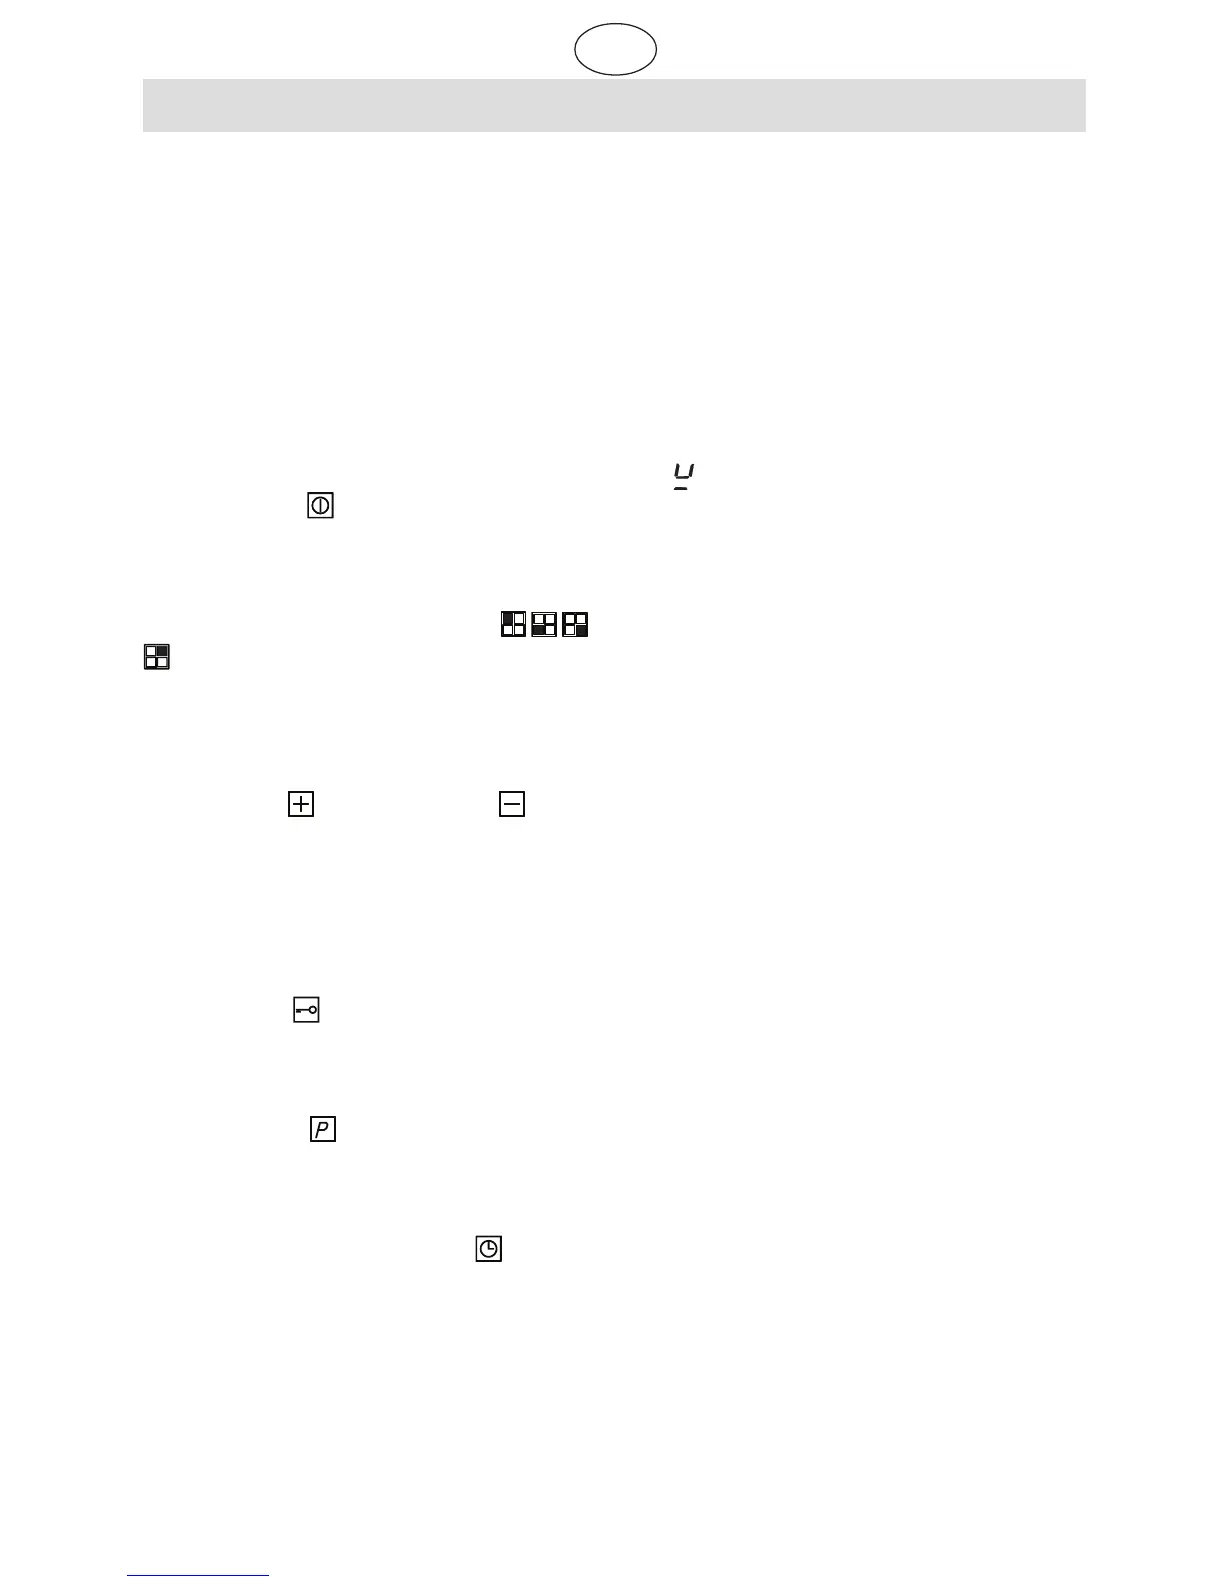
Operation with sensors
The glass ceramic hob is operated by
means of touch control sensors which are
located on the right-hand side of the hob.
The sensors are operated as follows: touch
the squares containing the symbols on the
glass ceramic surface lightly with your fin-
gertip. Each operation correctly carried out
is confirmed by means of an acoustic sig-
nal.
On/off sensor
(18 in the illustration)
This sensor is used to switch the hob on
and off. It is therefore the ”main switch”.
Cooking zone selection sensor
(9)
The cooking zone is selected with one of
four sensors. A setting (e.g. cooking level)
is then made.
Plus sensor / minus sensor (15)
These sensors are used to set the cooking
levels and the switch-off time.
Touching both of the sensors simultaneously
will delete any of the cooking level settings
or the switch-off time (0 is then indicated).
Lock sensor
(17)
The lock sensor is used to block the
sensors.
Power sensor (10)
This sensor is used to activate the corre-
sponding cooking zone at high power.
Automatic switch-off sensor
(11)
The automatic switch-off device integrated
in the appliance enables one cooking zone
which has been switched on to be switched
off automatically after a specific period of
time.
Operation
Description of the displays
Cooking setting display (7)
The cooking setting display shows the cook-
ing level selected, or, if the cooking zone
has been switched off, it will show an ”H”
for residual heat still available.
The power setting shows a ”P” when it is
activated and in the case of the automatic
booster function it shows an ”A” in alternation
with the cooking level selected.
A ” ” is shown for pan detection.
Ready-for-setting display (8)
A setting can be made after the ready-for-
setting display of a cooking zone has lit up.
Lock control lamp (16)
The lock control lamp shows the lock
function.
Commencing operation
Once the hob has been installed and the
electrical connection (mains) has been
made, the controls will be tested automati-
cally. This test is carried out quickly.
Wipe over the surface of the hob with a
sponge and washing-up water and rub it
dry.
 Loading...