2-2
Operation Overview
User Interface Basics
User Interface Basics
This section shows you how to get around the front panel of your X-Pro using mode selection,
navigation, and data entry. There is also an assignable control section.
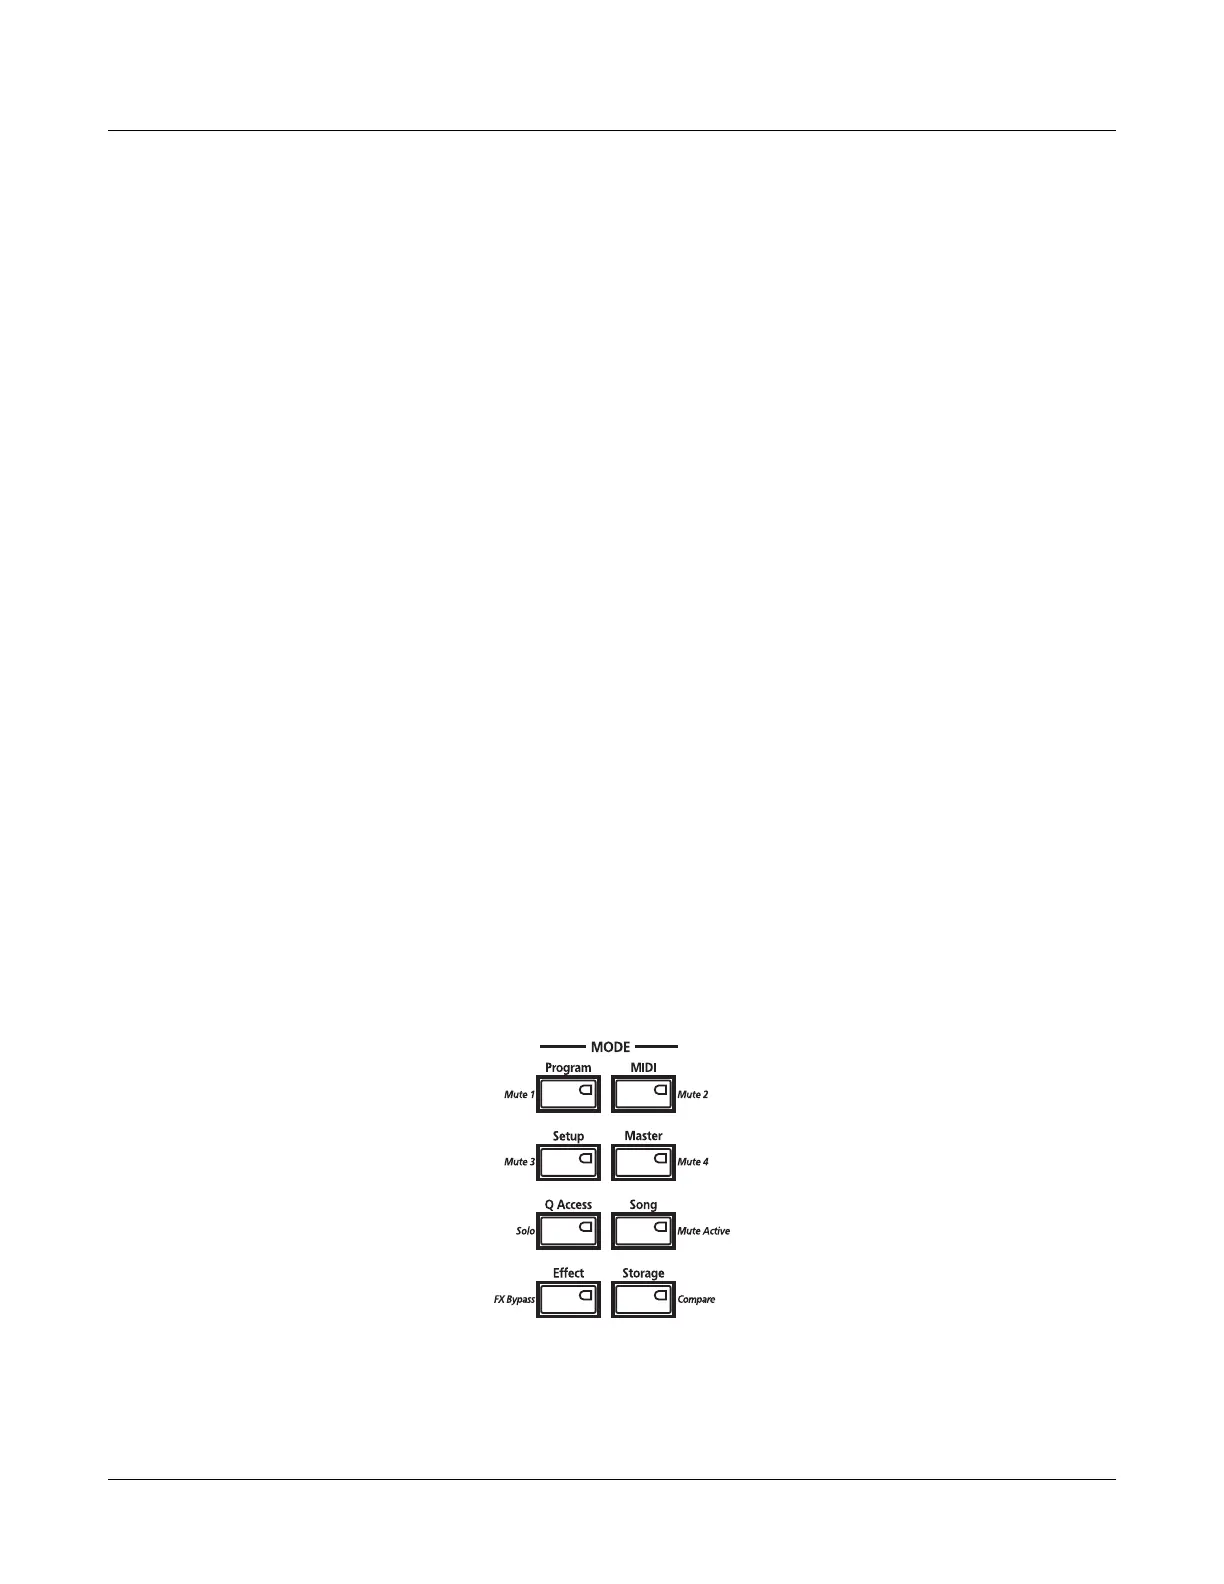
Mode Selection
The X-Pro is always in one of eight primary operating modes. Select a mode by pressing one of
the mode buttons — they’re to the left of the display. Each mode button has an LED that lights to
indicate the current mode. Only one mode can be selected at a time.
Program mode
Select and play programs, and modify them with the Program Editor.
Setup mode
Select and play setups, and modify them with the Setup Editor.
Quick Access mode
Select from a list of preset banks, each containing ten programs and/or
setups that can be viewed in the display for easy selection. Modify the
preset banks and create your own with the Quick Access Editor.
Effects mode
Enable/disable effects or set Aux overrides.
MIDI mode
Define how your X-Pro sends and receives MIDI information to other
devices.
Master mode
Define performance and control characteristics for the entire X-Pro.
Song mode
Use the X-Pro’s sequencer to record and play back your keyboard
performance, play Type 0 and Type 1 MIDI sequences, and record multi-
timbral sequences received via MIDI.
Storage mode
Interface with the X-Pro’s xD card reader or USB port to load and save
programs, setups, samples, and more.
The X-Pro’s tone wheel organ emulation is called
KB3 mode
. You automatically enter this mode
when you select a KB3 program. The KB3 Bank button takes you there directly.
Mode Buttons
When you press a mode button, its LED lights up to indicate that the mode has been selected. If
pressing a mode button does not light its LED, press the
Exit
button one or more times, then try
again. Additional labeling for each mode button indicates special functions that relate to some of
the X-Pro’s editors.
 Loading...