27
26
Countertop Installation Instructions Continued
15.
Remove the existing aerator that is installed on your faucet head. Store this aerator in a safe place in the
event you need to use it at a later date.
16.
Depending on what threads are your faucet head, you may or may not need to use the male/male adapter
to match the threads on the faucet head diverter valve. If required, screw the adapter onto the faucet head. Then
screw the faucet head diverter valve onto the faucet head. Tighten securely.
17. Measure the length of the IN tubing needed to reach the diverter valve installed on the faucet head.
18.
With the product placed where it will be used on a daily basis, take the IN tubing, which is the tubing
without the acid line sink attachment and run it to the pin on the faucet head diverter valve. Do not pull on the
tubing when measuring the length needed. You want the tubing to have some slack so you can move the
Genesis when cleaning the counter top.
19.
If your faucet head is designed to rotate, you will need to allow ample tubing for the faucet to move freely
once the tubing is attached to the faucet head.
20.
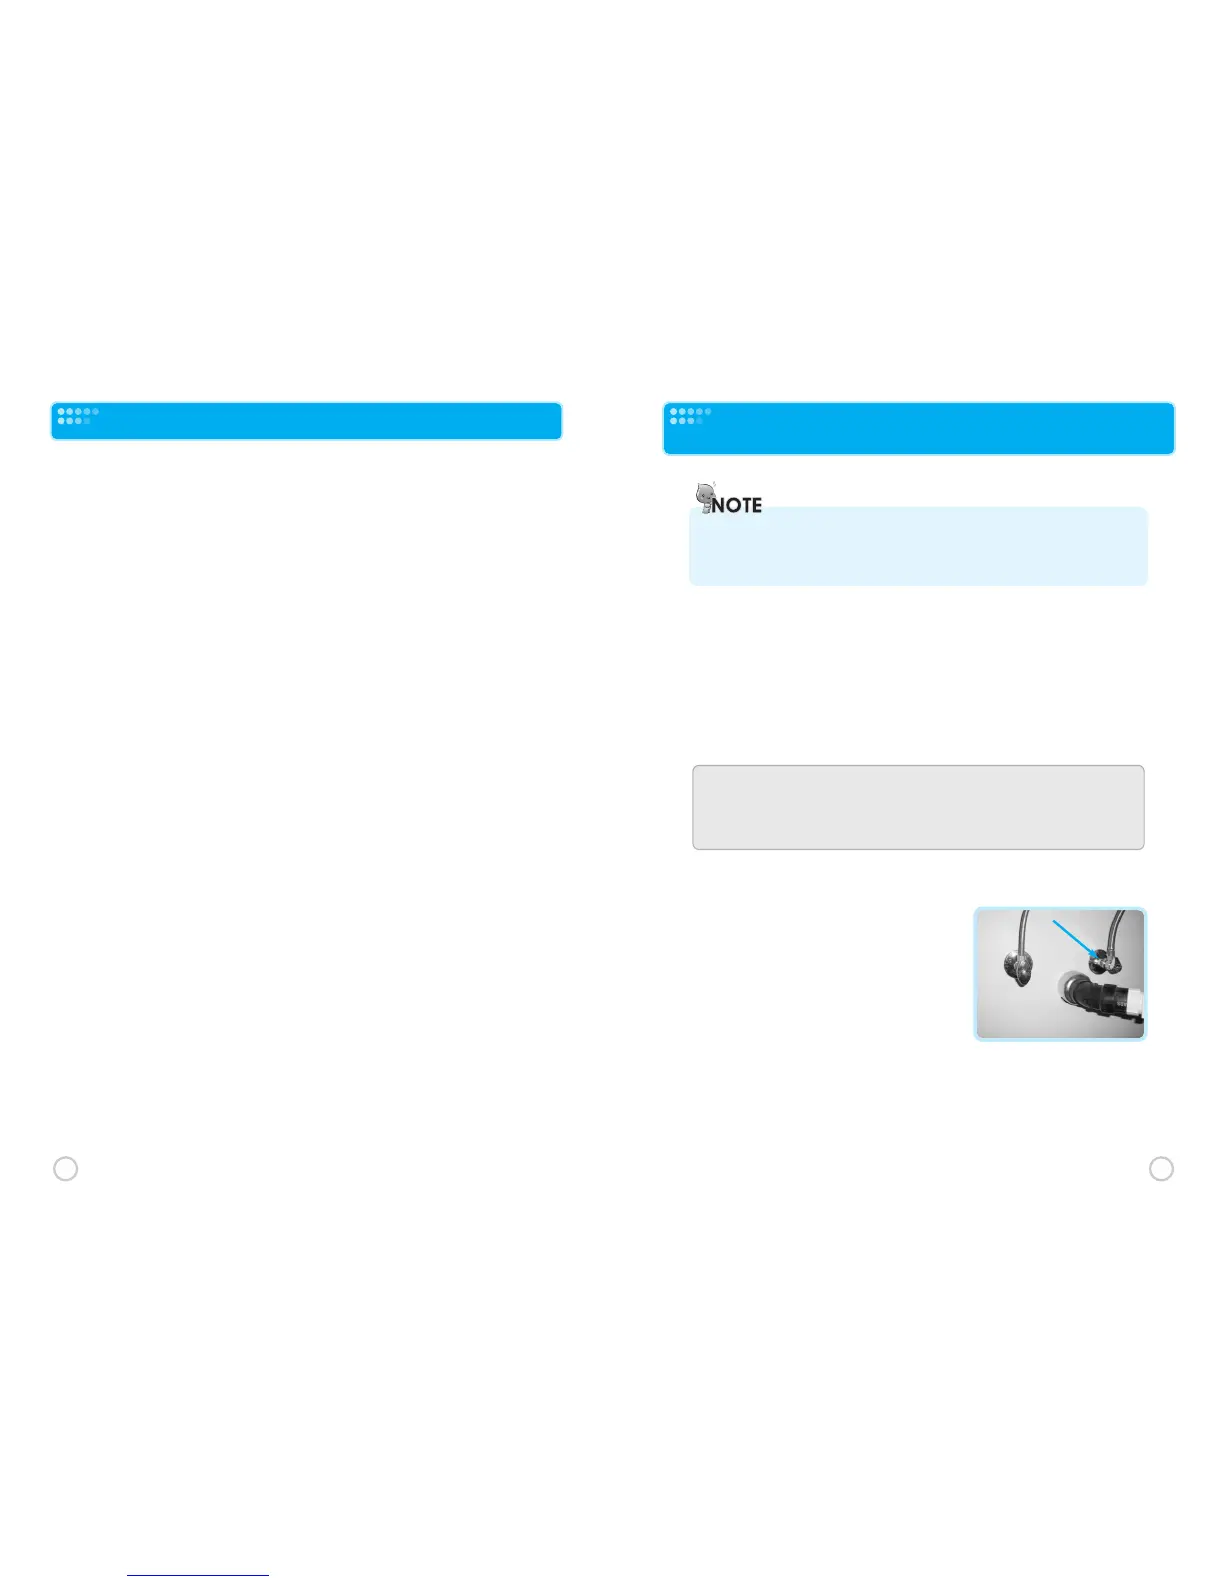
Press this IN tubing onto the pin of the faucet head diverter valve.
21.
Remove the acid line sink attachment from the OUT tubing.
22.
Position the tubing in the sink where you want it to drain (leaving some slack).
23.
Mark the OUT tubing at the desired length with a marker and cut it with a razor blade or sharp knife to the
desired length.
24. Reattach the acid line sink attachment to the OUT tubing. The acid line sink attachment allows you to
secure the OUT line to the side of the sink.
25. Slightly wet the suction cup of the acid line sink attachment and the area of the sink where you want to
install the acid line and press the suction cup onto the wetted area of the sink. “See Acid Water Drain Tubing”
on page 24.
26. Connect the stainless steel water output delivery hose to the product. Screw the threaded end of the deliver
hose into the adapter on top of the product. Tighten the hose securely. See “delivery Hose Connection” on page
27. Plug the Genesis power cord into a AC120V(American type) and AC 220V~240V (European type)
electrical outlet.
28. Adjust the input water pressure (water flow rate) into the product using the faucet. You want the water
flow rate on the product LCD Display to read between 1.7 and 2.5 liters/minute when you are producing.
Optional Under Counter Water Supply Line
Diverter Valve Installation Instructions
Installing the optional water supply line diverter valve that is shipped with your product enables you to connect
the product IN quick connect connector on the bottom of the product directly to the cold water supply line
under the counter. This eliminates the need to connect the product water supply tubing to the faucet.
If you have an electrical outlet under the counter, you can also plug the product power cord into this outlet.
IMPORTANT
If you have an electrical outlet under the sink and you want to plug your
product into this outlet (recommended if an outlet is available) you will need to make the
access hole large enough to accommodate both the product power cord plug and the 1/4"
water supply tubing. DO NOT plug the product in at this time.
WATER SUPPLY KIT:
❶ TURN OFF the COLD water valve (usually the
right hand valve).
❷ Turn on the cold water faucet to (1) make sure you
shut off the correct valve and (2) that the shut off
valve is functioning probably (actually shutting off the
water). If cold water still runs after shutting off the
valve, check to make sure you shut off the correct
valve. If you are not sure which valve is the cold water
supply, turn off both valves. If cold water is still running, the shut off valve is defective and must
be replaced before you can install this kit. This requires that water be shut off at the main water
input to the house. DO NOT attempt to complete this installation if cold water still runs after
you have shut off the cold water supply valve.
DRILLING THE ACCESS HOLE
❶ Determine where you want to place the product on your countertop. You will want the water
output hose located on top of the product to reach the sink. The access hole should be relatively
close to the product in order to minimize the amount of tubing that will be exposed above the
counter.
❷ Drill a 1/4” hole in the selected access hole location.
 Loading...