Do you have a question about the Kyocera FS-1000 and is the answer not in the manual?
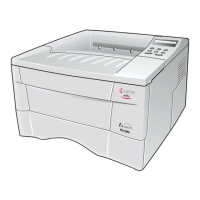
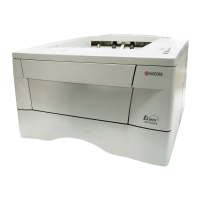
This document provides instructions for installing toner in Kyocera FS-1000(+), FS-1010, FS-1050, and FS-1020D series printers. It details the steps for replacing an empty toner container with a new one, ensuring proper installation and functionality.
The primary function of this guide is to facilitate the correct installation of toner in the specified Kyocera printer models. It outlines a step-by-step process to replace the toner container, which is essential for the printer's operation as it holds the powder used to create images and text on paper. The process involves opening the printer, releasing existing components, removing the old toner, preparing the new toner, and installing it securely.
The document refers to specific toner kits:
Each toner kit typically includes:
It is noted that the initial toner kit supplied with the printer may only contain the toner container and the wiper cloth, implying that other components like the plastic bag and instructions might be included in subsequent replacement kits.
The toner installation process is designed to be user-friendly, with clear, sequential steps:
Accessing the Toner Compartment: The process begins by opening the printer's top cover, providing direct access to the toner installation area. This indicates a top-loading design for toner replacement.
Releasing the Old Toner Container: Two lock levers, labeled #1 and #2, are used to secure the toner container.
Removing the Old Toner Container: Once unlocked, the old toner container can be gently removed. The provision of a plastic bag in the toner kit highlights the importance of proper disposal, likely due to residual toner powder.
Preparing the New Toner Container:
Removing the Protective Seal: The orange-coloured protective seal must be carefully removed before installation. This seal protects the toner outlet during shipping and prevents leakage.
Installing the New Toner Container: The new container is inserted into the printer. Users are instructed to "Push firmly on the top of the container at the positions marked PUSH HERE until you hear it click in place." The audible "click" serves as a confirmation that the toner container is correctly seated and locked.
Securing the New Toner Container: After installation, the toner container is secured by pushing lock lever #1 back to the "lock (LOCK)" position while simultaneously pushing down on the toner container. The document notes that "Lock lever #2 is automatically locked," simplifying the securing process.
The document includes a troubleshooting tip related to toner levels:
Overall, the document provides a clear, concise, and illustrated guide for a common maintenance task, emphasizing proper handling and installation techniques to ensure optimal printer performance.