20 Using the Camera
detail of the picture (higher pixel rate).
Options are Low, Medium, or High
(default). When set to High, the picture file
size is larger, using more memory.
–
LED flashes a light to indicate a picture has
been taken. Options are On (default) and Off.
Restoring camera menu settings
The following settings revert to the default setting
each time you enter and exit the camera application:
Zoom, Brightness, Contrast, Camera, MultiShot,
Color tone, Frames, Self Timer, and Picture Layout.
The following settings
remain at the setting
you selected each time you enter and exit the
camera application:
White Balance, Flash, Resolution, Quality, Shutter
Sound, and LED.
Menu options for camera mode
1. Select Menu → Camera.
2. Select Options.
3. Scroll up or down on the horizontal menu bar
using to scroll through the options:
• Settings displays available camera settings you
may set up prior to taking a picture.
• Brightness allows you to adjust the brightness
of the image in the home screen LCD.
•
Camera Pictures displays all pictures taken
and stored.
•
Last Picture shows the most recent
picture taken.
• Frames allows you to add a frame or a stamp
to your picture. A frame or stamp cannot be
removed once it is used in a picture.
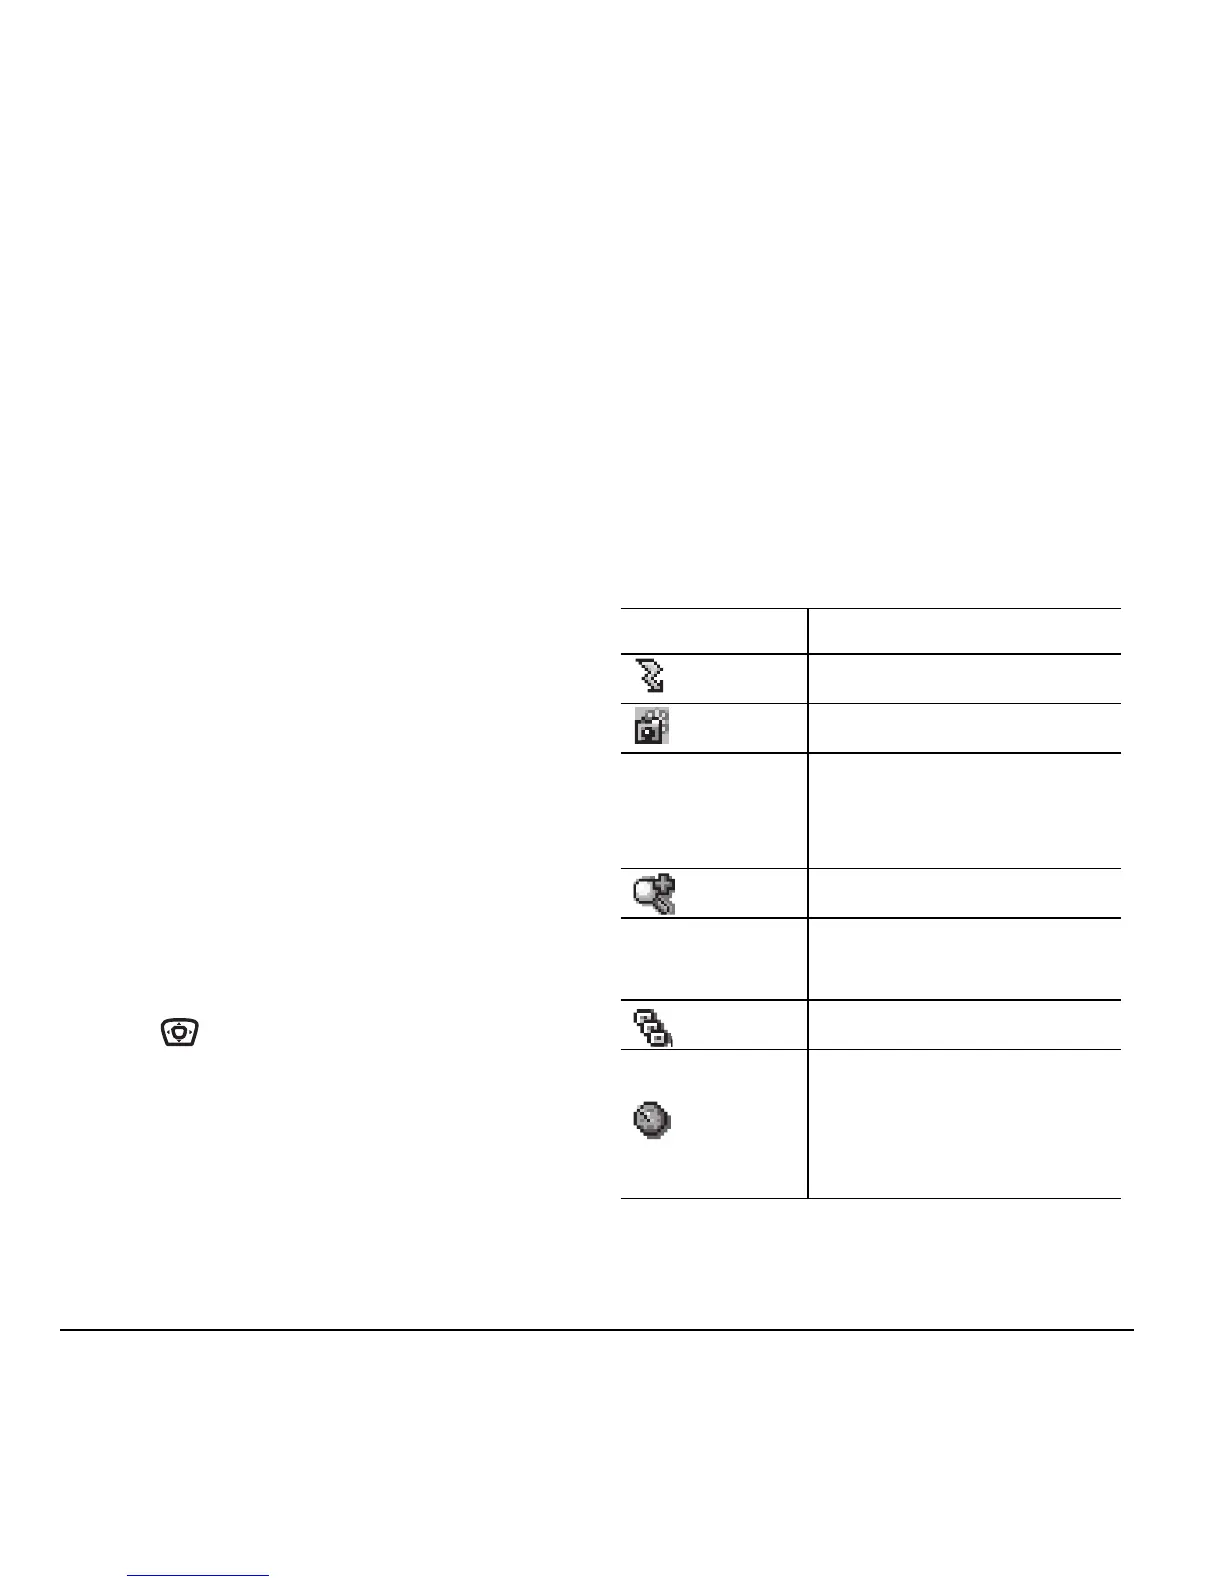
Camera mode indicators and
icons
The camera mode displays the following onscreen
indicators and icons:
Icon Description
Flash on
Camera mode
Top right hand
corner
numbers.
Number of snapshots
remaining
Zoom level
Bottom left
hand numbers
Resolution setting
Multishot
Self Timer (when camera/
capture key is pressed, the
icon switches to a number
and begins counting down)
 Loading...