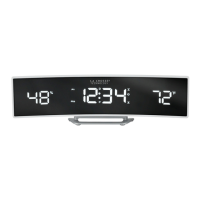
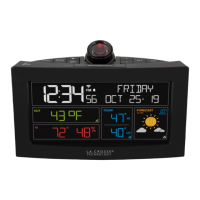
La Crosse Technology, Ltd. www.lacrossetechnology.com/support Page 3
• Hours
• Minutes
• 12/24 Hour Time
• Year
• Month
• Date
• Snooze duration “
” (5-60 minutes)
1. Hold the SET button for 3 seconds. The hours will flash.
2. Press the + or - buttons to set the hours.
3. Press the SET button to confirm and select minutes. The minutes will flash.
4. Press the + or - buttons to set the minutes.
5. Press the SET button to confirm and select 12 or 24-hour time. The 12Hr will flash.
6. Press the + or - buttons to select.
7. Press the SET button to confirm and select the Year. The Year will flash.
8. Press the + or - buttons to set the year.
9. Press the SET button to confirm and select month. The Month will flash.
10. Press the + or - buttons to set the month.
11. Press the SET button to confirm and select the date. The Date will flash.
12. Press the + or - buttons to set the date.
13. Press the SET button to confirm and select snooze duration. The Snooze duration “
” will flash.
14. Press the + or - buttons to set the snooze duration (05-60 minutes).
15. Press the SET button to confirm and exit.
Daylight Saving Time (DST) Adjustment
•
When observing Daylight Saving Time: Hold the DST/- button for 3 seconds to move your time ahead 1
hour.
•
The letter “D” will show between the hours and minutes when DST is active.
•
When observing Standard time: Hold the DST/- button for 3 seconds to move your time back 1 hour.
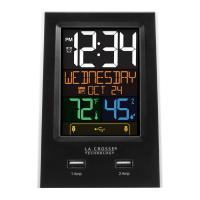
Set Time Alarm
•
Hold then release the AL 1∙2 button to enter alarm set mode.
•
Press and release the + or - buttons to adjust the values. Hold to adjust quickly.
•
Press and release the AL 1∙2 button to confirm and move to the next item.
•
Press SET button anytime to exit alarm set mode.
1. Alarm 1 Hour
2. Alarm 1 Minutes
3. Alarm volume “HI” or “LO”
4. Number of days for alarm:
o
1-7 = Monday to Sunday
o
1-5 = Monday to Friday
o
6-7 = Saturday and Sunday