2
Table of Contents
Introduction 1
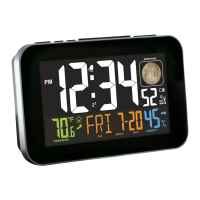
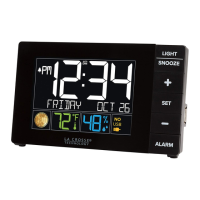
Multi-color Atomic Alarm Clock 1
Features 1
Table of Contents 2
Setup Instructions Step-by-Step 2
Troubleshooting 3
Power the Atomic Alarm Clock 3
A/C Power Adapter 3
Batteries 3
WWVB Radio-Controlled Time Reception 3
Function Buttons 4
Program Menu 4
WWVB Reception ON/OFF 4
Time Zone 4
Daylight Saving Time Indicator ON/OFF 5
12-hour or 24-hour Time Format 5
Set Time 5
Set Calendar 5
Fahrenheit/Celsius 5
Alarm Time 6
Set Alarm 6
Activate/Deactivate Alarm 6
Snooze Alarm 6
Backlight 6
A/C Power Adapter 6
Batteries 6
USB Charge Port 7
Temperature Trend Arrows 7
Humidity Trend Arrows 7
Moon Phase 7
Position the Atomic Alarm Clock 8
Specifications 8
Indoor 8
Power Requirements 8
Battery Life 8
Dimensions 8
Low Battery Icon 8
Care and Maintenance 8
Warranty Information 9
Setup Instructions Step-by-Step
STEP 1:
Insert the power adapter plug into a wall outlet
Insert the 5 volt A/C power adapter into the back of the atomic alarm clock for a continuous backlight.
The atomic alarm clock will light up and display indoor temperature and time (12:00).
IMPORTANT: When operating on A/C power, the backlight and USB charging port will turn off while the
atomic alarm clock searches for the WWVB to avoid interference. The backlight will return after 4-8
minute search (which occurs during the late night or early morning hours). The USB charging port will
then resume working.
STEP 2: (Optional battery operation)
Remove the battery cover from atomic alarm clock. Slide tab up and pull out to remove the battery
cover.
Insert 2 NEW AAA batteries (included) into the back of the atomic alarm clock. Observe the correct
polarity (see markings inside the battery compartment).
Note: When operating on battery power only, the backlight will come on for 10 seconds when the LIGHT
button is pressed.
Do Not Mix Old and New Batteries