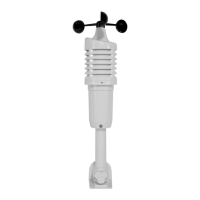
Mounting
• Mount in an open area clear for 50 feet in all directions.
• Mount with the solar panel facing south, so the wind direction is
correct. See the letters N, S, E W, embossed on the top of the sensor.
• Use the bubble level on the top of the sensor to ensure it is level, for
accurate rainfall readings.
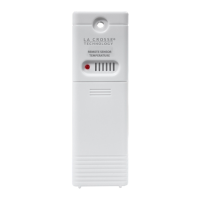
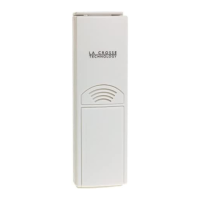
• The maximum wireless transmission range to the station is over 400
feet (121 meters) in open air, not including walls or trees.
• Cups should be on the top of the sensor.
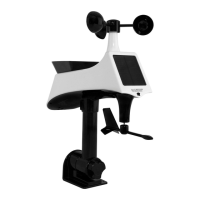
• Attach to mounting surface with screws through the mounting bracket.
• The sensor can be mounted from the bottom or from the side.
Alternatively:
• Insert your own mounting pole into the sensor base.
• Tighten screws
• Mounting bracket would not be used.
Bubble
Level
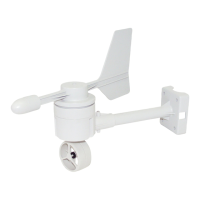
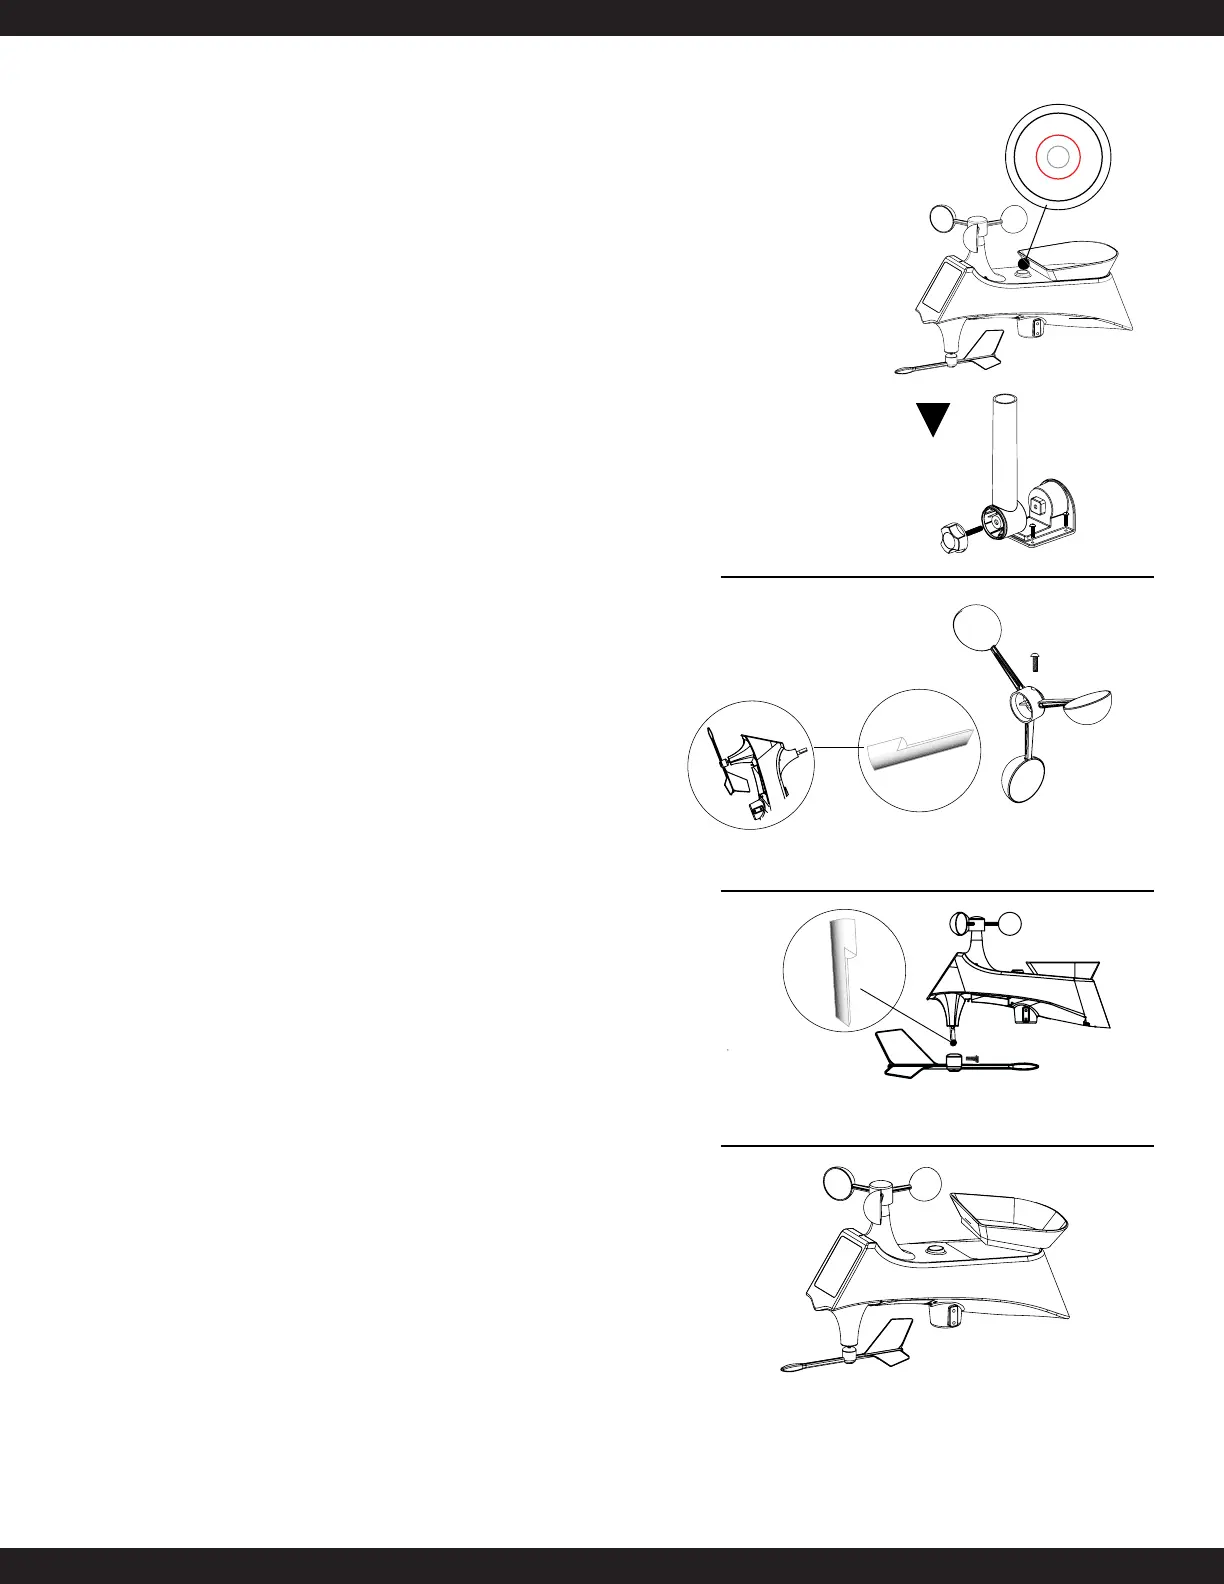
Replace Wind Cups
1. Loosen the screw on side of cups
2. Remove cups
3. Install new cups
4. Tighten screw on flat side of stem
Replace Directional Vane
1. Loosen the screw on side of vane
2. Remove direction vane
3. Install new vane
4. Tighten screw on flat side of stem
Clean Rain Sensor
1. Remove rain funnel (pull flat side firmly upward).
2. Gently remove debris or insects inside the rain sensor.
3. Clear debris from drain vents.
4. Clear debris from the rain funnel.
5. Reinstall the rain funnel.
Note: Do not oil the rain sensor.
 Loading...