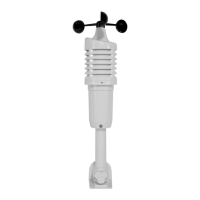
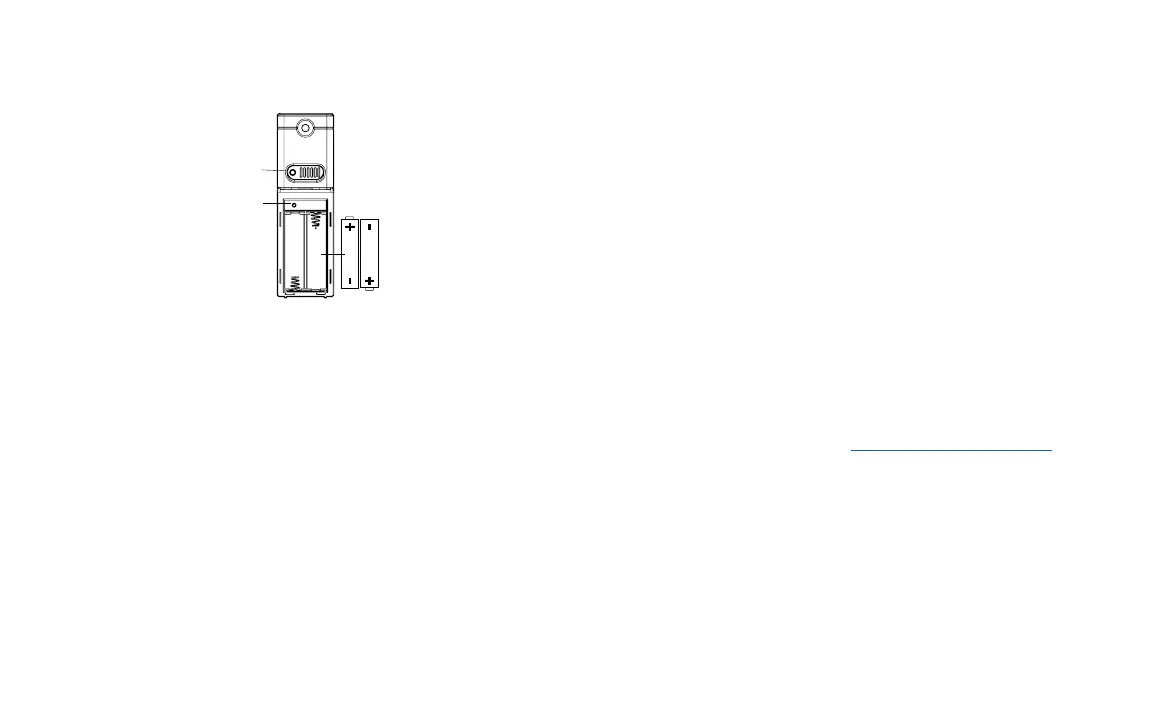
Power up
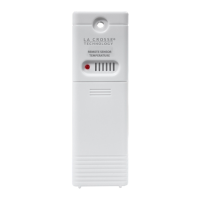
Insert 2-AA batteries into your Outdoor Sensor.
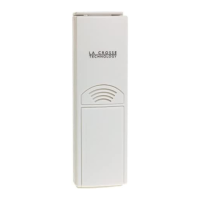
Option 1:
• Install one mounting screw into a wall.
• Place the transmitter onto the screw.
Option 2:
• Insert the mounting screw through the front of the sensor and into
the wall.
• Tighten the screw to snug (do not over tighten).
• Mount the temperature sensor on a north-facing wall or in any
well shaded location. Sun will make it read high.
• Under an eave or deck rail is preferred.
• Be sure the outdoor sensor is mounted vertically to drain
moisture.
• The maximum wireless transmission range to the weather station
is over 330 feet (100 meters) in open air, not including walls or
floors.
Watch sensor mounting video: bit.ly/TH_SensorMounting
Refer to the owner’s manual for your clock or weather station to
see if you can Search for Sensor. If so, enable a search and press
the TX button (transmission) on your sensor.
If there is no Search option, try this:
1. Bring your sensor inside next to the station and remove
batteries from both devices.
2. Press any button at least 20 times, and then wait 15 minutes.
3. After the wait, install fresh batteries into both your sensor and
station. Your outdoor temperature should return within the next
few minutes.
4. Keep your sensor next to the station for another 15 minutes to
establish a strong connection.
5. Once connection is reestablished, place sensor outside in a
shaded location.
Power up as a Replacement Sensor
Position Sensor
Specications
Temperature range: -40°F to 140°F (-40 °C to 60 °C)
Humidity range: 10%-99% RH
Transmission range: Up to 330 feet
Transmission frequency: 433 MHz
Power requirements: 2 “AA” Alkaline batteries (not included)
Dimensions: 1.58” L x 0.83” W x 5.08” H
Page | 2 Page | 3
AA
AA
TX button
(Transmission
LED