4. Select your appropriate
time zone using the
“CH” button. During
selection of the Time
Zone, the 3 letter
abbreviations for the time
zones found in North
America will flash across
the top of the TIME
LCD. Observe the chart
below, showing the
corresponding
abbreviations, time zones, and codes.
Note: There are more time zones represented by numbers than there are
represented by 3 letter abbreviations. If you live in North America you
need only be concerned with the ones in the chart above.
9
5. Press and release the “SET” button to confirm and advance to
the Daylight Saving Time setting.
IV. DAYLIGHT SAVING TIME (DST) SETTING
1. Press and hold the “SET” button for 3 seconds or until “12 h”
or “24 h” flashes in the DATE LCD.
2. Press and release the “SET” button 2 more times to reach the
DST selection mode.
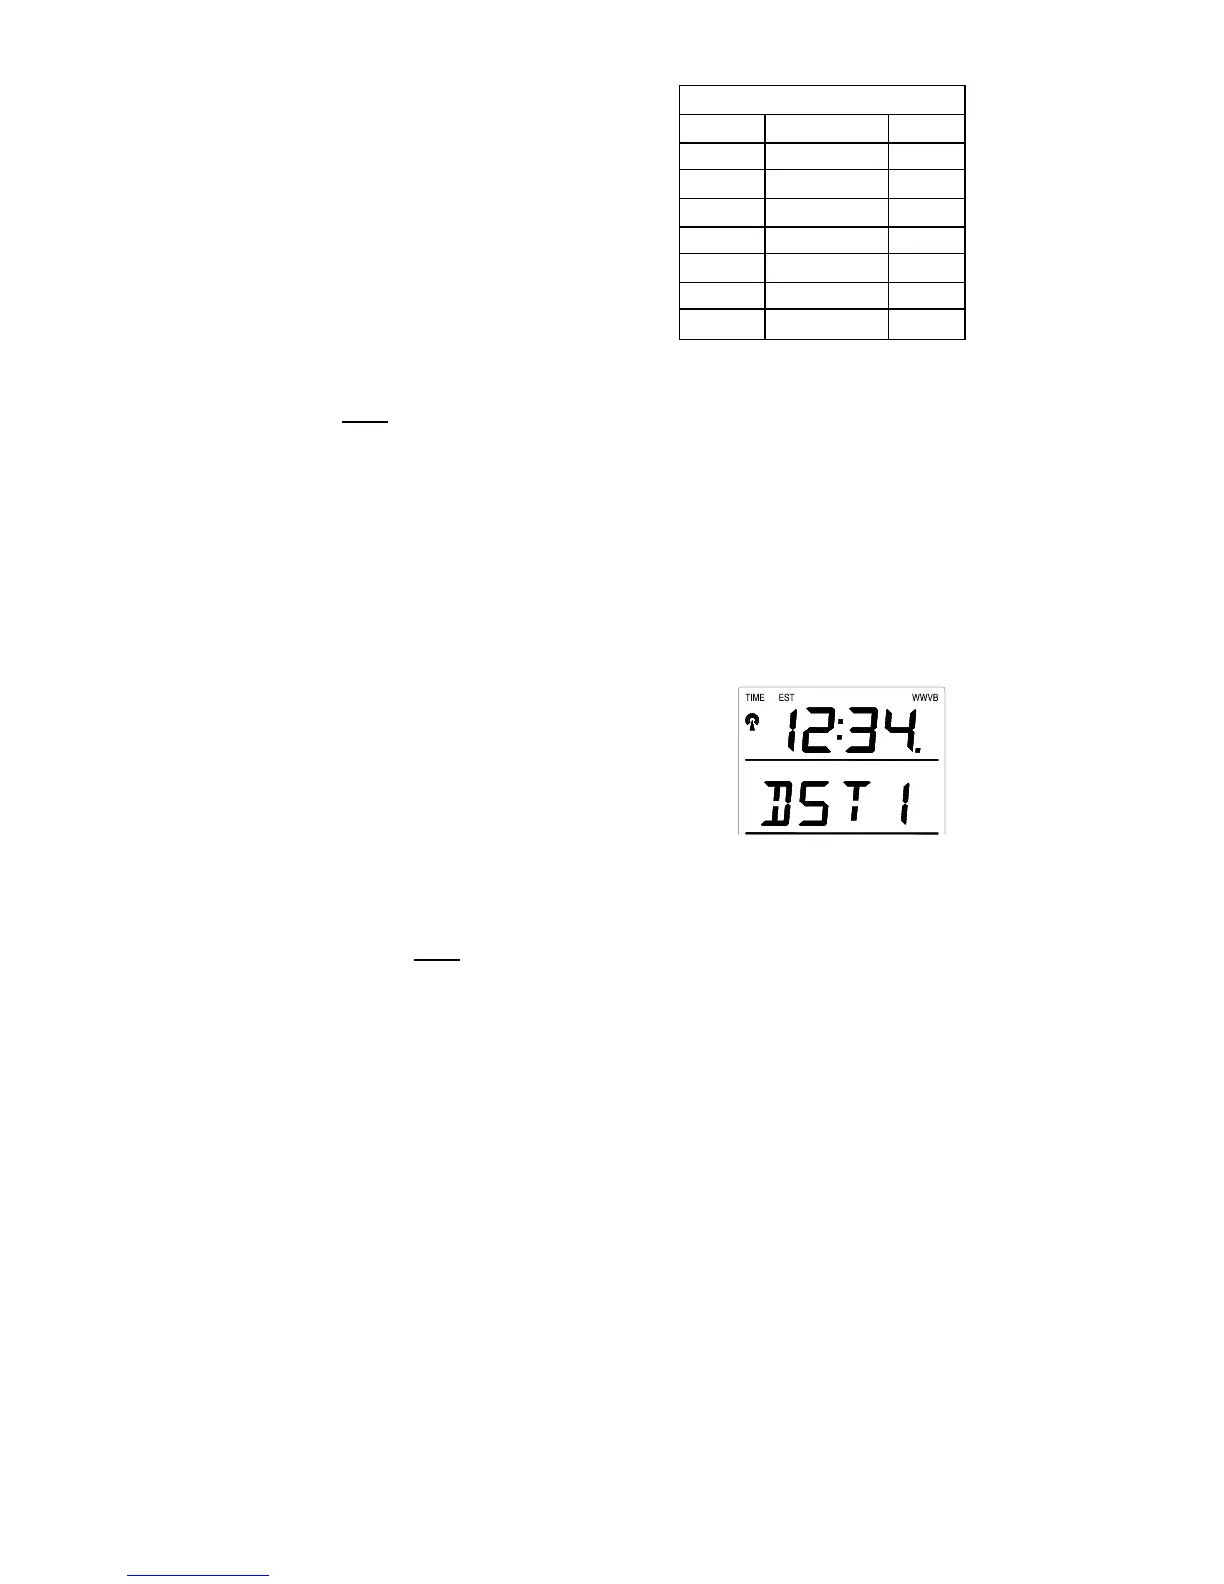
3. “DST 1” is the default setting
and will be flashing in the
DATE LCD.
4. Press and release the “CH”
button to select “DST 0” or
“DST 1.”
5. “DST 0” indicates that the feature is off and the WWVB will
not change times automatically. “DST 1” indicates that the
feature is on and the WWVB will change times automatically.
Time Zones
GMT 0
Atlantic -4
EST; Eastern -5
CST; Central -6
MST; Mountain -7
PST; Pacific -8
ALA; Alaska -9
HAW; Hawaii -10
Note: Some locations (Arizona and parts of Indiana) do not
follow Daylight Saving Time and should select “DST 0.”
 Loading...