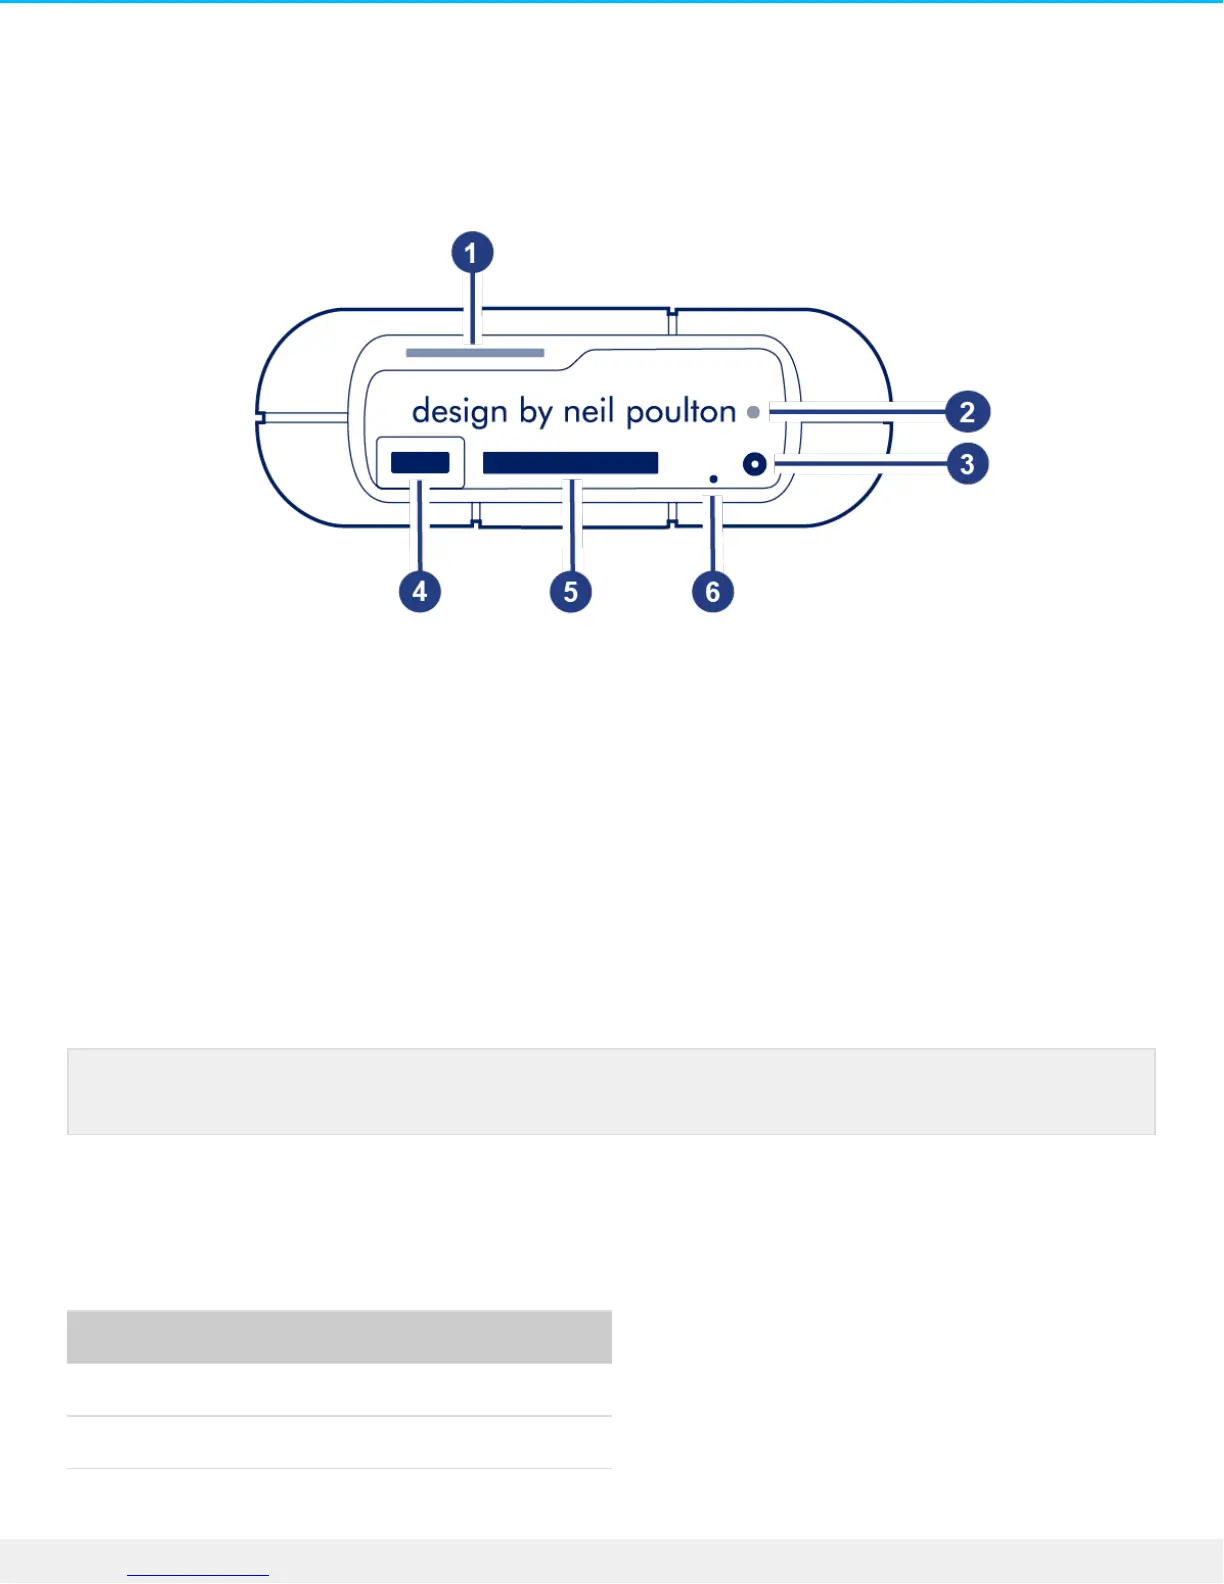
Views
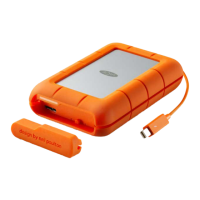
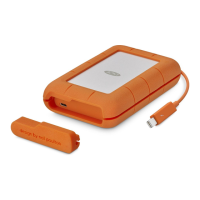
Remove the port protector to view the ports and LEDs.
1. Status LED—Indicates Rugged RAID Pro’s status. See LED Status and Power.
2. Power LED—Blinks if Rugged RAID Pro is not receiving enough power from the USB connection to your
computer, requiring the use of the included power supply. See LED Status and Power.
3. Power input—Connect the power cable to this port if needed. Use only the power cable included with
your LaCie Rugged RAID Pro. Attaching third-party or other LaCie power cables with incorrect voltage can
damage the device. See LED Status and Power.
4. USB-C (USB 3.1 Gen 1) port—Connect the Rugged RAID Pro to a computer. See Getting Connected.
5. Secure Digital (SD) card slot—Use your file browser to manually copy files to and from SD cards. You can
also let Toolkit's automated import feature quickly copy files to Rugged RAID Pro from any inserted SD
card. For details on automated import, see the Toolkit user manual.
6. RAID pinhole—Use the pinhole when confirming a change to your RAID level. See Manage RAID.
Specificaons
Enclosure dimensions
Side Dimensions (mm / in)
Width 30 / 1.181
Height 140.12 / 5.517
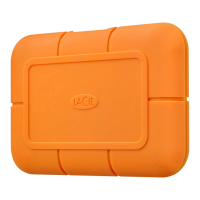
Attach the port protector when transporting LaCie Rugged RAID Pro.