PAGE 6
ASSEMBLY STAGE #2
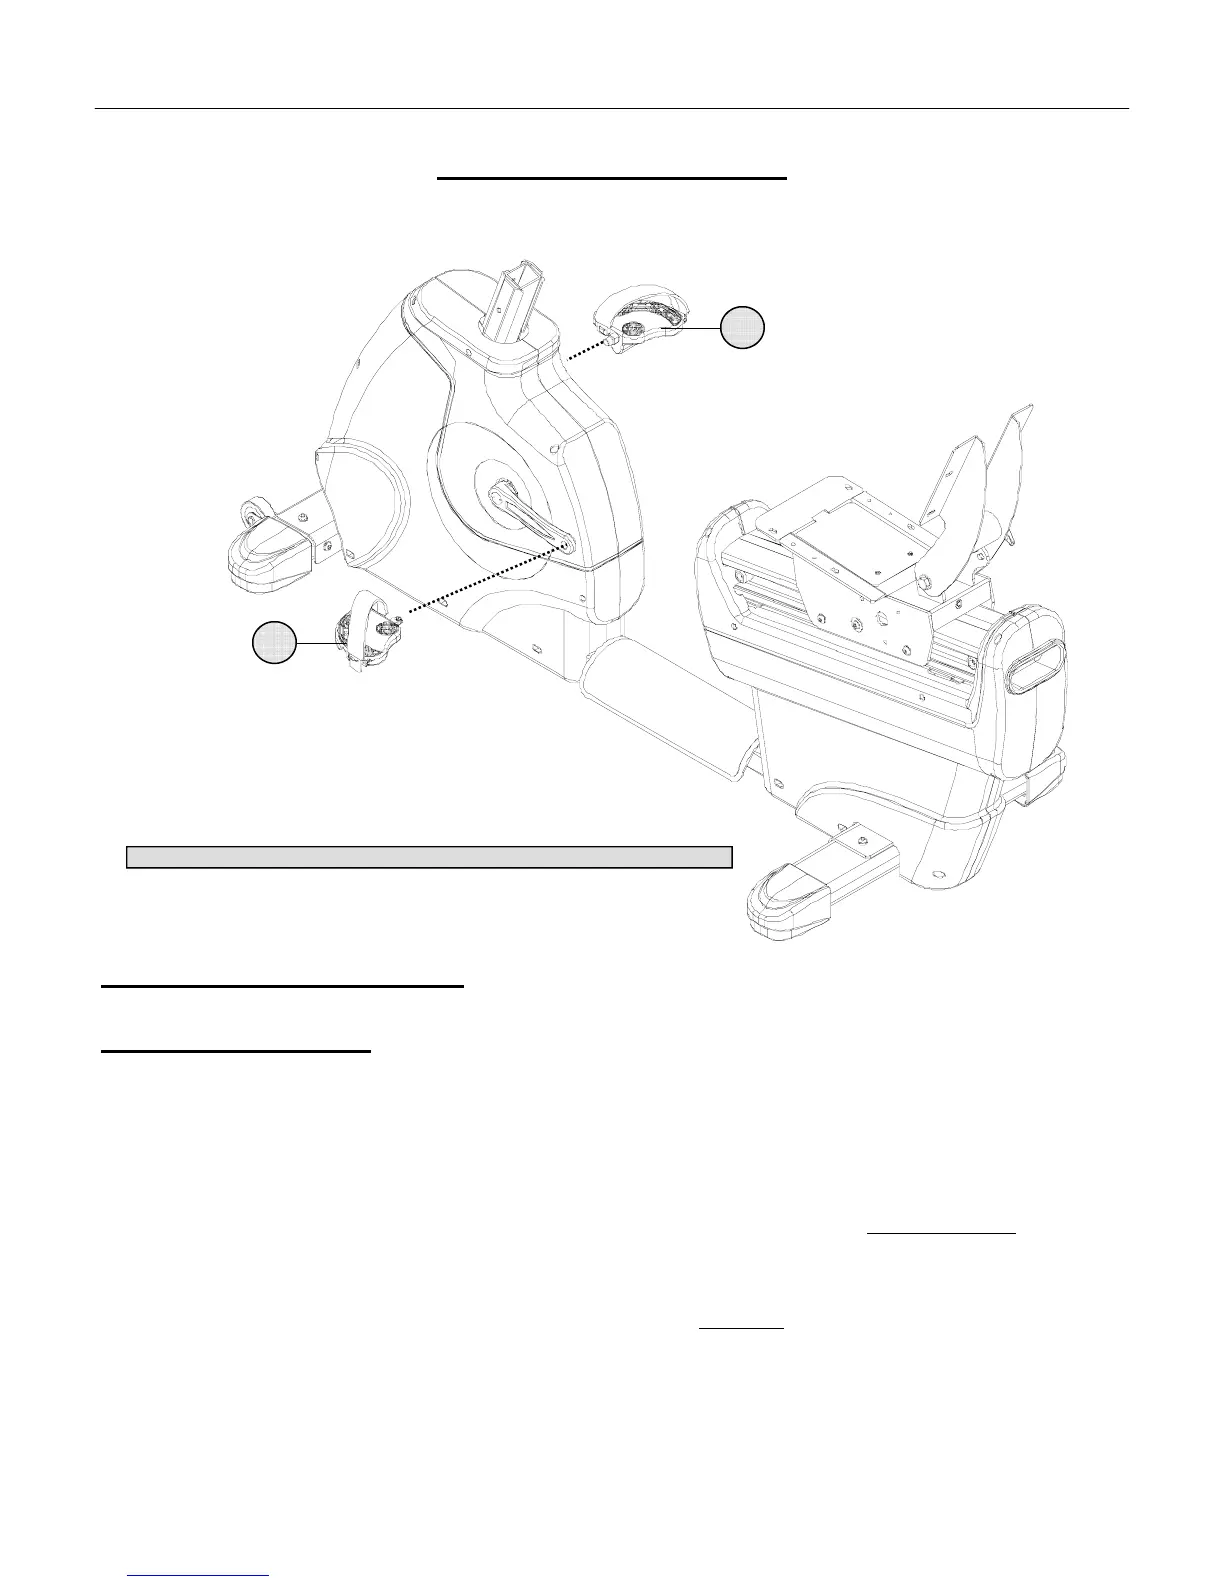
Attach Pedals
Assembly Hardware Required: (NONE REQUIRED)
Assembly Description:
Important Assembly Note: The right and left pedals are appropriately marked (R) and (L). The threading orientation on
the left pedal is reversed from the threading orientation on the right pedal. To avoid stripping of the threads on the pedals
or crank arms make sure to follow the assembly orientation noted below.
A) Assemble the Left Pedal (#5) to the Left Crank Arm on the Base Assembly (#1). Thread the pedal onto the crank
arm (counterclockwise) and securely tighten in place using the pedal wrench. Note: A counterclockwise
rotation will
tighten the pedal to the crank arm and a clockwise rotation will loosen the pedal.
B) Assemble the Right Pedal (#6) to the Right Crank Arm on the Base Assembly (#1). Thread the pedal on the crank
arm and securely tighten in place using the pedal wrench. Note: A clockwise
rotation will tighten the pedal to the
crank arm and a counterclockwise rotation will loosen the pedal.
C) Attach the Pedal Straps (included with pedals) to each of the pedals. The straps are labeled (R) or (L) to correspond
with the right and left pedal.
♦ Assembly Stage #2 completed
ASSEMBLY INSTRUCTION
5
6
L
R
FOLLOW ASSEMBLY INSTRUCTIONS CAREFULLY TO AVOID STRIPPING PEDAL THREADS