Do you have a question about the Lamona LAM1763 and is the answer not in the manual?
Appliance parts can get hot. Keep children under 8 away unless supervised to avoid burns.
Never extinguish fat/oil fires with water. Switch off appliance and cover flame.
If called away, take pans off the heat or switch off the hob to prevent accidents.
In case of fire, evacuate and call the fire service; do not take risks.
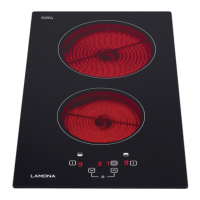
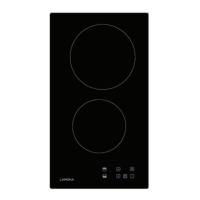
Touch controls offer fingertip control for accurate power settings and easy cleaning.
Use the flat of your finger to operate controls. Keep the control area clean and dry.
Activate a cook zone by touching its key, then select the power level using +/- keys.
Set timers to automatically turn off cooking zones, up to 99 minutes per zone.
Never leave the hob unattended, even with a timer set, as it poses a safety risk.
Steps to select a cook zone, set the timer using +/- keys, and confirm.
Hob automatically reduces power when pan is lifted, saving energy.
'U' symbol indicates no pan or unsuitable pan. Check pan for induction compatibility.
Feature prevents accidental hob activation, especially by children.
Step-by-step guide to activate the child lock feature, indicated by 'L' on displays.
Step-by-step guide to deactivate the child lock, indicated by 'O' on displays.
Cookware must be metal with magnetic properties and have a suitable base diameter for induction.
Hob has safety systems to prevent cookware overheating, reducing fire risk.
Always switch off zones manually; do not rely on automatic pan detection.
Do not disconnect mains during use; it impacts safety and performance.
Recommendations for cleaning ceramic hob glass, including initial cleaning and daily care.
Safety precautions for cleaning the appliance, including switching off and cooling.
Provides tips for common minor hob problems like smells, noises, clicking, and fan operation.
Check electricity supply, fuses, and cut-out switch if the hob is unresponsive.
Repairs must be carried out by trained service technicians.
Continuous button actuation triggers switch-off. Clean user interface.
Indicates over temperature. Allow system to cool.
Pot/pan unsuitable or power exceeded. Error resets after 30s; remove pot if recurring.
Invariable resistor fault. Induction module must be cool.
Installation must be done by a qualified installer or engineer, following safety points.
Wear protective gloves, observe minimum distances, ensure heat-resistant surfaces.
Installations must comply with applicable National Regulations for this product type.
Ensure air inlets are not blocked and consider unit type for ventilation.
No combustible material shelf or overhang should be closer than 650mm above the hob.
Maintain a minimum 50mm clearance between hob edges and side walls up to 420mm.
Maintain a minimum 50mm clearance between hob rear edge and rear wall, up to 650mm.
Cut a hole in the work surface to the specified size (560mm x 490mm) for hob installation.
Place hob in aperture, ensure it covers worktop, set parallel to front, and attach clamps.
Recess worktop, insert hob ensuring foam seal is correct, and attach clamps.
Appliance must be earthed. Connect to mains terminal only when power is switched off.
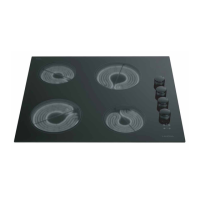
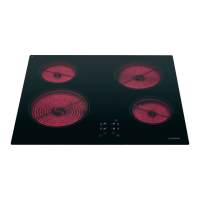
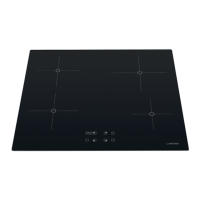
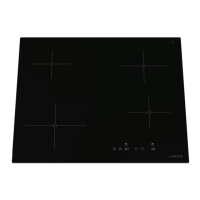
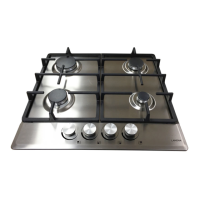
| Number of Cooking Zones | 4 |
|---|---|
| Width | 590 mm |
| Power Levels | 9 |
| Depth | 520 mm |
| Dimensions (W x D) | 590 x 520 mm |
| Cut-out Dimensions (W x D) | 560 x 490 mm |
| Installation | Built-in |
| Finish | Black Glass |
| Control Type | Touch Control |
| Safety Features | Child Lock, Residual Heat Indicator |