ASSEMBLING YOUR L&L EASY-FIRE KILN
easy-fire-install.pdf 3/1/2007 Rev 1.3 Page 8
2007 L&L Kiln Mfg, Inc. 505 Sharptown Rd, Swedesboro NJ 08085 P:856.294.0077 F:856.294.0070 sales@hotkilns.com hotkilns.com
the large part of the tear-drop holes allows the head of
the four of six screws to pass through. This will take
a little juggling but it will come off.
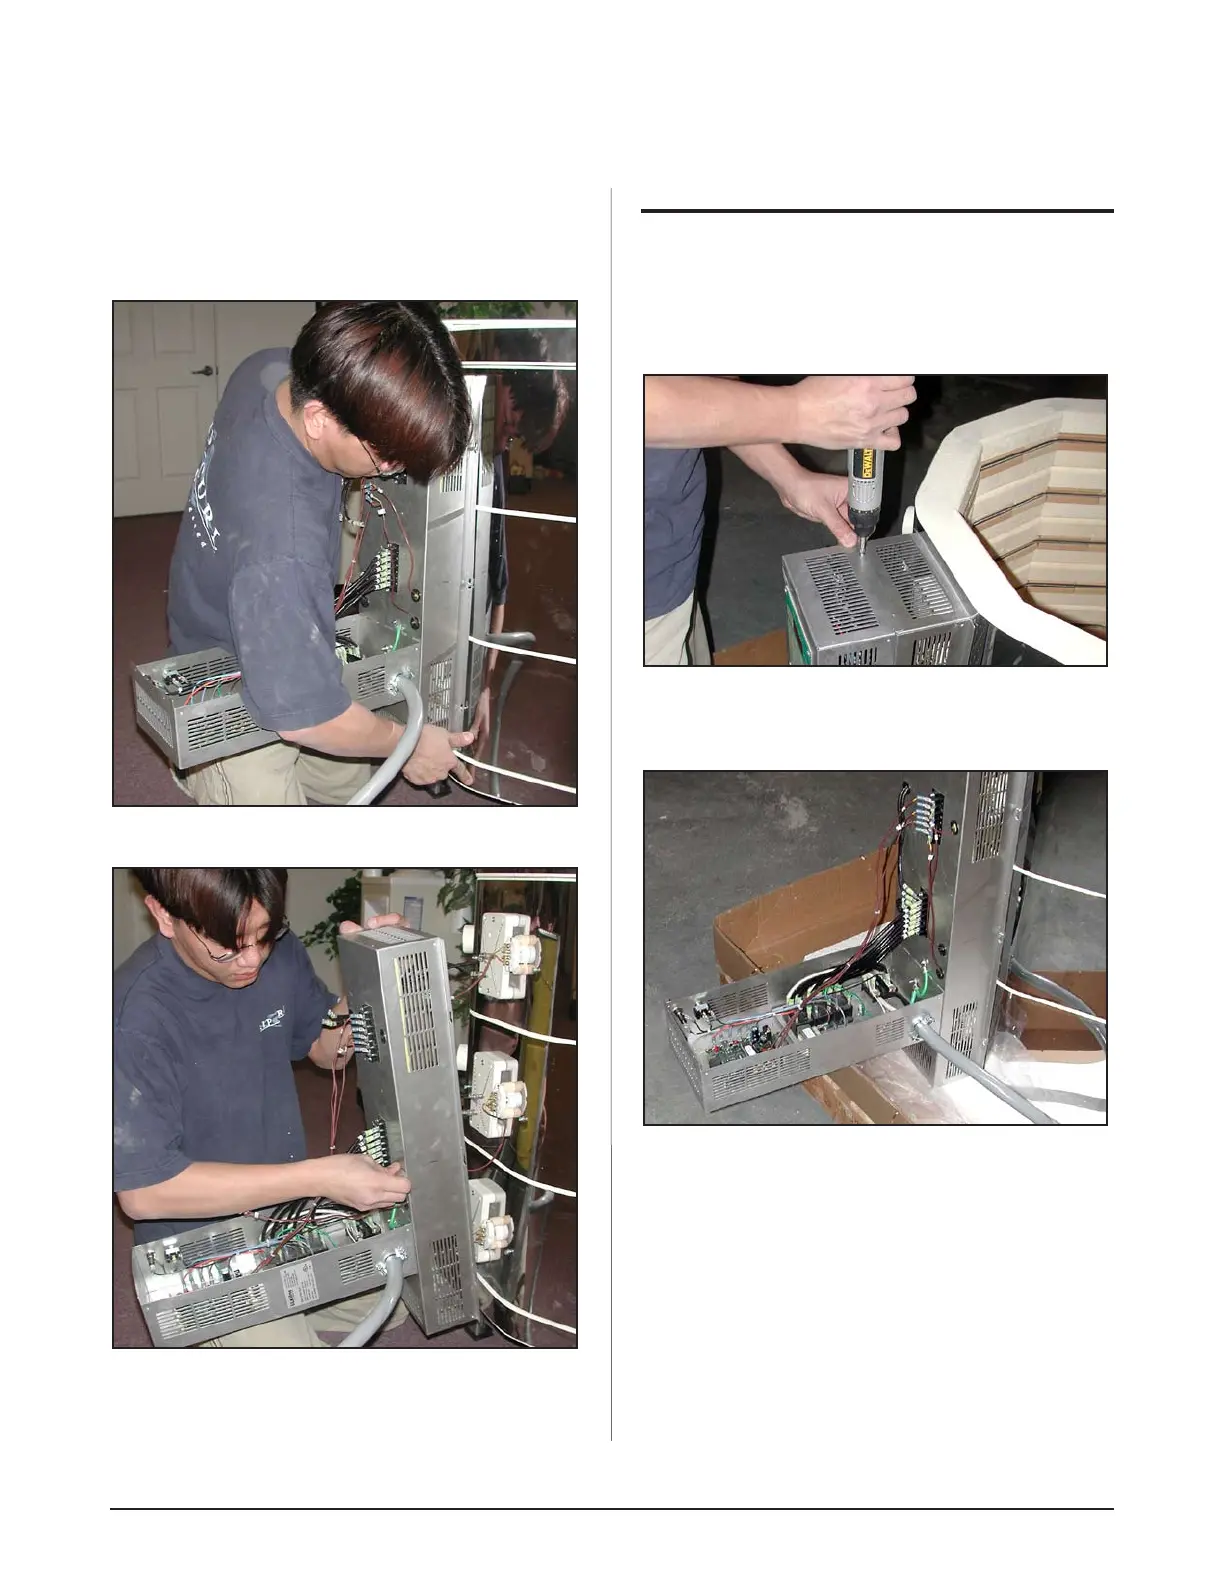
He is holding the box from underneath:
Pushing the wires through the holes:
6) Now skip to the the section called “LOCATING
THE KILN”.
REMOVING THE CONTROL PANEL
This is method number two.
1) Remove the two screws, that hold the outer portion
of the control panel to the element terminal box.
Removing the two screws that hold the control
panel on:
2) Hinge the dynatrol portion of the control panel
down exposing the wire connection terminals.
The Control Panel Hinged down:
3) Remove the wires numbered 1 through 6 from
both sides of the Power Terminal Strip.
ASSEMBLING YOUR L&L EASY-FIRE KILN