ENGLISH
15
OPERATING INSTRUCTIONS
ALARM ARMED: Push button 1of the remote control. Arming is signalled by two flashes of
the direction lights and two acoustic signals (if ref. 904 has been connected to orange
wire).When the alarm has armed, the LED fitted in the dashboard flashes.
ALARM DISARMED: Push button 1of the remote
control; disarming is signalled by one flash of the
direction lights and one acoustic signal (if ref. 904
has been connected to orange wire.
If no alarm occured, during arming, LED dies out .
ARMING/DISARMING occurs when a random
encrypted transmission is sent by the radio-control
from a distance of up to 10 metres from the vehicle.
Locking and unlocking of the doors will occur where
applicable.
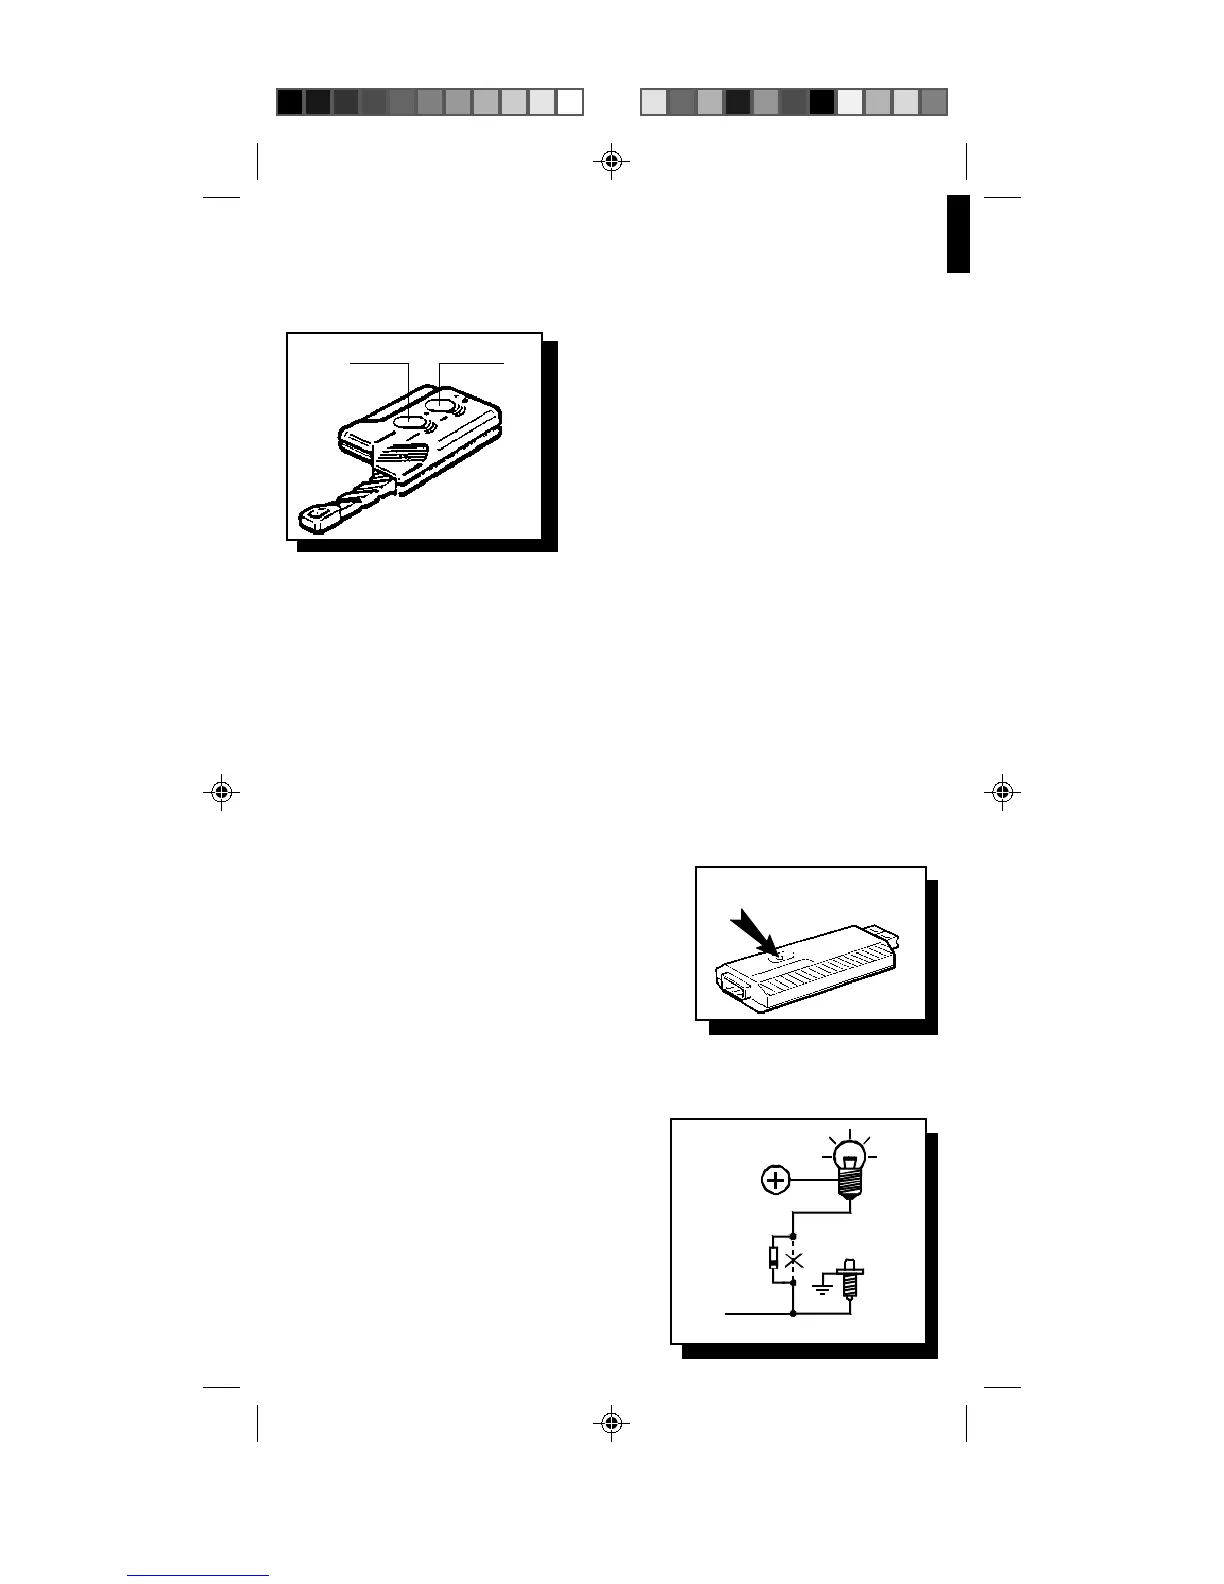
SECURITY ELECTRONIC KEY: Electronic key is used as security key in two cases :
(1) when it is not possible to use the remote control for arming/disarming (2) when the alarm
previously armed by remote needs to be disconnected after a damage of the remote.
1) when the electronic key is used for alarm arming instead of remote, should plug it in and
extract from proper socket. In this case INSTANTANEOUS PUSH BUTTONS will delay 40"
to enable the driver to go out the car. Any attempt to start the car will cause instantaneous
alarm. Doors should be locked by hand. Also to disarm the alarm there is a 10" delay of the
ULTRASONIC and INSTANTANEOUS PUSH BUTTONS.
2) If you need to disarm the alarm previously armed by remote , you have to open doors by
hands. Siren will sound. Plug in and extract the electronic key. Siren will stop its sound and
the alarm will disarm itself.
TESTING AND SENSITIVITY ADJUSTMENT FOR
THE FIRST 40" AFTER ARMING
ULTRASONIC TESTING:
Lower one of the front windows of about 20 cm.
Adjust the sensitivity to centre position.
Switch the alarm ON by remote control.
Introduce an arm and move it.
Three LED flashes and three short acoustic signals will
show that the arm movement has been noted. If this
doesnt happen, increase the sensitivity and repeat the
test. Do not set too high, as false alarm may result.
clockwise: maximum sensitivity.
anti clockwise: minimum sensitivity.
anti clockwise until the end : sensor excluded.
INSTANTANEOUS BUTTONS SELF TEST
FEATURES:
Three LED flashes and three short acoustic signals
will indicate the opening of protected doors/boot/
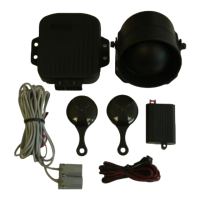
bonnet. BEWARE: On cars equipped with internal
courtesy light connect according to the diagram on
the fig. 3 one diode 1N4002 (or any others similar
with at least 2 A)
ULTRASONIC ADJUSTMENT
fig. 2
fig. 1
BUTTON 1
BUTTON 2
fig. 3
COURTESY
LIGHT
DOOR
CONTACT
LIGHT BLUE WIRE
OF THE ALARM
DIODE
1N4002
+12V
Is996v2 ita-ing.pm6 05/03/98, 16.2715