2
EN FR ES DE IT PT RU JP TC
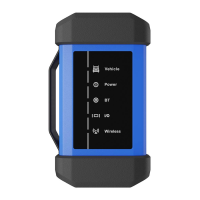
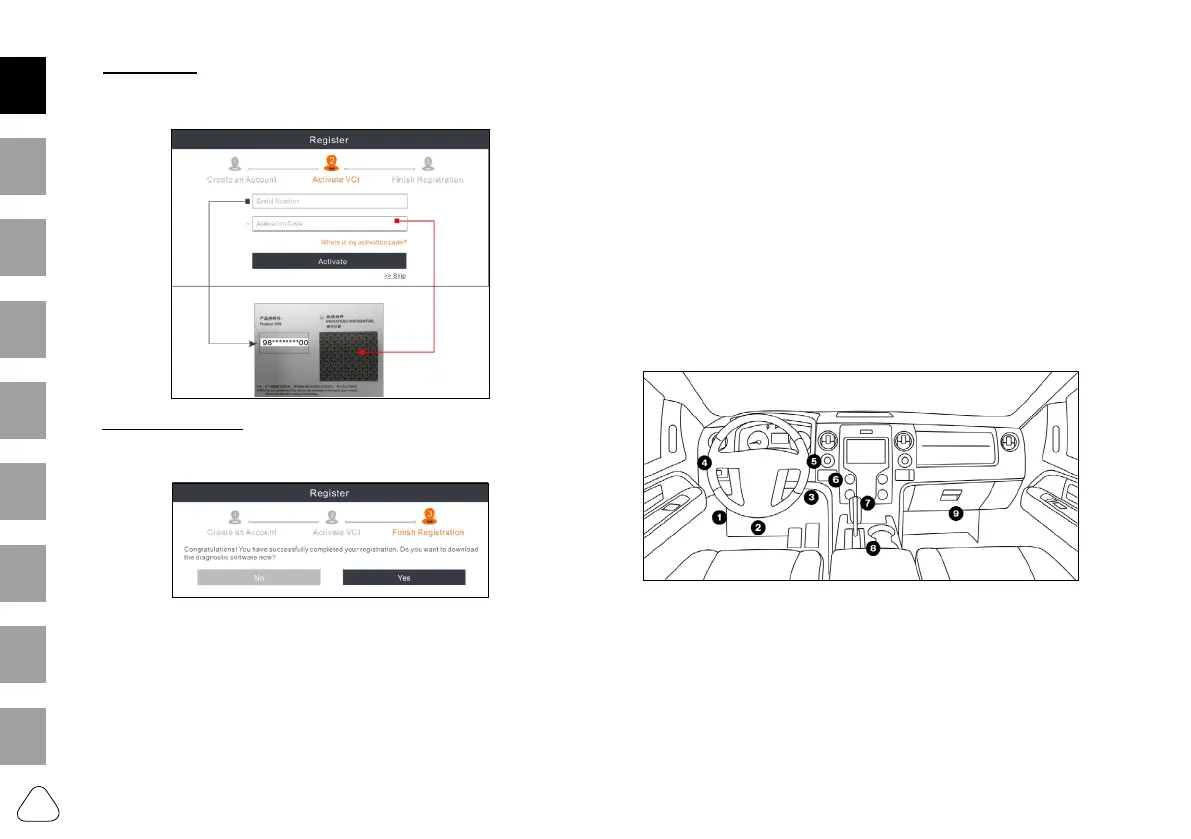
3). Activate VCI: Input the 12-digit Product Serial Number and
8-digit Activation Code (can be obtained from the password
envelope), and then tap “Activate”.
4). Finish Registration: Tap “Yes” to navigate to the update center
to update all available software. Tap “No” to ignore it. In this
case, follow Section 4.2 Update to check for updates.
After the registration is successfully complete, the wireless
communication between the tablet and the VCI device is
automatically established and user has no need to congure it
again.
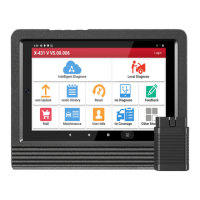
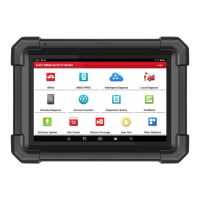
4.2. Update
All software is updated periodically. It is recommended to check
regularly for updates and install the latest software version for the
best service, functions and experience.
Tap [Software Update] on the Job menu.
*
Note: Make sure the Wi-Fi connection is strong and stable while
upgrading.
5. Preparation & Vehicle Connection
5.1 Preparation
• The ignition is turned on.
• The vehicle battery voltage is 11-14V.
• The throttle is in the closed position.
• Locate the vehicle DLC (Data Link Connector) port.
Possible DLC Location:
5.2 Vehicle Connection
1. OBD II Vehicle Connection
Plug the VCI device into the vehicle’s DLC socket (It is suggested
to use the OBD II extension cable to connect the VCI device and
DLC socket).
2. Non-OBD II Vehicle Connection
For non-OBD II vehicles, proceed as follows: