3. Vehicle Connection
1. OBD II Vehicle Connection
A. Directly plug the VCI into vehicle’s DLC
B. Using OBD II extension cable to connect the VCI to the vehicle’s DLC.
2. Non-OBD II Vehicle Connection
A. Via Cigarette Lighter Cable
B. Via Battery Clamps Cable
For new users, please follow the operation chart shown on the left to get familiar with and start
using this tool.
Notes:
1.
are suggested to check for updates on a
frequent basis and keep synchronized
with the latest available software.
2. If you choose “VINScan” or “Intelligent
Diagnosis” to diagnose a vehicle, this
step shall not apply.
To enjoy more service and functions, you
Before diagnosing, please make sure the following preparation:
s Switch the ignition on.
s Vehicle battery voltage range should be 9-18Volts.
s Throttle should be in a closed position.
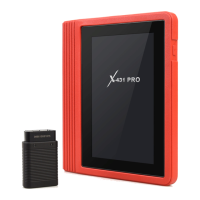
VCI Connector
OBD I Adaptor
To Vehicle’s DLC
Non-16pin Connector
Cigarette Lighter CableTo Cigarette Lighter Receptacle
VCI Connector
OBD I Adaptor
To Vehicle’s DLC
Non-16pin Connector
Battery Clamps CableTo Vehicle's Battery
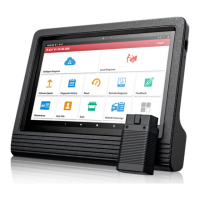
5. Start Diagnostics
4. Vehicle Connection
If the power supply on vehicle diagnostic socket is insufficient or the power pin is damaged,
you can get power in the following ways:
Pictures illustrated here are for reference purpose only and this Quick Start Guide is subject to change
without notice. For more detailed operations, please refer to the User Manual.
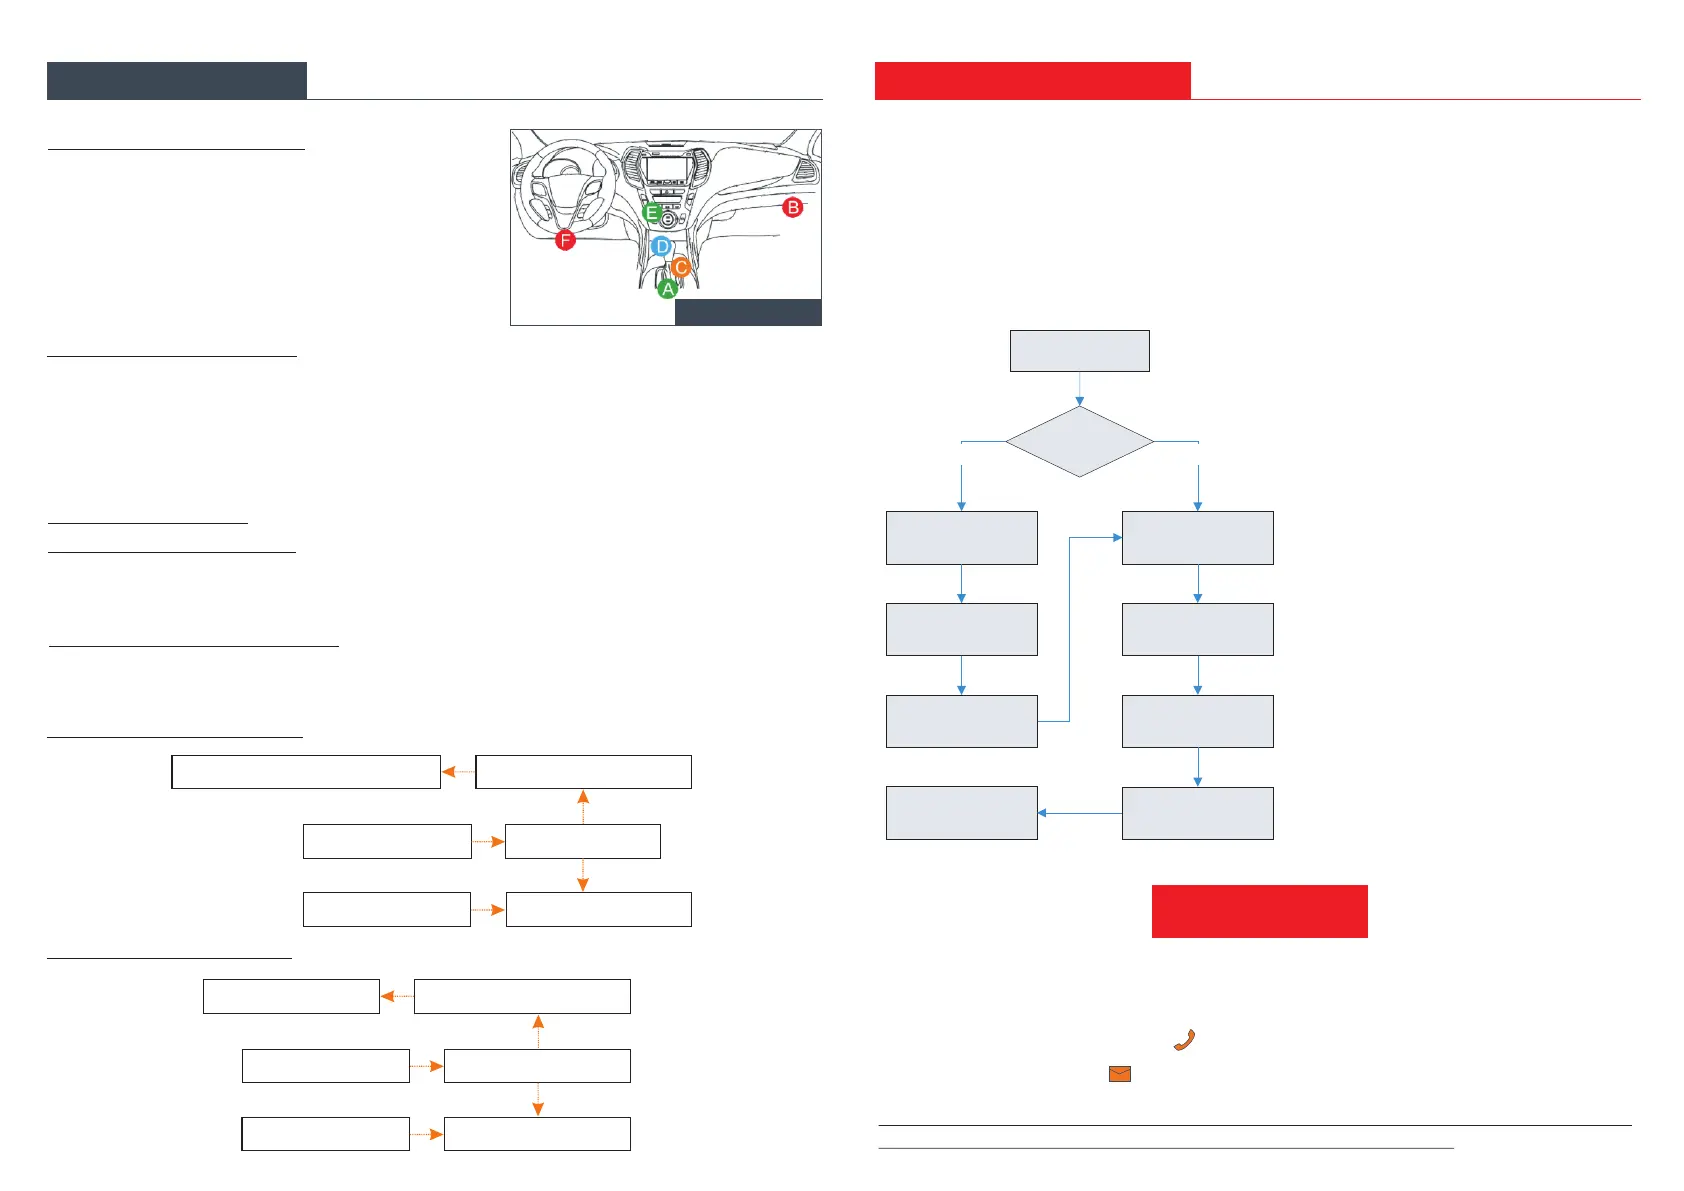
1. Locate the vehicle’s DLC:
It is usually located on
driver’s side, about 12 inches away from the center of
dashboard.
In case no DLC is found, please refer to Automobile
Repair Manual.
The DLC(Data Link Connector) is typically a 16-pin
connector where diagnostic code readers interface with
the vehicle's on-board computer.
DLC Location
Tap “Local
Diagnostic”
Select vehicle*2
Select test system
Select test function
Select diagnostic
software version
Tap “Login” to
register
Is the VCI
activated ?
No
Tap “Update” to
update software*1
Yes
…… (Refer to
Section 3)
Register & Activate
OK
LAUNCH
+86 755 8455 7891
www.x431.com
Any question, please contact us via:
overseas.service@cnlaunch.com
2. How to take out the VCI ?
*Note: Remember to remove the VCI from the vehicle’s DLC and re-insert it into the VCI slot if it
keeps unused.
It is pre-installed in the docking slot on the top of the display tablet. Use the hand to press the
VCI once, it will be automatically ejected from the docking slot. When it is not in use, please
insert it into the slot to avoid loss.