33
MAINTENANCE
NOTE: Inspect the lter for damage and replace with a new lter if necessary.
■ Clean the foam lter with warm soapy water and rinse. Air dry the lter.
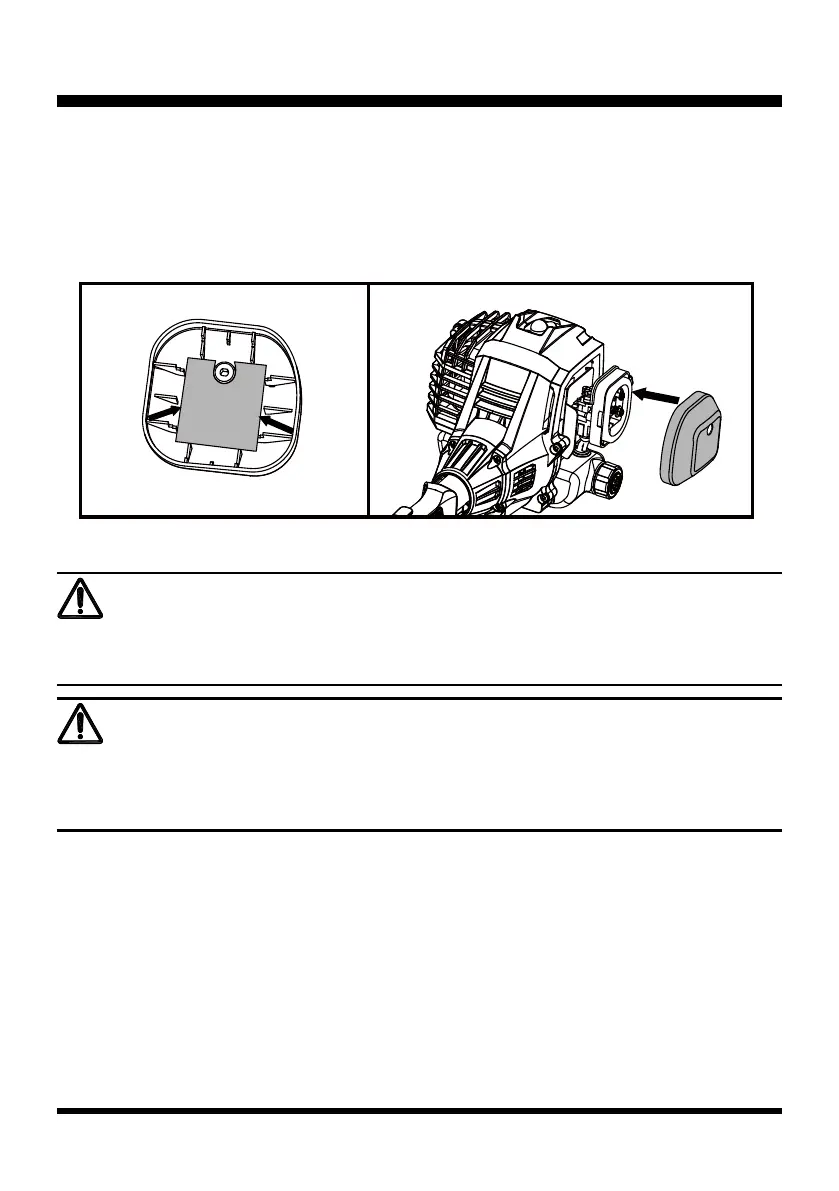
■ Place the air lter back, ensuring that it properly seated onto the air lter cover. Installing the lter
correctly will decrease the chances of engine wear caused by dirt entering the engine (Fig. 47).
■ Replace the air lter cover ensuring the air lter is completely covered (Fig. 48).
■ Turn the screw clockwise to secure the air lter cover.
Use a clean cloth to remove loose dirt from around the fuel tank cap and empty the fuel tank. The fuel
tank cap contains a check valve. If the performance improves when the fuel tank cap is loosened, the
check valve may be faulty. Replace the fuel tank cap if required.
A clogged fuel lter will cause poor engine percformance. Replace the fuel lter if required as it is a
non-serviceable part. Please contact your nearest service center for replacing this fuel lter.
SPARK PLUG REPLACEMENT (See Figs. 49-52)
The spark plug for this engine may be replaced using an identical or equivalent spark plug as provided
with the tool. The spark plug gap should be set at 0.026 in. (0.65 mm). Replace annually with a
recommended or equivalent replacement part.
FUEL TANK CAP, TANK AND LINES
DANGER
WARNING
Fuel is EXTREMELY ammable. Be very cautious and use care when mixing storing or handling.
Failure to follow this instruction may lead to serious personal injury.
Check for fuel leaks. Do not use the trimmer in the presence of a leak as it is a re hazard. Loose or
damaged tank caps, or leaking tanks must be replaced immediately. Failure to follow this instruction
may lead to serious personal injury.
Fig. 47
Fig. 48

 Loading...