Page | 12 Proofer Operators Manual 1-2022 (English)
Copyright 2022 LBC Bakery Equipment Inc. Tulalip WA
room temperature before the proofing process begins. Rest should be scheduled
for about 90 minutes.
The “Proof” mode is the time when the dough product is conditioned for
baking. Proofing allows the yeast or leavening agent to do its work and
make the dough puff up. Proofing should also keep the dough from skinning over
while the dough is rising. Recommended settings are 90 degrees F and 80%
relative humidity.
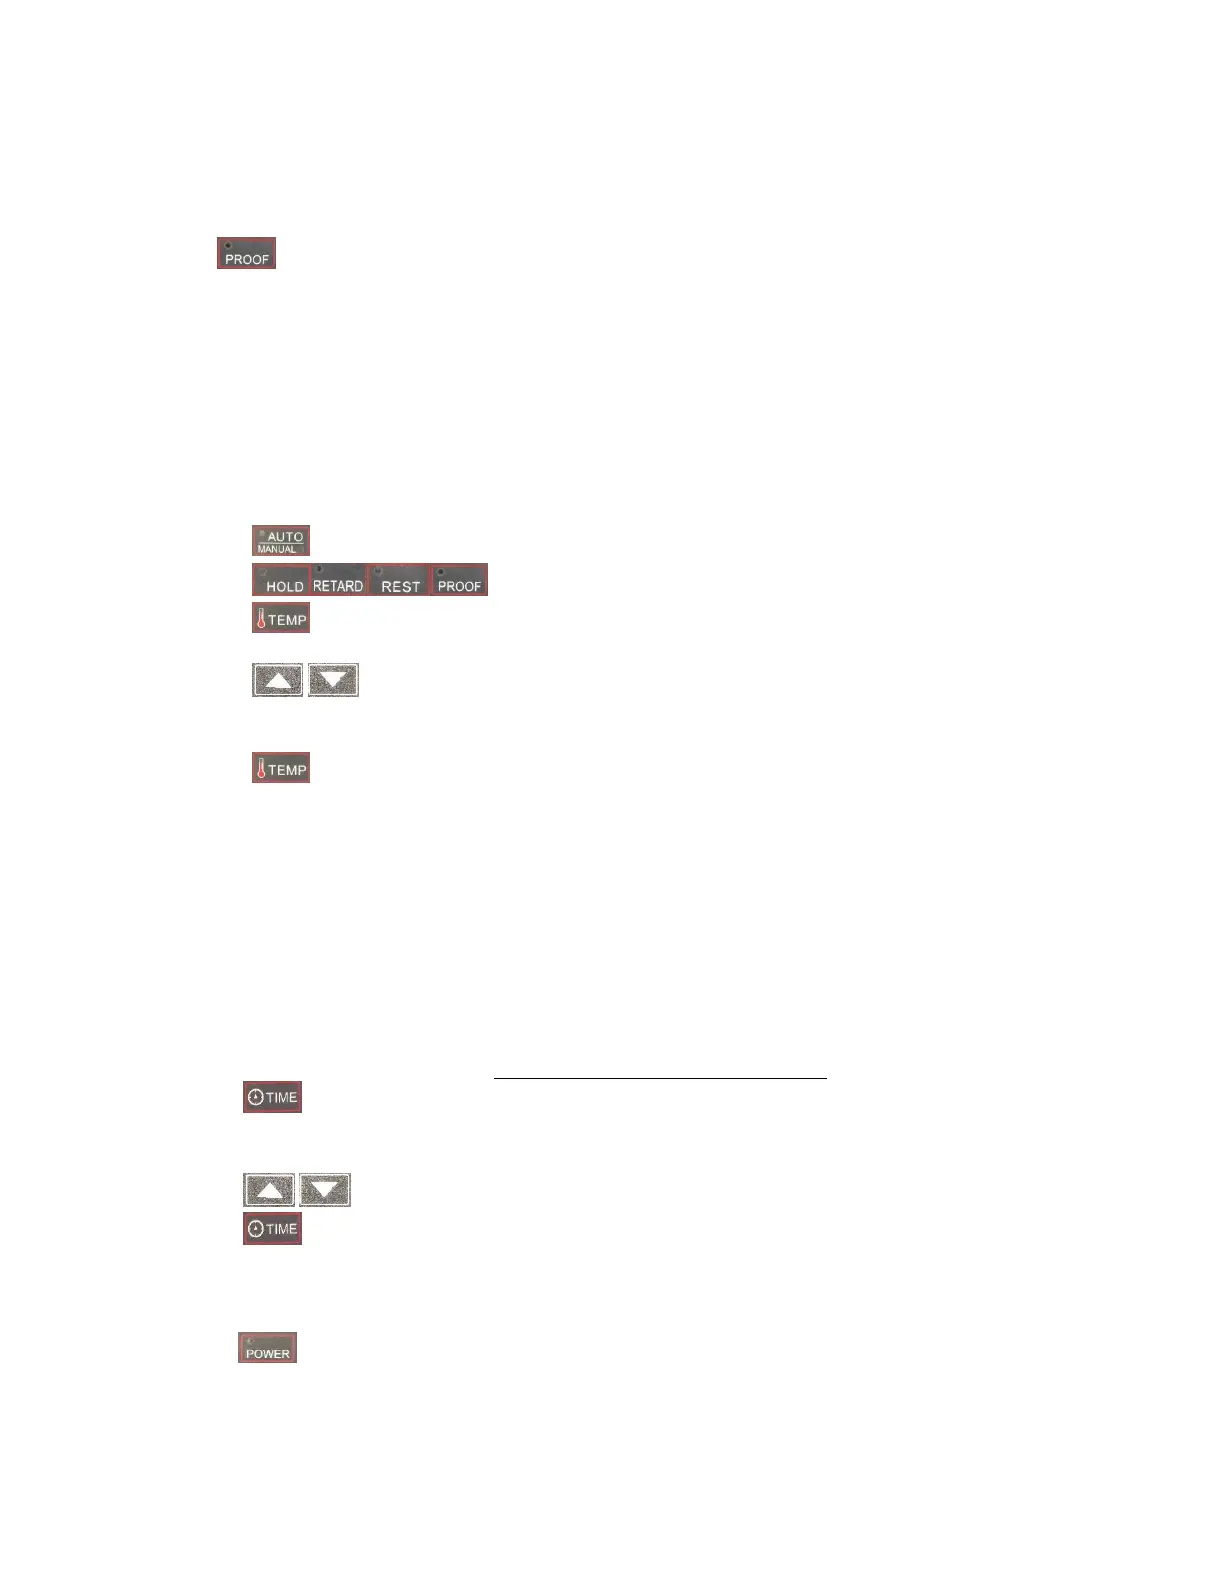
To select a manual mode, press the button marked with the process you wish to use.
• Setting Process Temperature and Humidity
Each process has a specific temperature setting. Rest and Proof also have specific humidity
settings. To set the temperature and humidity for each process:
1) Select manual mode with the “Auto/Manual” button.
2) Select the process you wish to set.
3) Press the “Temperature” button below the temperature display. The temperature
display will show the current set point.
4) Press the up or down arrow buttons below the time display to adjust the
temperature set point. This temperature setting will only affect the process you have
chosen.
5) Press the “Temperature” button to return the downplay to the actual temperature.
Note: When the process is selected and the temperature or humidity set point is shown, the
retarder/proofer will heat or cool and humidify to these settings. You do not need to start the
retarder/proofer.
• Setting the Clock
LBC Retarder/Proofer controls are equipped with a real-time clock. This is used to determine when
the automatic features of the control will happen.
To change the time of day on the clock:
1) Press the POWER button to turn the retarder/proofer control off.
2) Press and hold the TIME button for 5 seconds to enter the
Clock-setting mode. The control will display "t-Yr __ for
the current year.
3) Press the Up or Down Arrow buttons to adjust year.
4) Press the TIME button to advance to the current month.
Adjust using the Up or Down Arrow buttons.
5) Press the TIME button to advance through the other settings:"t-mo" for month, "t-do" for day,
"t-wo" for week, "t-ho" for hour (in 24-hr clock time), "t-mi" for minute, "t-SE" for seconds.
6) Press the POWER button to exit the clock adjusting mode.