35
Check all nuts and bolts periodically for tightness before operation. After prolonged use,
especially in sandy soil conditions, the blade will become worn and lose some of the
original shape. The cutting efficiency will be reduced and the blade should be replaced.
Keep the blade sharp to ensure a good cutting performance. Replace a worn or
damaged blade with a new one of the same type or have it sharpened by a qualified
specialist.
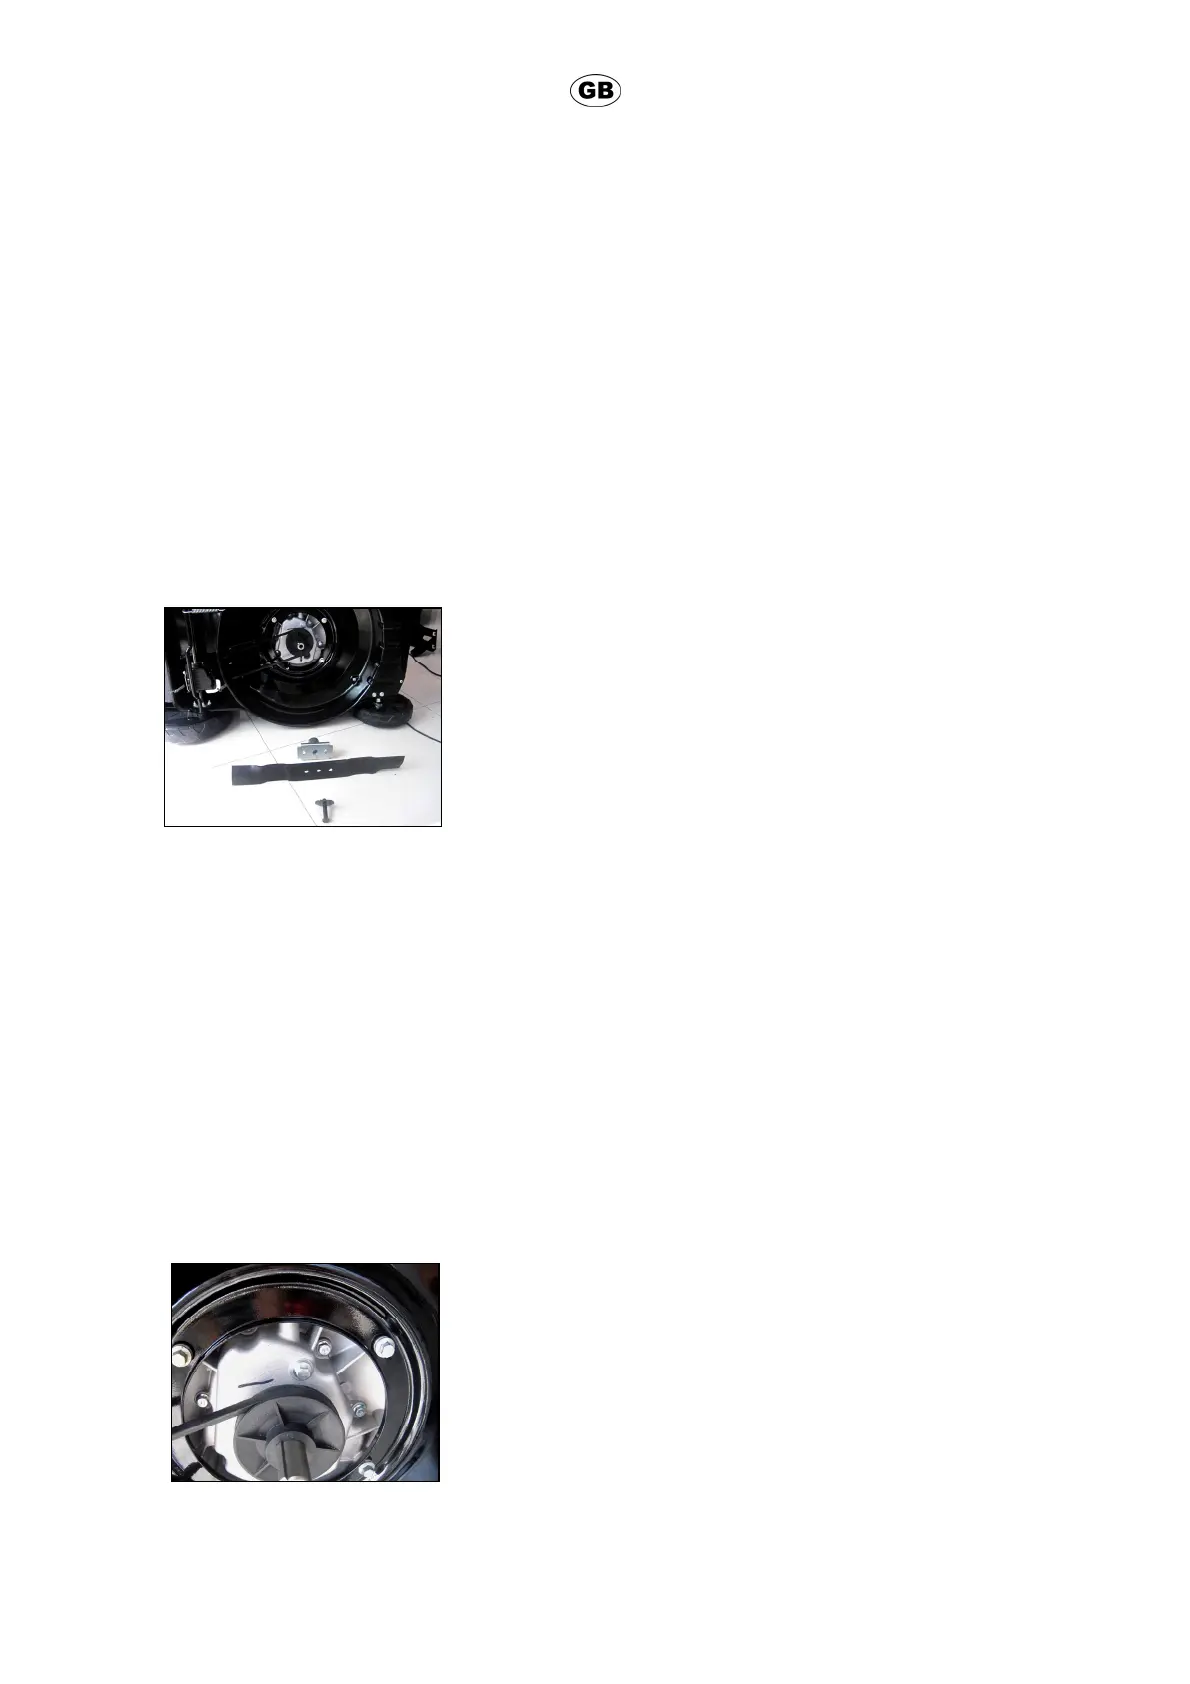
Loosen the hex bolt anticlockwise using a suitable wrench and remove it together with
the locking flange and blade (Fig. 17).
Replace the blade with a new one of the same type. Refit the locking flange and hex bolt.
Tighten the hex bolt clockwise with 50 Nm min, 70 Nm max. to ensure safe operation of
your product.
Replace this blade after 100 hours mowing. If the blade is cracked or damaged, you
must immediately replace it with a new one.
Lubricate the blade after each use to prolong the life span of the blade and product.
Apply light machine oil along the edge of the blade.
Fig. 17
8.2 Engine oil
Check
1) Unscrew and remove the oil tank cap.
2) Wipe the oil dipstick clean; refit and tighten the oil tank cap and then remove it again. The
oil level must be within the marking and oil should be clear with gold color.
3) Refill if the oil level is too low.
4) Drain oil if the oil level is too high.
5) Change the engine oil if it is sticky or brown.
Change
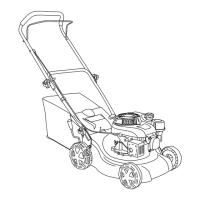
1) Place a suitable container under the oil drain screw to collect drained oil. Ensure the
container has an efficient volume.
2) Loosen the oil drain screw with a hex key and remove it (Fig. 18).
Fig. 18
3) Let the engine oil flow into the container.
oil drain screw