LS600 Installation and Operation Guide 10
www.leadsolarenergy.com
Installation Procedure
4.1 Preparation
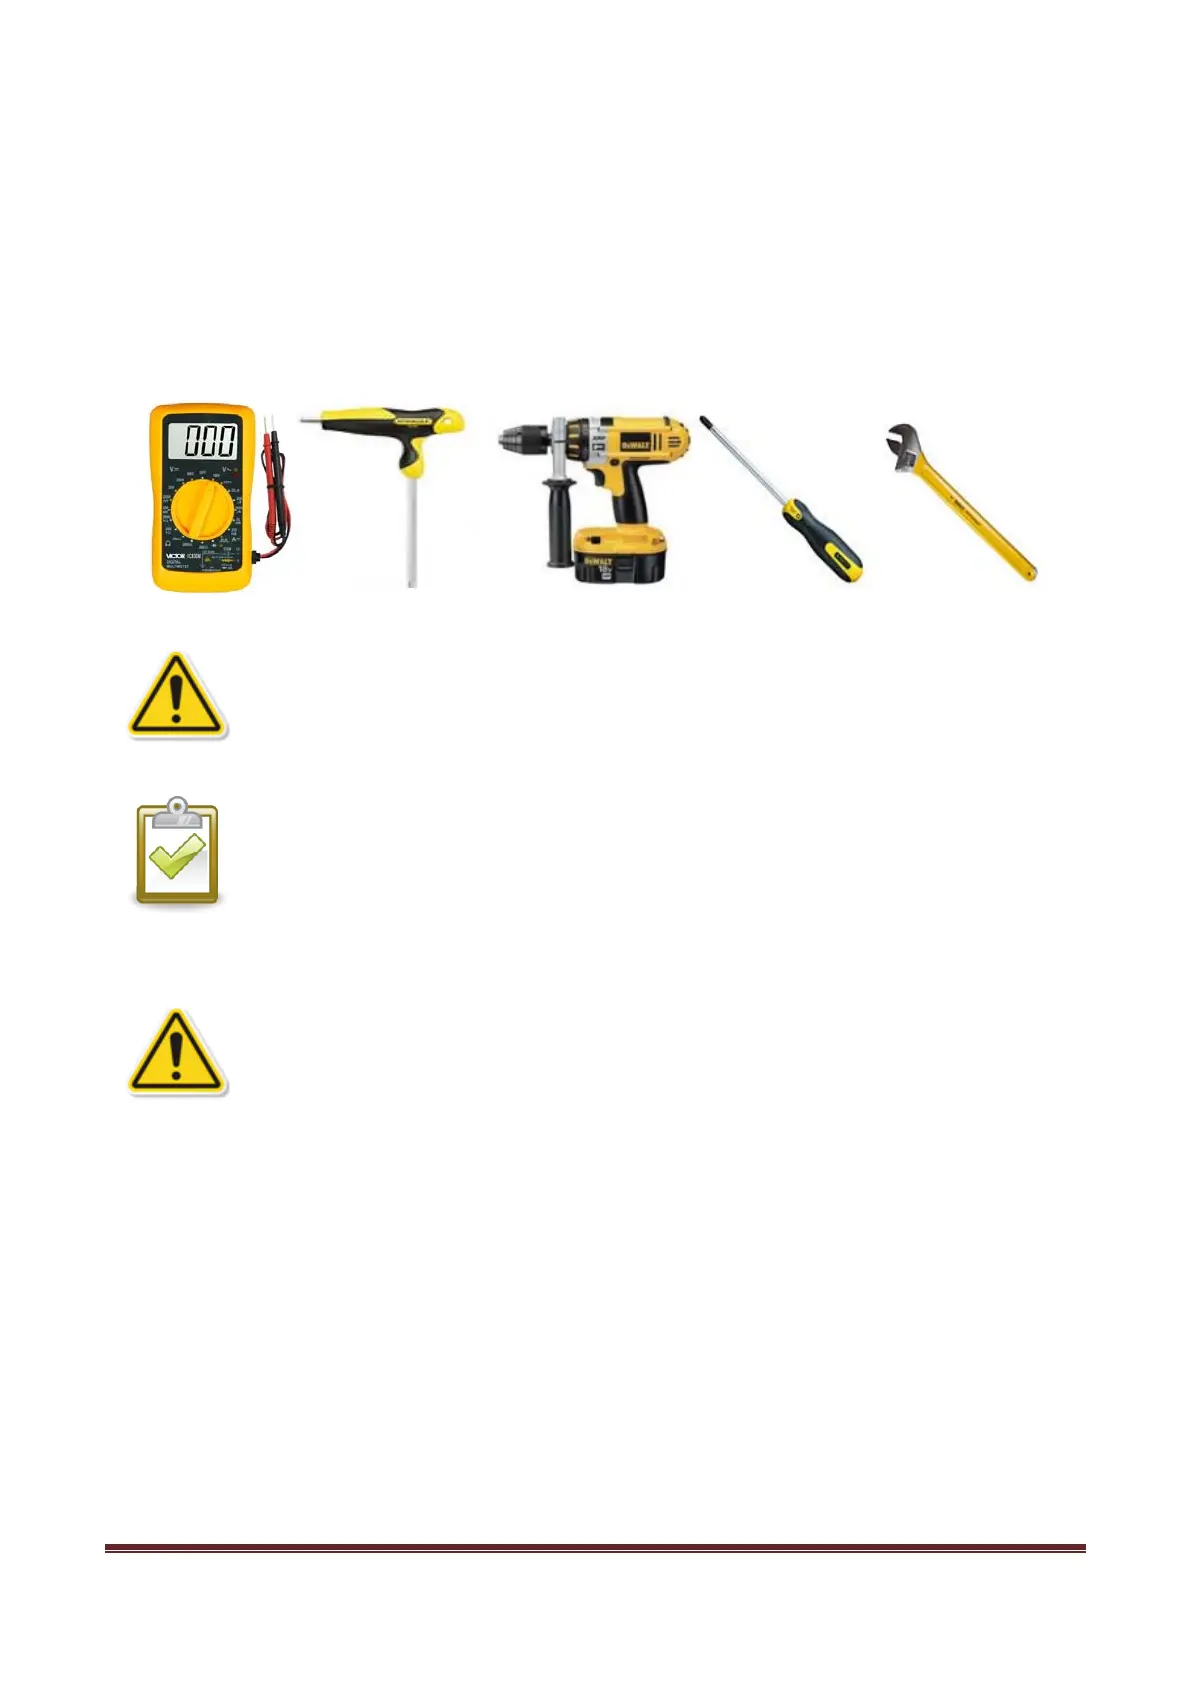
Installation tools: multimeter, allen wrench, impact drill, screwdriver and manual wrench
Make sure AC & DC plugs are drained of electrical charge before installation and
maintenance! If the DC side has recently been disconnected, capacitors will still
contain a residual charge. Wait for at least 5 minutes to ensure the capacitors are
no longer electrified
For optimal performance, inverters should be installed by a technician.
4.2 Installation
Read entire installation procedure before installing. The following procedure
must be strictly followed for a proper installation.
Step 1: Measure AC Voltage at the Point of Common Coupling (PCC) for the electrical utility
Step 2: Attach microinverters to PV Racking
Step 3: Connect microinverter’s AC cable
Step 4: Terminate unused end of AC cable for each branch.
Step 5: Install AC branch circuit junction box.
Step 6: Ground system & microinverters
Step 7: Complete the instrallation map
Step 8: Install the Link nearby the ac main
Step 9: Connect microinverters to PV modules
Step 10: Register microinverters on www.leadsolarenergy.com/register