LS600 Installation and Operation Guide 11
www.leadsolarenergy.com
DO NOT connect LeadSolar Microinverters to the utility grid to energize the AC
circuit(s) until you have completed all of the installation procedures.
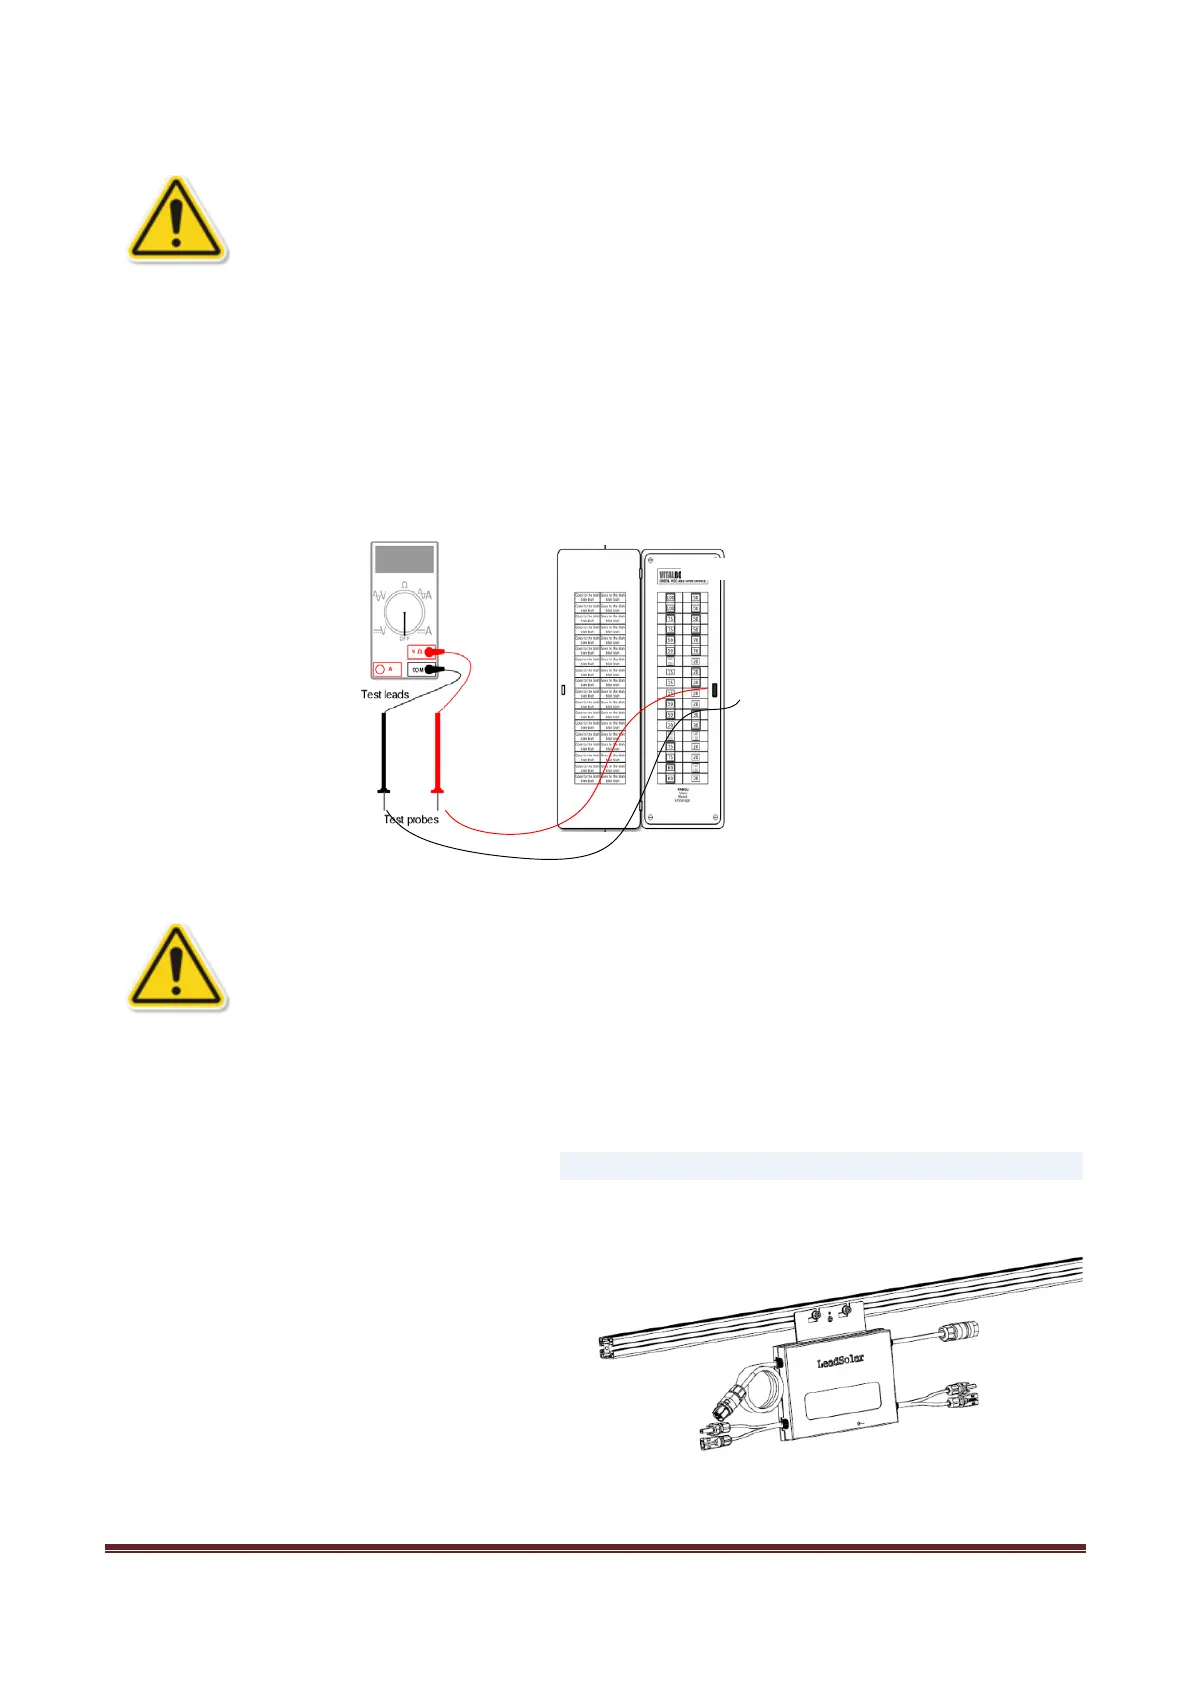
Step 1: Measure Grid AC Voltage at Electrical Utility Connection
Measure AC line voltage at the point of common utility connection coupling to ensure it is within the proper
range for the microinverter’s operation. Acceptable ranges are shown as below:
Single phase 230V AC: 195.5 – 253(EU), 210 – 260(AU)
Distribution PanelMultimeter
Check cable voltage rating before installation. For LeadSolar Quick Connect
cables, voltage rating is marked on the cable’s label. Never use cables with
insufficient voltage rating for intended use.
Step 2: Attach Microinverter to PV Racking
The position for the microinverter on the PV
racking is flexible and is usually determined
before installation.
Put the microinverter under the PV module,
out of direct sunlight. Also, leave at least
0.6in (1.5cm) clearance between the roof and
the bottom of the microinverter; and at least
0.6 in (1.5cm) clearance between the back of
the PV module and the top of the
microinverter.