Lens Calibration Guide
9
Applying a Lens Calibration
After shooting youcan applya Lens Calibration to images that were shot without
one. You can do this in both Leaf Capture and in Capture One.
After shoot – Leaf Capture
1. In Leaf Capture, select the images you would like to process.
2. In the Process panel, select Leaf Mosin the Format list.
3. Click Settings.
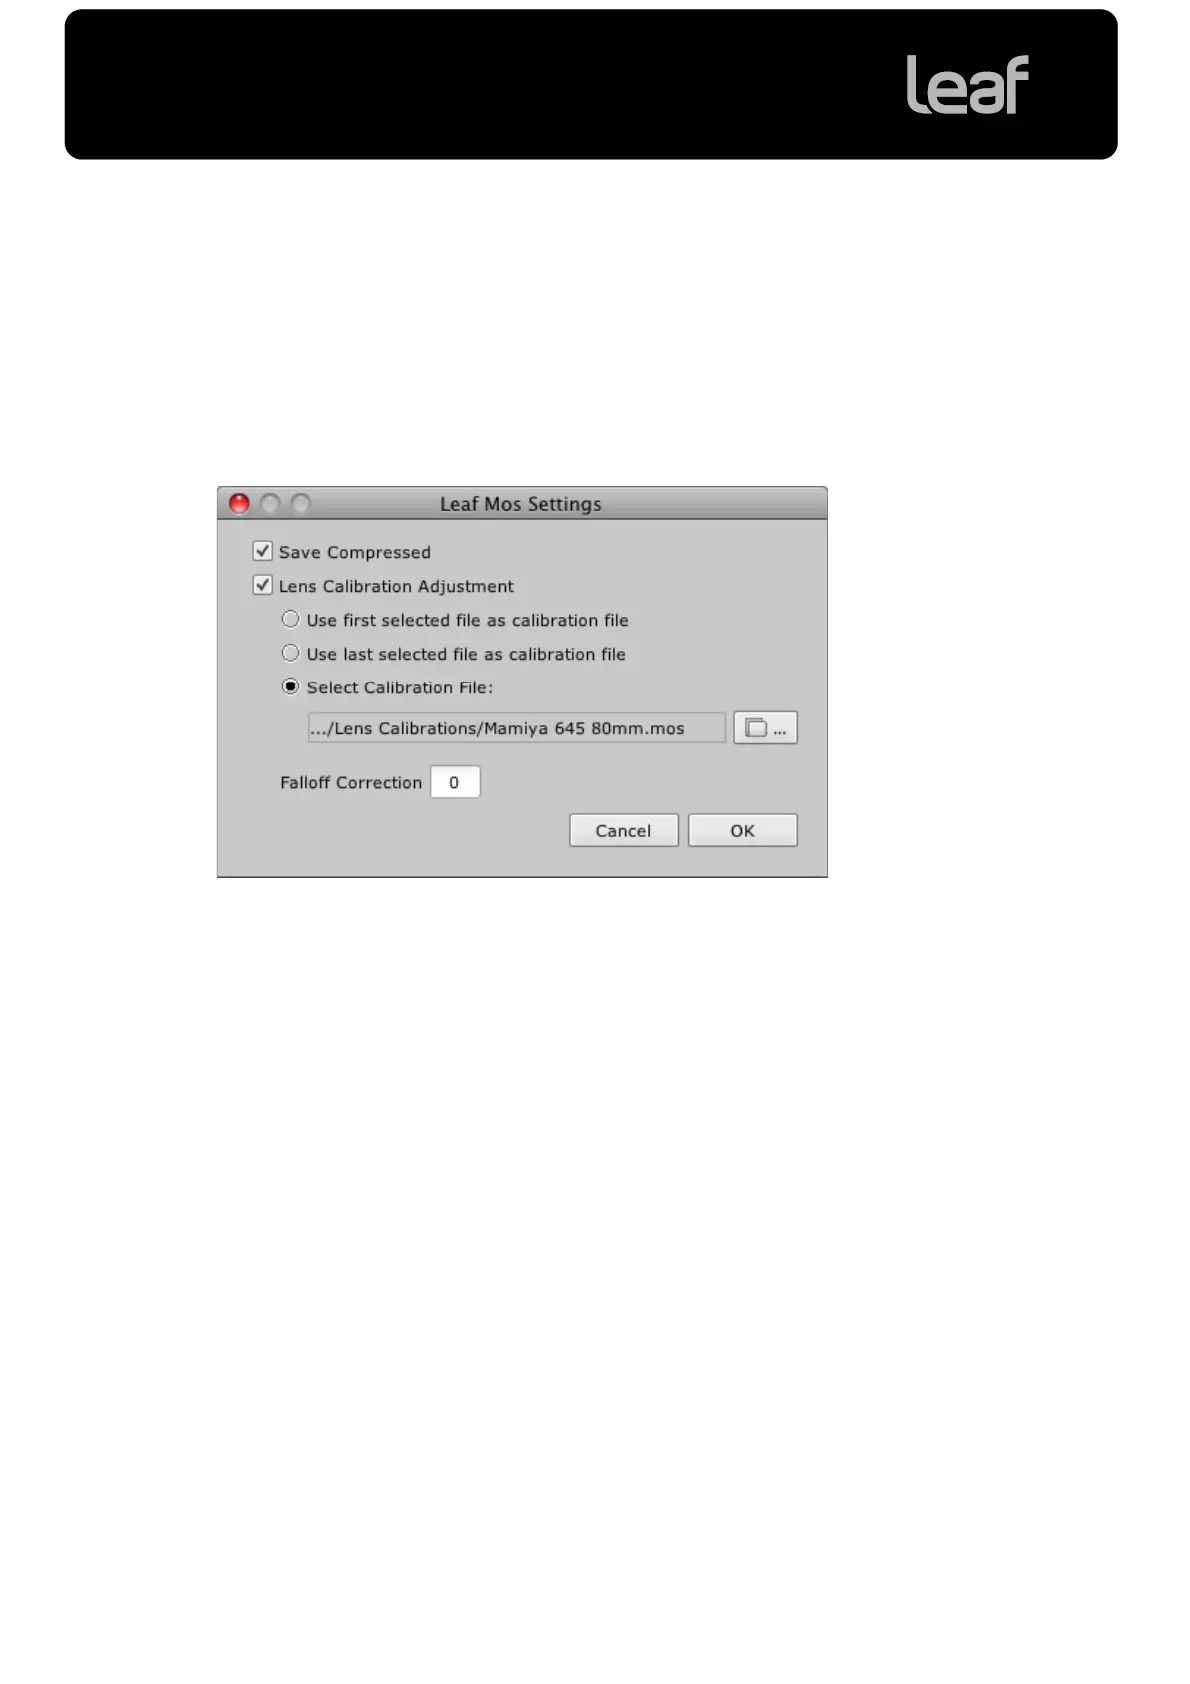
4. The Leaf Mos Settings dialog box opens.
5. To save the mos file with lossless compression, checkSave Compressed.
6. CheckLens Calibration Adjustment.
7. Select Select Calibration File and click the browse icon.
8. Select the lens calibration file for the lensused to create the image(s).
Tip: Click Lens Calibration Folder to access the default lens calibration files
folder directly.
9. In the Falloff Correction box, type the desired correction percentageto
adjust the fall off.
Note: There is no limitation to the amount of falloff correction that can be
entered in this box. It can be anything between 0 and 100%. If the resulting
image is not satisfactory, you will need to reduce the amount of falloff
correction.
10. Click OK.
Your lens calibration settings are saved.
11. Process your images to apply the lens calibration file.