www.lectrosonics.com 5
Attaching a Microphone and Adjusting Gain
1) Ensure the battery is in good condition.
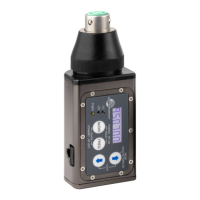
2) Insert the microphone plug into the input jack, aligning the pins; be sure
that the connector locks.
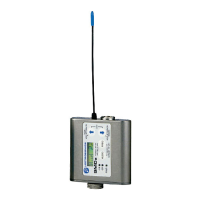
3) Attach the antenna to the SMA connector on the top of the transmitter.
4) Mute the associated receiver’s audio output.
5) Turn on the transmitter.
6) Position the microphone in the location you will use in actual operation.
While speaking or singing at the same voice level that will actually be
used, observe the Modulation LEDs. Adjust the AUDIO LEVEL control
until the –20 dB LED
glows green with oc-
casional red flickers and
-10 dB glows green.
This will set the gain
of your transmitter so
peaks are between +0
dB and +10 dB modula-
tion.
7) Once the gain has been adjusted, the mixer or recorder can be turned on
to make level adjustments.
NOTE: The transmitter Audio Level Control should not be used to
control the volume of your sound system or recorder levels. This gain
adjustment matches the transmitter gain with the user’s voice level and
microphone positioning.
Operating Notes
If the audio level is too high — both LEDs will blink red frequently or glow a
steady red. This condition may reduce the dynamic range of the audio signal.
If the audio level is too low — neither LED will glow, or only the -20 LED will
glow green. This condition may cause hiss and noise in the audio.
Different voices will usually require different settings of the AUDIO LEVEL
control, so check this adjustment as each new person uses the system. If
several different people will be using the transmitter and there is no time to
make the adjustment for each individual, adjust it for the loudest voice.
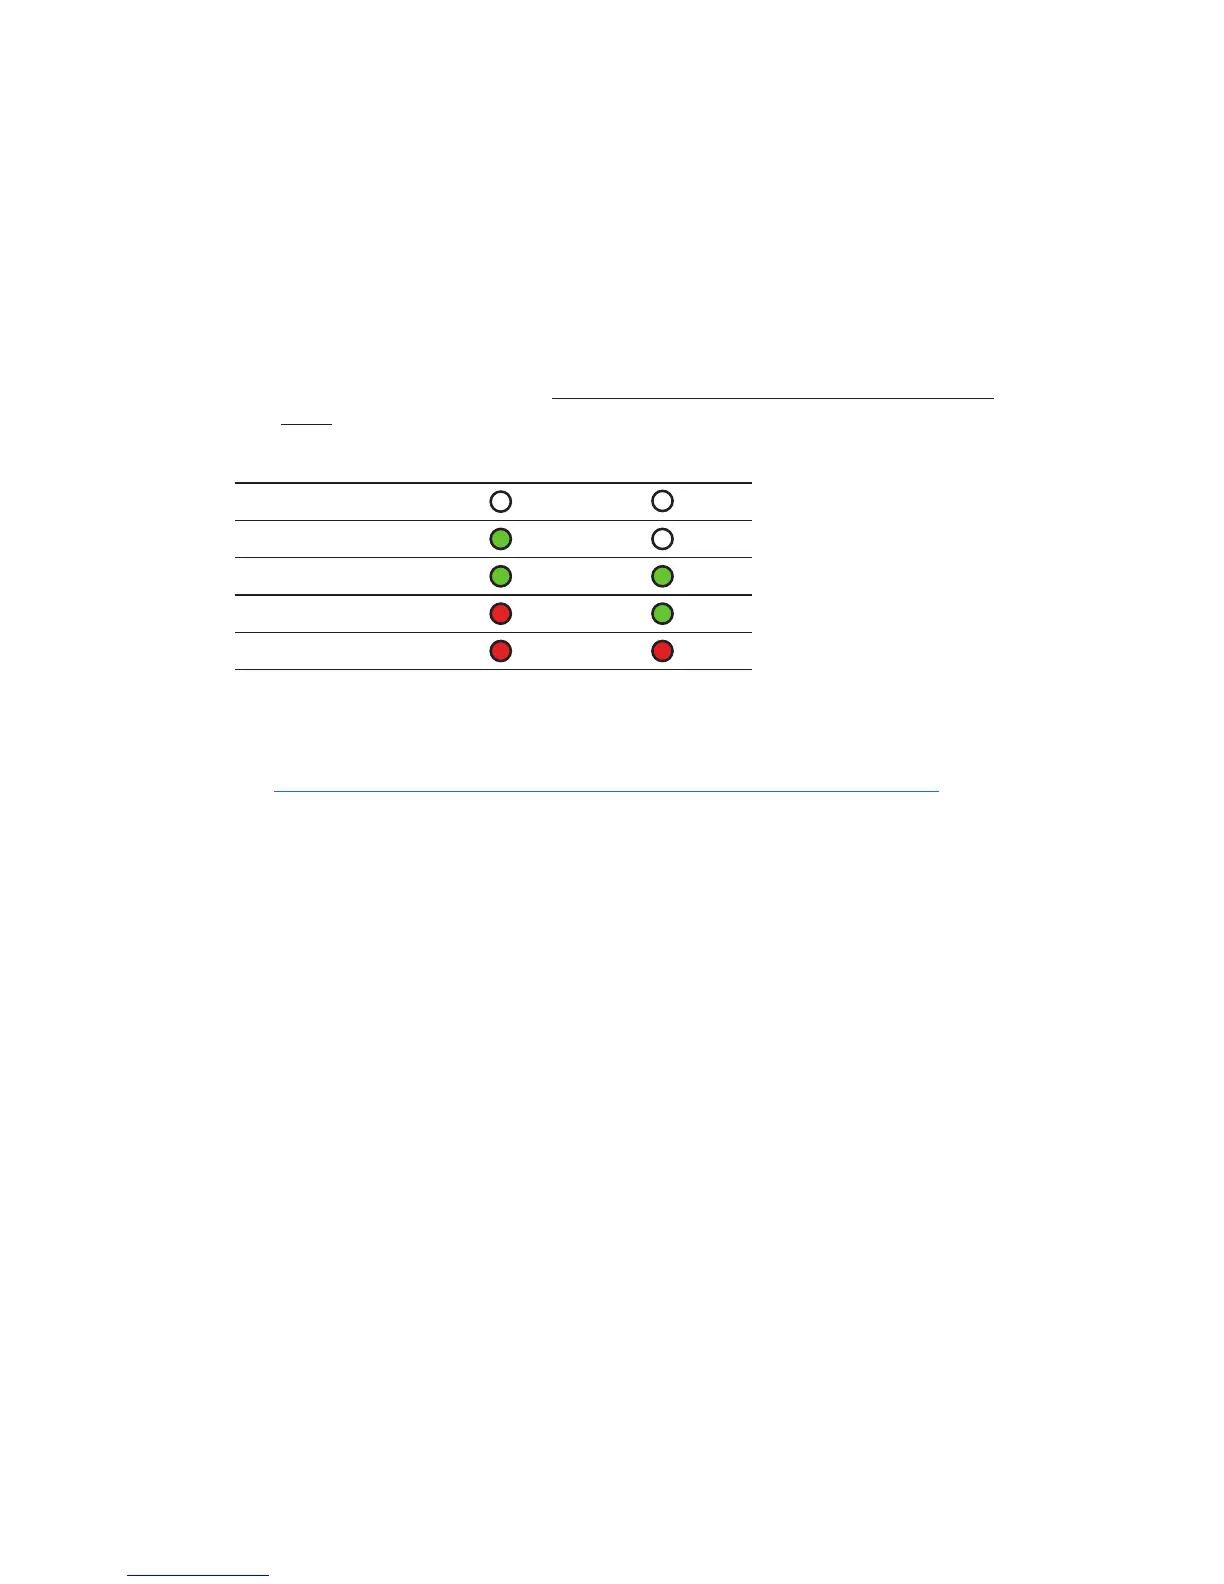
SignalLevel -20LED -10LED
Less than -20 dB
Off Off
-20 dB to -10 dB
Green Off
-10 dB to +0 dB
Green Green
+0 dB to +10 dB
Red Green
Greater than +10 dB
Red Red