Do you have a question about the Leica GPS1200 and is the answer not in the manual?
Details the function of each key on the instrument's keyboard for operation.
Describes the elements and layout of the instrument's display screen interface.
Explains how to operate the instrument using the keyboard and touch screen.
Defines icons for status information and basic receiver functions.
Provides information regarding settings and status indicators displayed on the instrument.
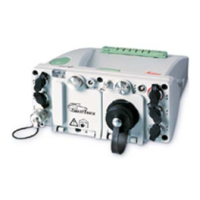
Details the location and function of all receiver ports on the front panel for connectivity.
Describes equipment setup for static operations on fixed surveying pillars.
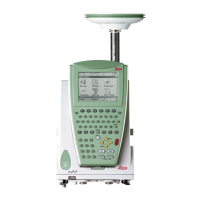
Details equipment setup for real-time reference stations using a single tripod.
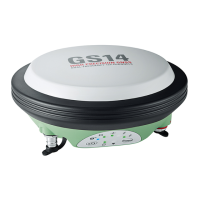
Details equipment setup for real-time reference stations using SmartAntenna, RX1250 and GHT56.
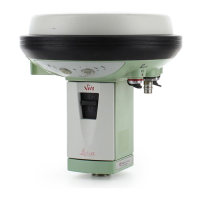
Explains equipment setup for real-time rover use with SmartAntenna, RX1250, GHT56 and external radio.
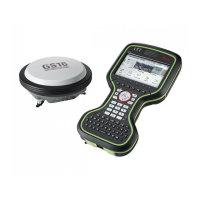
Explains equipment setup for real-time rover use with extended field periods using pole and minipack.
Covers the required interface configurations based on the type of equipment setup.
Step-by-step guide for configuring the SmartAntenna interface via Bluetooth or USB.
Instructions for configuring the clip-on interface for radio or digital cellular phones.
Defines the antenna and the default height for antenna measurements.
Configures satellite systems, satellites, and signals used by the receiver.
Defines instrument startup behavior, power loss recovery, and PIN code settings.
Allows configuration of real-time parameters, including reference or rover modes.
Details how to configure the real-time interface for reference operations.
Explains how to configure the real-time interface for rover operations.
Used to send measurement data from the SmartAntenna to the RX1250 via port and device.
Allows formatting the CompactFlash card, internal memory, and System RAM, erasing all data.
Shows information related to satellites ordered by elevation angle.
Displays information related to real-time data received from reference or rover.
Shows current antenna position, speed, and baseline vector information.
Provides information related to logging of raw observations and ring buffer status.
Shows information on time required and spent at a point during occupation.
Displays the percentage of remaining power capacity for batteries and memory usage.
Guides on configuring internet access for using the NTRIP service.
Step-by-step process to configure internet access, including GPRS/Internet device setup.
Explains how to use the NTRIP service to connect to a server and receive real-time data.
Explains how to use the NTRIP service to connect to a server and receive real-time data.
| GPS L1/L2 | Yes |
|---|---|
| GLONASS L1/L2 | Yes |
| SBAS | Yes |
| Update Rate | Up to 20 Hz |
| Protection Rating | IP67 |
| Frequency | L1, L2 |
| Communication | RS232, Bluetooth |