Pag. 8
ENGLISH
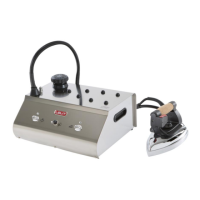
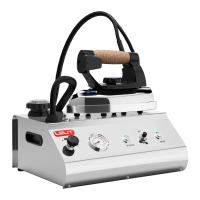
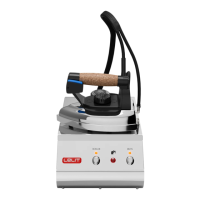
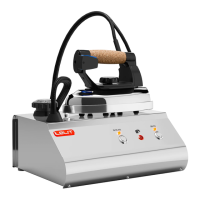
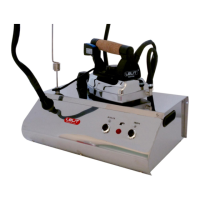
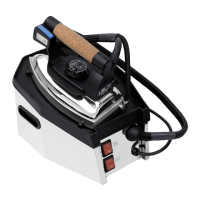
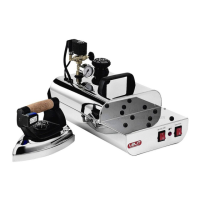
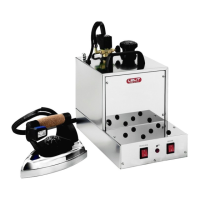
COMPONENTS:
1. Safety cap
2. Wand seat
3. Iron switch with led
4. Boiler switch with led
5. Low water indicator light
6. Button for rearming the thermostat
7. \
8. \
9. Iron plate temperature regulating knob
10. Steam switch
11. Handles
IMPORTANT:
✓ This product has been built to be used with TAP WATER ONLY. The use of demineralised water or
water with perfumes and/or additives can cause the malfunctioning of the product. Such a use will
make the warranty period immediately cease.
✓ To keep the boiler clean from limestone, rinse it periodically (every 15/20 litres of water used or once a
month). Rinse it with tap water only.
✓ Before using the unit please make sure that voltage and power are accordingly with those indicated on the
technical data label of the machine.
USER INSTRUCTIONS:
1. Remove the ironing machine from its packing, holding it with its handles (11) and make sure all packing
parts have been taken off (including the protection bags).
2. Lay the machine on a flat and steady surface fitted to support it next to a wall socket (max. mt. 1,5).
3. It is recommended to lay the iron on the supplied pad.
4. Insert in the right seat (2) the supplied wand to hold the hose up and hook it with the spring up to the
iron-boiler connecting wire.
5. Unscrew the safety cap (1) and let the internal air out. Fill the boiler with max. 1.1 litre of water for
model PS321 or 2.1 litre of water for model PS325, using the supplied funnel and making sure that you
are not overfilling the tank.
6. Close the safety cap (1).
7. Insert the plug into the main supply point; turn on the boiler (4) and iron switch (3). The relative leds
will go on, confirming that the machine is on.
8. Turn the iron plate’s temperature regulating knob (9) to the position “cotton °°°” (indicated on the iron
knob).
9. Wait till the boiler switch’s red light (4) goes off (it takes about 10 minutes for the model PS321 and 15
minutes for the model PS325). The machine is ready for use.
10. Press the steam switch (10) to iron with steam.
11. When you first press the steam switch you might notice a decrease in pressure. To have plenty of steam
wait till the boiler switch indicator light (4) goes off.
12. During ironing, the boiler led (4) might go on every now and again. This is normal.
13. In case the steam stops during ironing and the low water light indicator (5) comes on, it means that
there is not enough water in the tank to continue ironing. Please proceed as follows:
a. Turn off the boiler switch (4)
b. Press the steam iron switch (10) to make sure that there is no more steam in the boiler
c. Turn off the iron switch (3)
d. Unplug the machine
e. Slowly unscrew the security cap (1), making sure that no more steam comes out.
f. After a few minutes fill the boiler with possibly warm water (max quantity as above indicated per
each model), using the supplied funnel and making sure that you are not overfilling the tank.
g. Close the security cap (1)
h. Press the button for rearming the thermostat (6)
i. Start over again from point 7 of the present manual
 Loading...