15
iComfort S30 Ultra Smart Thermostat - Installer Zoning
Control Settings
Zone Control Settings during Thermostat Initial Commissioning
If zoning control was added during initial installation of the S30 control system.
Perform the following steps:
1. Navigate through the various commissioning screens until you reach
Equipment Found screen. Verify that a Zone Control icon is present. If
so, the system has detected the equipment. Press continue to proceed.
NOTE: If zoning control is not listed, verify installation of the damper control
module and all wiring connections. Make any corrections required and
run Re-Congure System feature again.
2. When the iHarmony Zoning screen appears, select each zone listed to
rename it if desired. The system provides predene names or a custom
name can be added. Press done when completed and press continue
to proceed.
NOTE: If a particular zone is missing from the list, verify that the zone sensor
wiring is correct and that the zone address is set correctly on both
types of zone sensors (17A30 and 10C17).
3. The Verify Airow Per Zone screen will appear. Make the requirement
CFM adjustment for each zone on this screen. When done, press continue
to proceed.
Zone Control Settings after Thermostat Initial Commissioning
If zoning control was added to an existing S30 control system. Perform the
following steps:
1. Form the home screen, select the Menu Icon
2. Select Settings
3. Select Advanced Settings
4. Select View Dealer Control Center
5. Select Equipment
6. Select Reset
7. Select Re-Congure System. This will instruct the thermostat to scan for
new equipment.
8. Navigate through the various commissioning screens until you reach
Equipment Found screen. Verify that a Zone Control icon is present.
If present, the system has detected the equipment. Press continue to
proceed.
NOTE: If zoning control is not listed, verify installation of the damper control
module and all wiring connections. Make any corrections required and
run Re-Congure System feature again.
9. When the iHarmony Zoning screen appears, select each zone listed to
rename it if desired. The system provides predene names or a custom
name can be added. Press done when completed and press continue to
proceed.
NOTE: If a particular zone is missing from the list, verify that the zone sensor
wiring is correct and that the zone address is set correctly on both
types of zone sensors (17A30 and 10C17).
10. The Verify Airow Per Zone screen will appear. Make the requirement
CFM adjustment for each zone on this screen. When done, press continue
to proceed.
Changing Zone Name
If at a later time the zone name needs to be change, use the following procedure
to do so.
1. From the Home screen, select the Menu icon in the upper right-hand
corner of the screen.
2. Press settings.
3. Press iHarmony zoning to bring up the zone list. To rename each zone,
select the applicable zone.
4. Enter the new zone name by pressing on the zone name led on the right
side of the screen.
5. When done, select <iHarmony Zoning to return to the previous screen.
6. Repeat the above procedure to rename any additional zones.
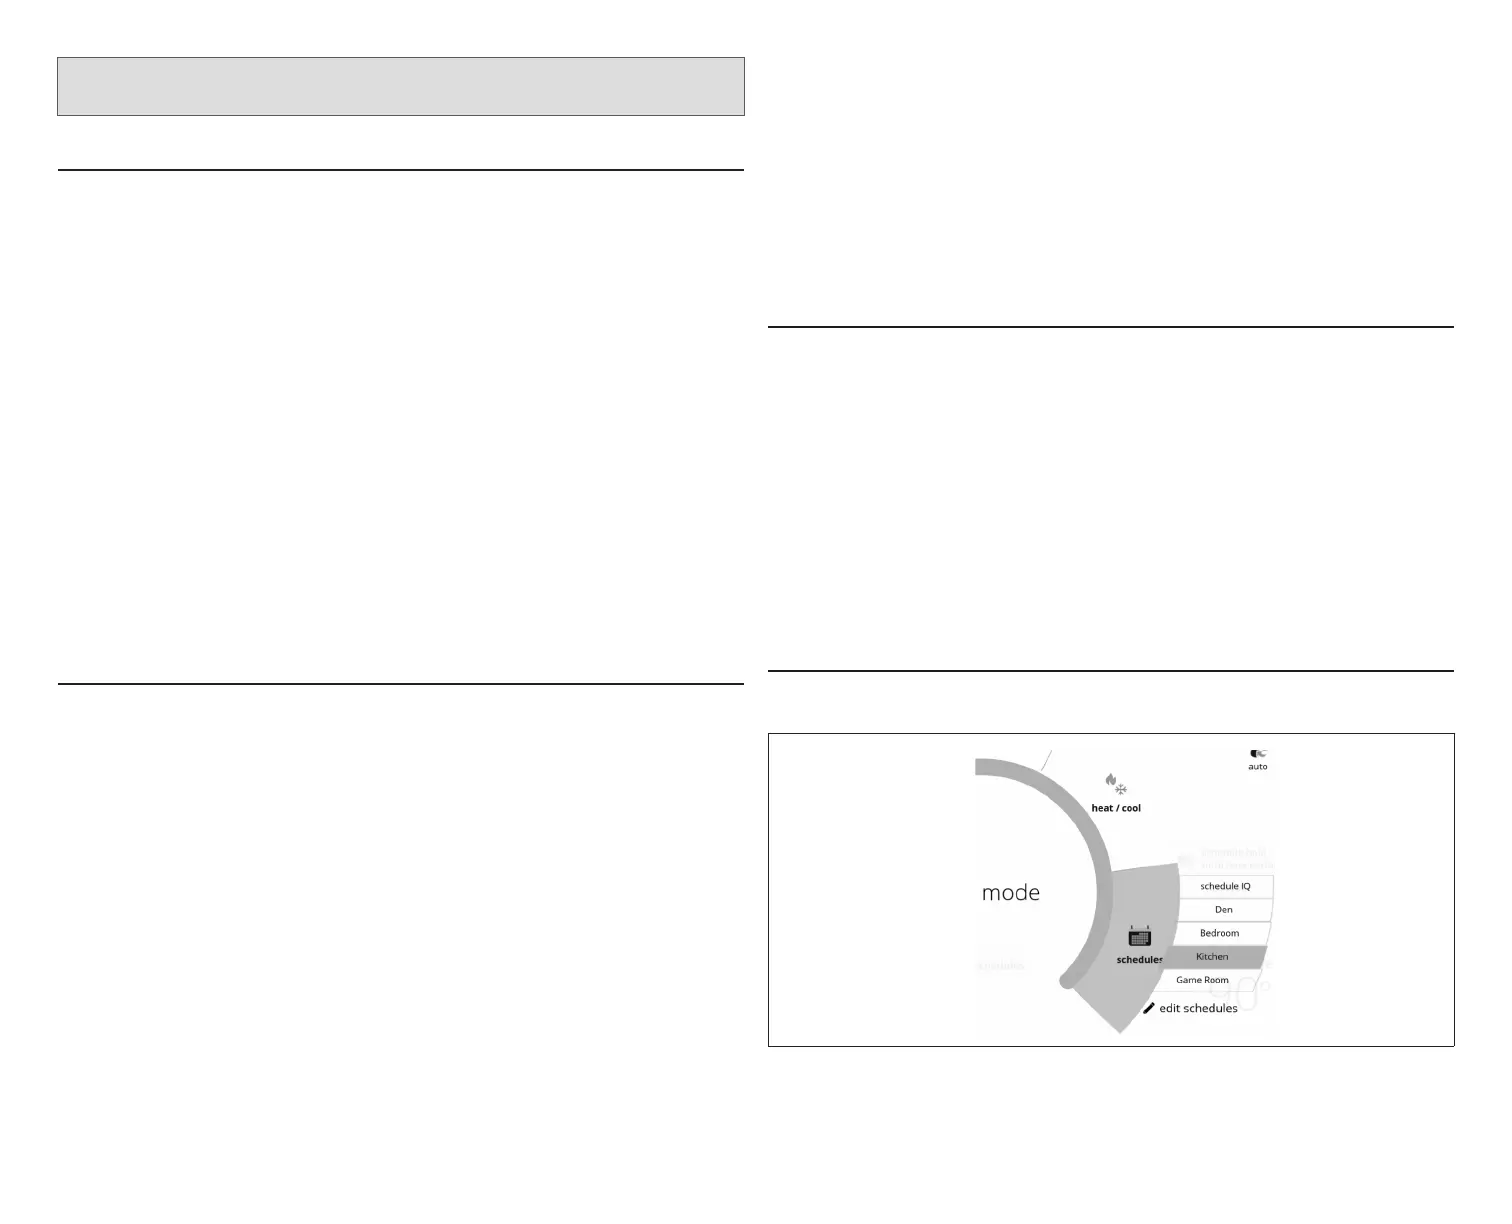
Setting Up Scheduling for Each Zone
To setup up schedule for each zone, perform the following:
Figure 8. Unique Schedule for a Specic Zone
1. From the master thermostat’s home screen, swipe from right side of the
screen to the left to navigate through each zone screen.
 Loading...