Page 7
7- From the back side of the unit, pull the drain pan
coupling through the rear condensate opening.
8- Replace the condensate drain mullion and reinstall
eight screws.
9- Reinstall access doors.
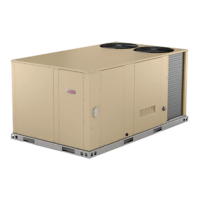
FIGURE 4
UNIT
Minimum Pitch
1” (25 mm) per 10'
(3 m) of line
MOUNTING
FRAME
CONDENSATE BOTTOM DRAIN CONNECTION
OPEN VENT
CAULK AROUND
CONDENSATE COUPLING
DRAIN PAN
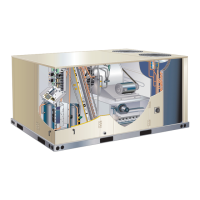
FIGURE 5
CONDENSATE
DRAIN MULLION
HEAT
ACCESS DOOR
FILTER
ACCESS DOOR
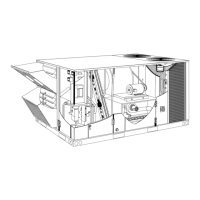
FIGURE 6
DRAIN PAN
Bottom Drain Connection
1- Remove heat access door. See figure 5.
2- Remove filter access door.
3- Remove eight screws holding condensate drain
mullion and remove mullion.
4- Lift front edge of the drain pan (to clear bottom drain
plug) and slide drain pan out of unit. See figure 6.
5- Turn the drain pan upside down and drill a pilot hole
through the bottom of the drain pan in the center of
the coupling. See figure 7.
6- From the inside of the pan, use a Vari-Bit
®
bit to
enlarge the hole to 7/8”. Do not damage coupling
threads.
7- Remove the cap over the unit bottom drain hole.
8- Slide the drain pan back into the unit.
9- From the back side of the unit, pull the drain pan
coupling through the rear condensate opening.
10- From the front side of the unit, move the drain pan
until the bottom coupling settles into the unit bottom
drain opening. Once in place, check to make sure the
coupling is still positioned through the rear
condensate drain hole.
11- Use a field-provided 1” plug to seal side drain
connection.
12- Replace the condensate drain mullion and reinstall
eight screws.
13- Reinstall access doors.
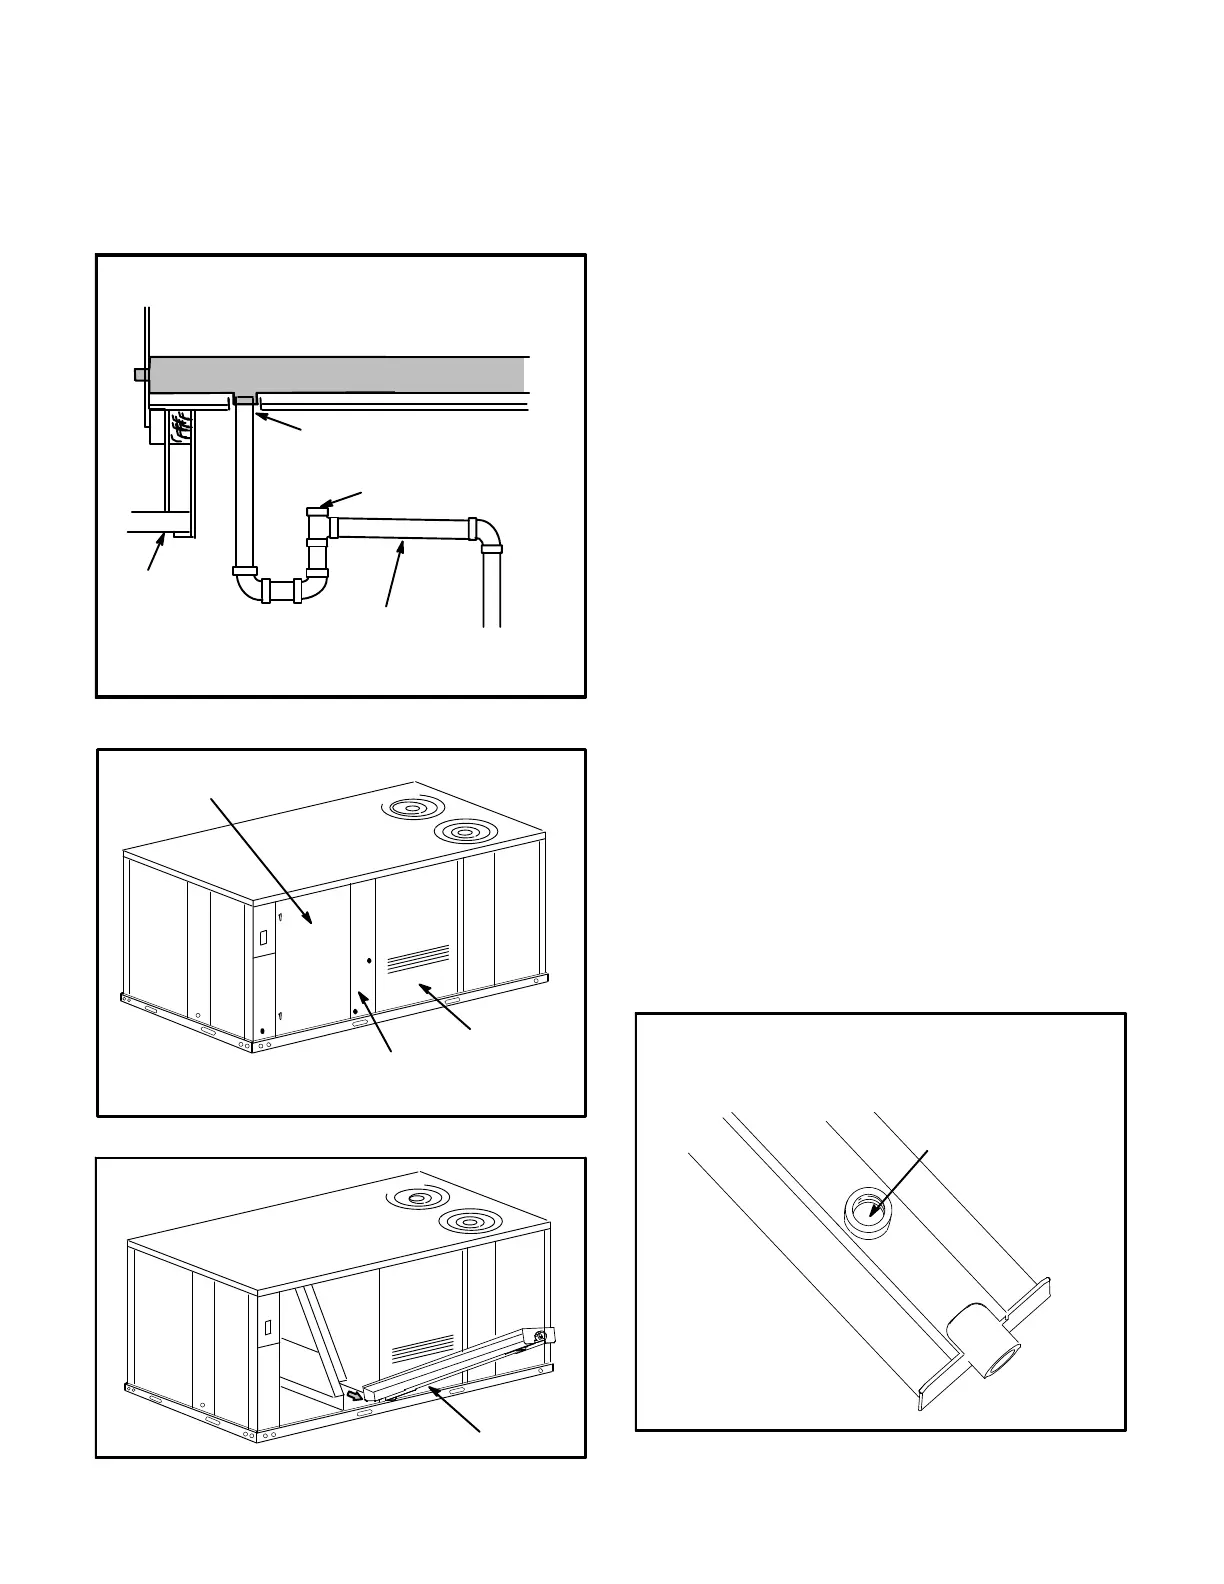
FIGURE 7
BOTTOM CONDENSATE DRAIN
DRILL A PILOT
HOLE IN CENTER
OF COUPLING
After drilling the pilot
hole, drill a 7/8” hole from
the inside of the pan.
CAUTION: Be careful not to
damage the coupling threads
when drilling the hole.
 Loading...