7
4. Seal the cable entrance to the controller cas-
ing and any wall penetrations to prevent water
Figure 12. Select Cable Route
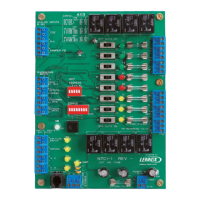
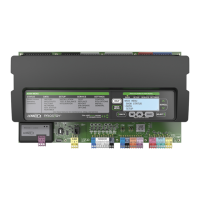
PCB
PCB
PCB
1
1
1
2
3
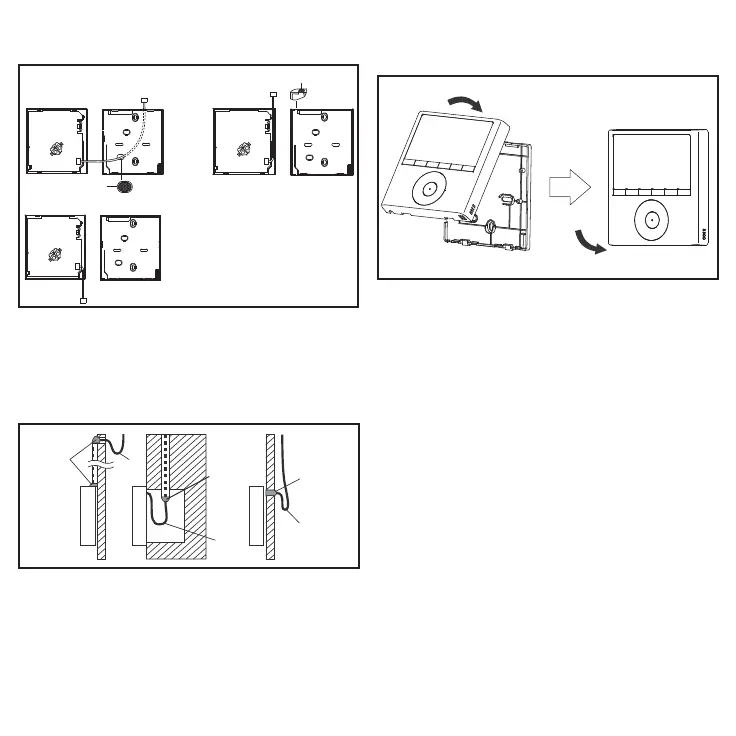
¹Use snips to notch the
controller casing to allow
the cable to pass through.
from entering the controller.
5. Reattach the controller to the back plate. Be
careful not to pinch or bind the wires.
Figure 13. Prevent Water from Entering
Controller Casing
Sealant
Drip
Loop
Drip
Loop
Drip
Loop
Sealant
Sealant
Figure 14. Reattach Controller to Back Plate