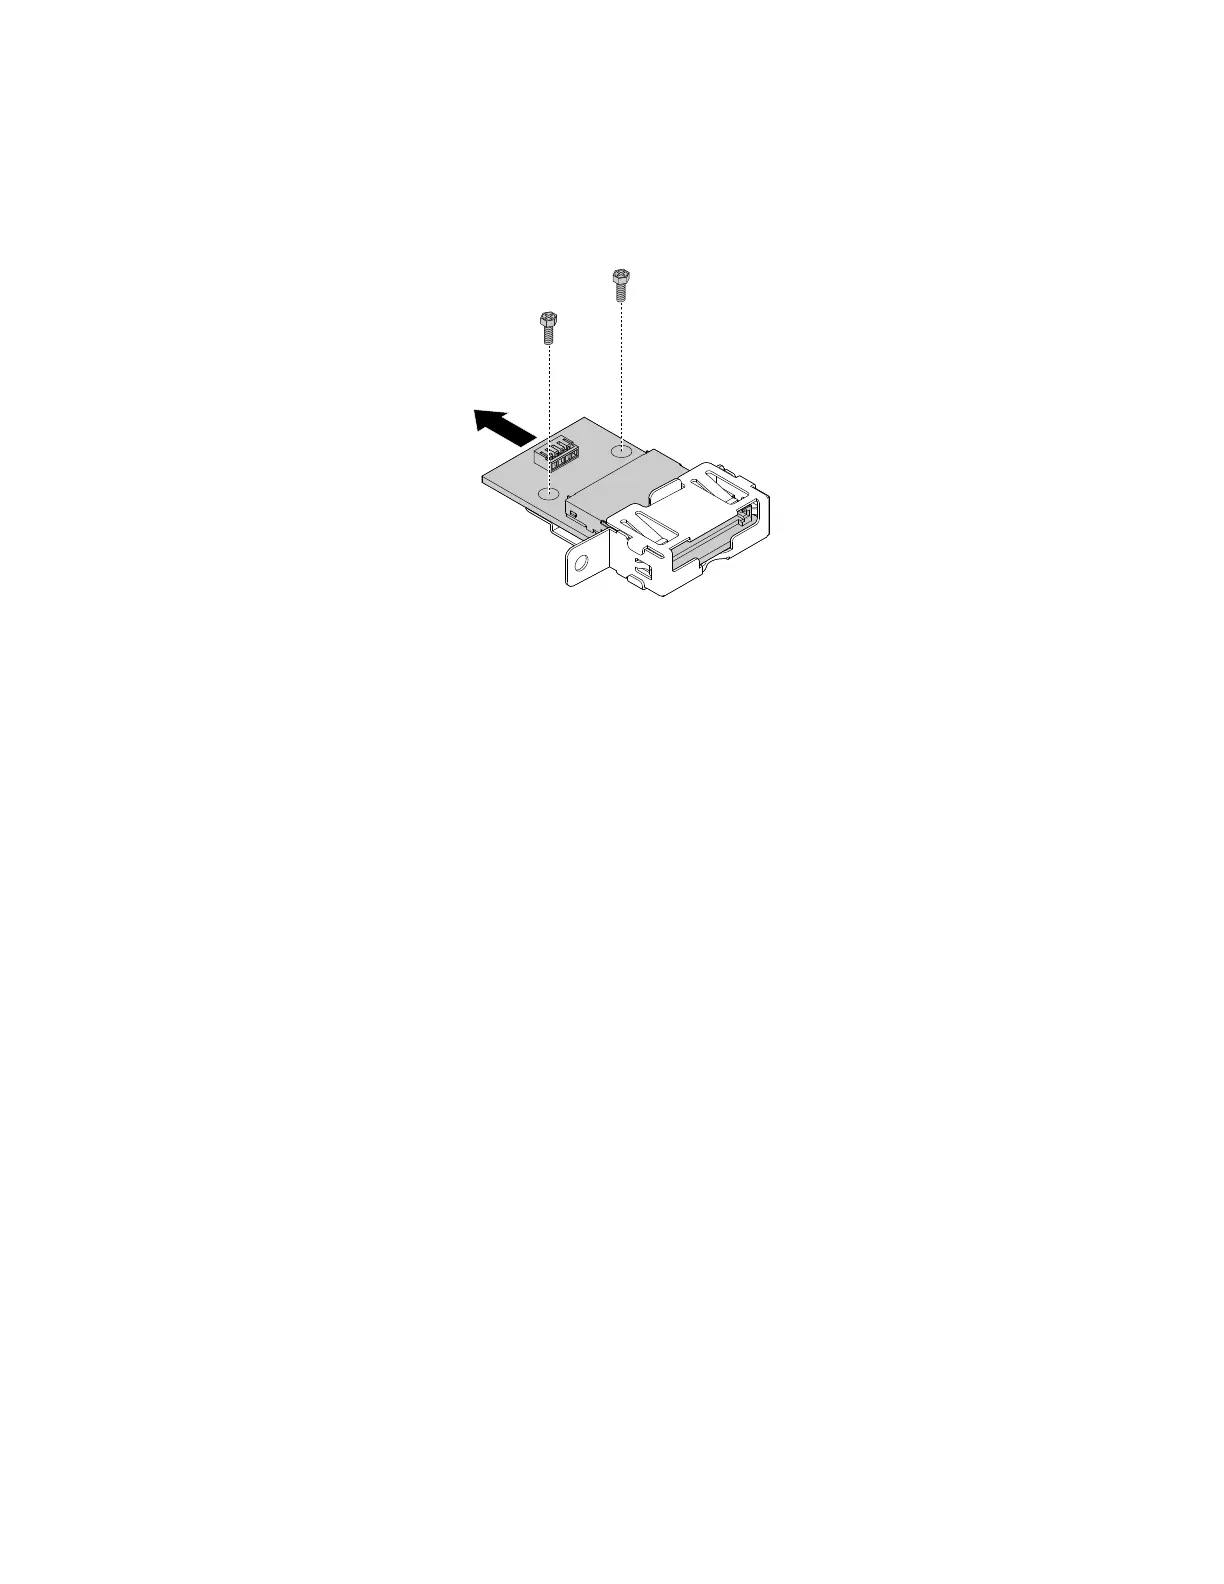
9.Removethetwoscrewsthatsecurethecardreadertothebracket,andthenslidethecardreader
fromthebracket.
Note:Touchonlytheedgesofthecardreader.Donottouchthecircuitboardofit.
Figure14.Removingthecardreaderfromthebracket
10.Alignthenewcardreaderinthecardreaderbracketandslidethecardreaderintotherailuntilitstops.
Then,installthetwoscrewstosecurethenewcardreadertothebracket.
11.Routethecableofthenewcardreaderthroughthecorrespondingholeforthecardreaderbracketin
thefrontofthechassis.
12.Installthecardreaderbracketintothechassissothattheholeinthebracketisalignedwiththe
correspondingholeinthechassis.Then,Installthescrewtosecurethecardreaderbrackettothe
chassis.
13.Reconnectthenewcardreadercabletothesystemboard.See“Partsonthesystemboard”onpage33.
14.Reinstallthestoragedrive.See“Replacingthestoragedrive”onpage51.
15.Reinstalltheopticaldrive.See“Replacingtheopticaldrive”onpage49.
16.Reinstallthefrontbezel.See“Replacingthefrontbezel”onpage48.
Whattodonext:
•Toworkwithanotherpieceofhardware,gototheappropriatesection.
•Tocompletetheinstallationorreplacement,goto“Completingthepartsreplacement”onpage74.
ReplacingthefrontaudioandUSBassembly
Attention:DonotopenyourcomputerorattemptanyrepairbeforereadingandunderstandingtheChapter
1“Readthisfirst:Importantsafetyinformation”onpage1.
ToreplacethefrontaudioandUSBassembly,dothefollowing:
1.Removeanymediafromthedrivesandturnoffallconnecteddevicesandthecomputer.Then,
disconnectallpowercordsfromelectricaloutletsanddisconnectallcablesthatareconnectedtothe
computer.
2.Removethecomputercover.See“Removingthecomputercover”onpage48.
3.Removethefrontbezel.See“Replacingthefrontbezel”onpage48.
4.Removetheopticaldrive.See“Replacingtheopticaldrive”onpage49.
5.Removethestoragedrive.See“Replacingthestoragedrive”onpage51.
54ideacentre510SHardwareMaintenanceManual
 Loading...