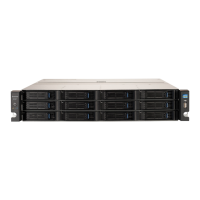
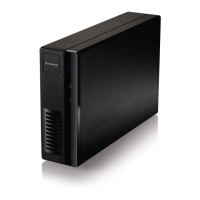
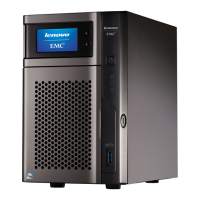
Setup Overview
Setup with your px2-300d Network Storage is easy. Remove it from the box, connect it to your network
switch or hub, and then power it up. Launch a web browser and enter the setup URL identified in the Quick
Start Guide. LenovoEMC Setup launches and displays a message that your px2-300d is online and ready
to use.
You then can install client software that includes:
● LenovoEMC Storage Manager
● Twonky Media Server for media aggregation
LenovoEMC Storage Manager is a management tool that helps you discover your px2-300d on your
network to simplify access to content on your px2-300d from your computer. It also allows you to add your
computer as a trusted device to a LenovoEMC Personal Cloud. Refer to LenovoEMC Storage Manager
online help for additional information. Twonky Media Server consolidates all media files on devices on your
network and presents them in a unified view.
From LenovoEMC Setup, you can optionally create a Personal Cloud or begin using your px2-300d by
clicking Manage My Device.
By default, the px2-300d will attempt to acquire an IP address from DHCP, If there is not a DHCP
server available on the network, the px2-300d will use an IP address in the self-assigned APIPA
range (169.254.x.x).
Setting up Your px2-300d Network Storage
2 Setup Overview
 Loading...