4. If you removed the server cover, replace it:
a. Make sure that all internal cables are correctly routed.
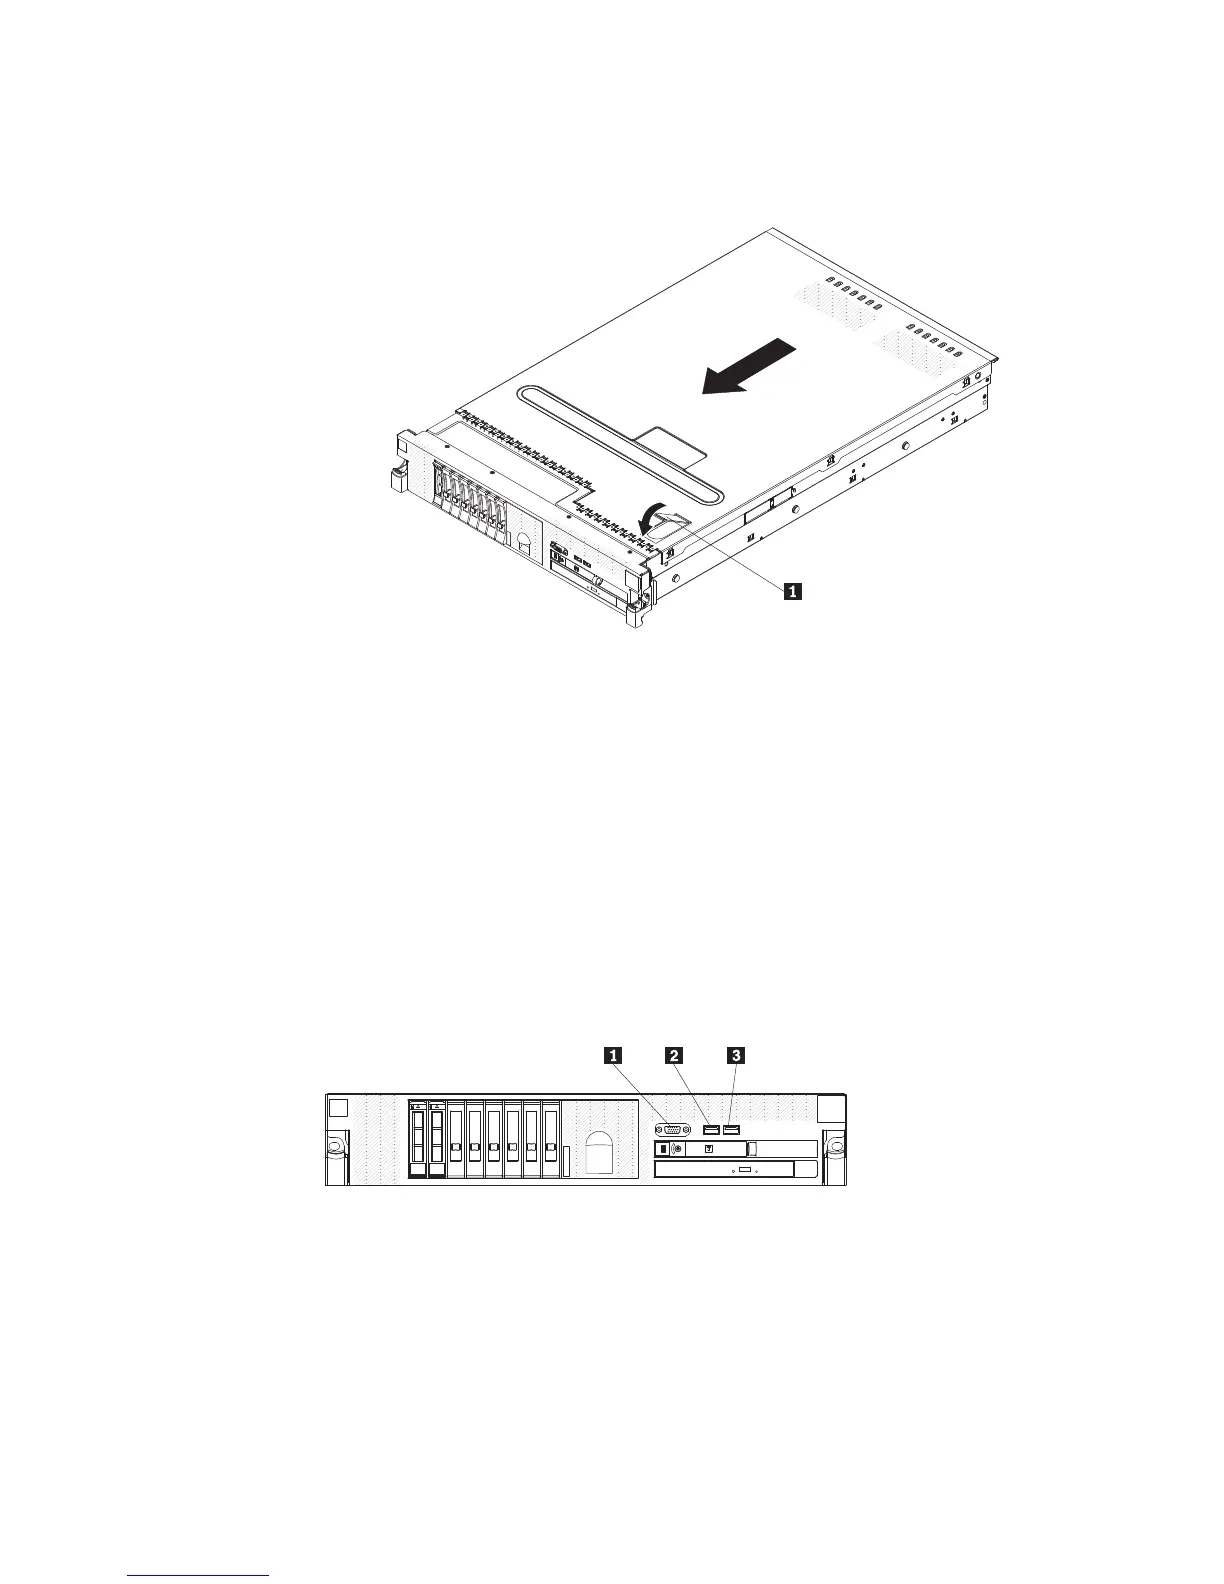
b. Place the cover-release latch 1 in the open (up) position.
c. Insert the bottom tabs of the top cover into the matching slots in the server
chassis.
d. Press down on the cover-release latch to slide the cover forward and lock
the cover in place.
e. Slide the server into the rack.
5. Install the server in a rack. See the Rack Installation Instructions that come with
the server for complete rack installation and removal instructions.
6. To attach peripheral devices and connect the power cords, see “Connecting the
cables.”
Connecting the cables
The following illustrations show the locations of the input and output connectors on
the front and rear of the server.
Front view
1 Video connector
2 USB 1 connector
3 USB 2 connector
Rear view
228 ThinkServer RD220 Types 3729, 3779, 3797, and 3798: Hardware Maintenance Manual