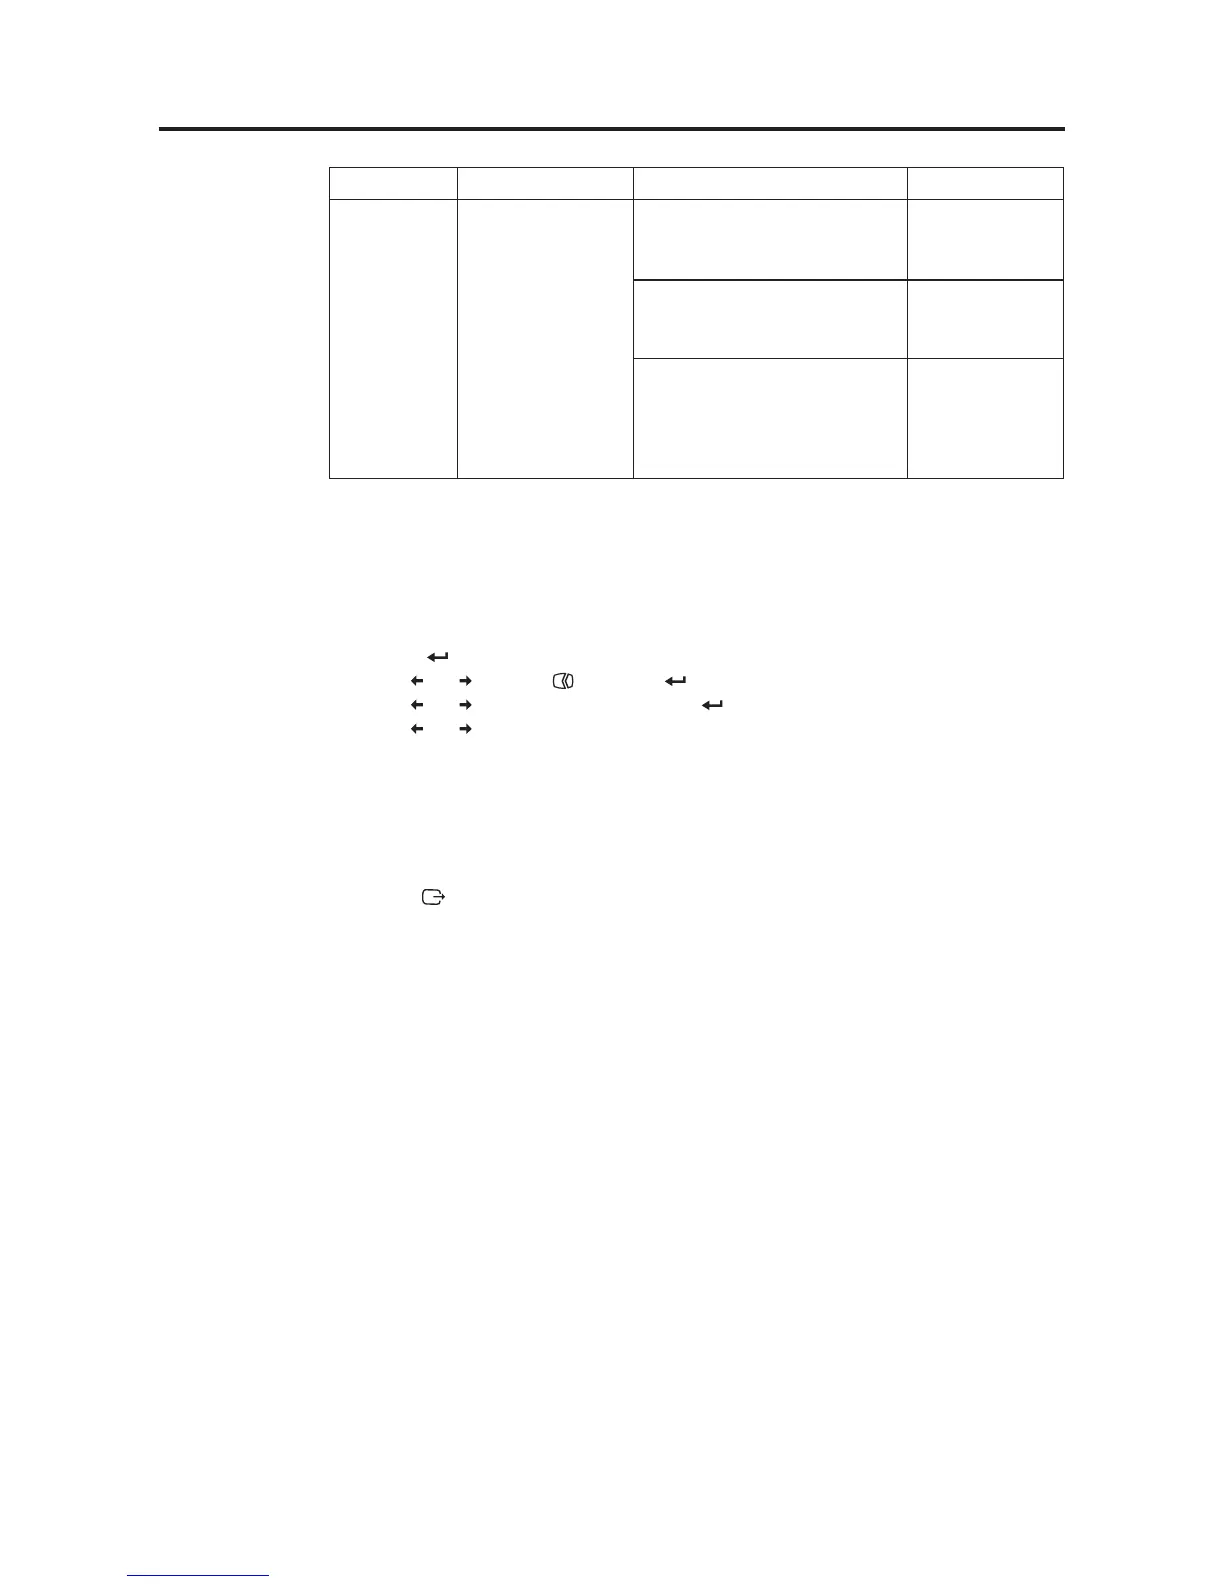
Table3-2.Troubleshooting
Problem Possible cause Suggested action Reference
• Fuzzy lines
in text or a
blurryimage
• Horizontal or
vertical lines
through the
image
• Image setup has not
been optimized
• Your system
DisplayProperties
setting have not been
optimized
Adjust the resolution settings on your
system to match the native resolution
for this monitor: 1920x1080 at 60Hz
“Adjusting your
monitor image” on
page 2-3
Perform automatic image setup. If
automatic image setup does not help,
perform manual image setup
“Selecting a
supported display
mode” on page 2-6
When working in the native
resolution, you may nd
additionalimprovements by adjusting
the Dots Per Inch (DPI) setting on
your system
See the Advanced
section of your
system’s display
properties
Manual image setup
If automatic image setup does not establish the image that you prefer, perform manual
image setup.
Note: Have your monitor powered on for about 15 minutes, until the monitor warms up.
1. Press at the bottom of the monitor to open the OSD menu.
2. Use or to select and press to access.
3. Use or to select manual and press to access.
4. Use or select Clock and Phase adjustment.
• Clock (pixel frequency) adjusts the number of pixels scanned by one horizontal
sweep. If the frequency is not correct, the screen shows vertical stripes and the
picture does not have the correct width.
• Phase adjusts the phase of the pixel clock signal. With a wrong phase adjustment,
the picture has horizontal disturbances in light picture.
5. When the image no longer looks distorted, save the Clock and Phase adjustments.
6. Press to leave the OSD menu.
Chapter 3. 3-3