14
SECTION 10: CONTACT INFORMATION
Once you are logged into your account on the Level Sense website, or in the mobile application, click
on the “Contacts” tab or if you are using the mobile application click the “Notification” tab. Click on
the plus button next to the default contact and enter your phone number, cell phone service provider,
etc. Do not forget to enable both email and text options. It is a good idea to test both the email and
text feature currently as well. Lastly, save and submit the contact.
SECTION 11: NOTIFICATION SETTINGS
This section will guide you on how to enable and disable sensor inputs to suit your application. On
the website, you can edit the notification settings by clicking on the bell icon, which is underneath
the “Alarm Settings” column. If you are on the mobile application, you will need to click on the device
name, and then an action bar will show up at the bottom of the screen, click on the bell icon.
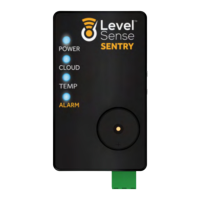
1. The first and second inputs on the screen are for a float and leak sensor. The Level Sense
Sentry device can utilize multiple sensors. It is important to note that with the two inputs, you
can monitor two areas and distinguish between the two inputs. If you wire two float switches
into the float switch input, you will be notified if either of the floats go into alarm state, but you
would not be able to determine which float is causing the alarm. Wiring multiple sensors into
one input, it will however, prevent you from knowing which specific sensor is causing the alarm
for this input.
Lastly, you can enable and disable email, text, and the siren feature for any of the inputs by clicking
on the text bubble. Do not forget to click the submit button if you have made any changes on this
screen.
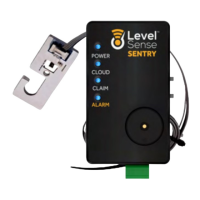
Alarms can be temporarily disabled by pressing the silence button on the Level Sense Sentry. If an
alarm cannot be quickly resolved, it will be necessary to disable the siren checkbox for the given
sensor in the portal or application.
LEVEL-SENSE.COM
LEVEL SENSE SENTRY USER MANUAL