021922AL-M1_0122LUH-D302-WUK
76 8
9
10
Figure 1.11
Note:
For best results,
we recommend using
pure essential oil.
5. Optionally, add 10–15
drops of essential oil
into the water tank for
aromatherapy. Figure
1.11
Filling & Refilling (cont.)
USING YOUR HUMIDIFIER
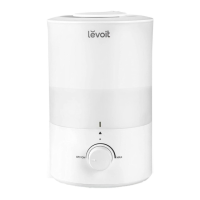
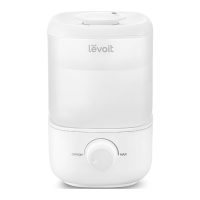
1. Plug in the humidifier. Rotate the Control Knob
clockwise to turn the humidifier on. Adjust the
knob to your desired mist level. Figure 2.1
2. Rotate the nozzle to adjust the direction of the
mist. [Figure 2.2]
3. When your room has reached your preferred
humidity level, turn the humidifier to a lower
setting, or turn it o.
4. Rotate the Control Knob anticlockwise to turn
the humidifier o.
5. Press the Night Light Button to turn the night
light on/o.
1. Remove the water filter from the tank by
rotating it anticlockwise and lifting it out. Figure
3.5
2. Fill the tank with 710 mL / 3 US cups of
distilled white vinegar. Figure 3.6
Figure 2.1 Figure 2.2
Note: If there is no water in the tank or the
tank is removed, the humidier will stop
misting and the Rell Indicator light will turn
on. Rell the tank and properly place it on the
base to use your humidier.
Figure 2.3
Figure 2.4
Figure 2.5
Important Tips
Your humidifier must have the correct level of
water in the base chamber to work properly. If
there is too much water in the base chamber,
the humidifier cannot create mist.
• Never pour water directly into the base
chamber. Figure 2.3
• Only add water to the water tank. The
humidifier will automatically release the correct
amount of water into the base chamber.
• Avoid moving or shaking the humidifier.
Figure 2.4 This may cause the water tank to
release too much water into the base chamber.
• Before moving the humidifier, turn it o, unplug
it, and remove the water tank.
• If your humidifier doesn’t produce mist
correctly, check the max water line to see if
there is too much water in the base chamber.
Pour out extra water if water is over the max
line. Figure 2.5
Note: The max water line is only for this purpose.
Do not pour water into the base chamber.
Figure 3.2
Figure 3.9 Figure 3.10
Figure 3.1
Figure 3.7 Figure 3.8
Figure 3.3
Figure 3.5 Figure 3.6
Figure 3.4
Figure 3.14
Figure 3.15
CARE & MAINTENANCE
Note:
• All maintenance should be done on a water-
resistant surface, such as a kitchen counter.
• Change the water daily to avoid bacteria growth.
• Use a tissue or cloth to clean the nozzle regularly.
• If not using the humidier for 3 days or longer,
do not leave water inside. Clean and dry the
humidier instead.
Note: When pouring out water, hold
down the oat to ensure that it does
not fall out of the base chamber.
Note:
• Never immerse the base in water or liquid.
Do not place any part of the humidier in
a dishwasher.
• Do not use detergents to clean the humidier.
Cleaning
Descaling Your Humidifier
You should clean your humidifier water tank and
base chamber every 3 days, and when you’re
ready to store it.
4. Remove the water filter assembly from the
tank by rotating it anticlockwise and lifting it
out. Figure 3.3
5. Rinse the tank, water filter assembly, and
base chamber with room temperature water.
Figure 3.4
1. Unplug the humidifier.
2. Remove and rinse the water tank cover. Figure 3.1
3. Remove the water tank from the base and pour
out any water from the tank and base chamber.
Figure 3.2
3. Replace the tank cover and swish the vinegar
around the tank. Figure 3.7
4. Place the tank on the base and soak for
15–20 minutes. Vinegar will drain into the base
chamber and loosen scale (mineral buildup) in
the tank and in the base chamber (including the
transducer and float). Figure 3.8
5. Remove the tank, remove the tank cover, and
pour out any vinegar. Figure 3.9
7. Remove the float from the base chamber by
pulling up one end of the float Figure 3.11 and
pulling the shaft out from the float brackets. One
side of the float brackets is open (U-shaped) to
allow the shaft to be removed. Figure 3.12
8. Place the float, water filter assembly, and noise
silencer in a small container. Fill with enough
vinegar to cover them. Soak for 15–20 minutes.
Figure 3.13
Figure 3.11
Figure 3.17
Figure 3.12
Figure 3.18
Figure 3.13
9. Use the cleaning brush and a soft cloth to
remove scale from all parts.
10. Rinse all parts until any vinegar smell is
completely gone. Figure 3.14
11. Dry all parts with a cloth. Make sure all parts are
completely dry before reassembling or storing.
Reassembling
1. Flip the water tank over and place the noise
silencer back into the tank. Figure 3.15
2. Place the water filter assembly back into the
tank and rotate it clockwise to secure it in
place. Figure 3.16
3. Place the float back into the base chamber:
a. Make sure the correct side of the float is
facing up. Figure 3.17
b. Insert the smaller prong into the closed
side of the float brackets. Figure 3.18
c. Place the larger prong into the open
Ushaped side of the float brackets.
4. Place the tank back on the base. Refill the
tank, if necessary.
5. Place the tank properly on the base and place
the tank cover on the water tank.
Storing
Replacing the Filter Assembly
Follow the cleaning instructions (see page 6) and
allow all parts to dry completely before storing.
Store in a cool, dry location.
If the filter assembly is damaged or water
cannot flow into the base chamber, the filter
or filter assembly needs to be replaced. For
more information, contact Customer Support
(see page 4).
If your problem is not listed, please contact Customer Support (see page 4).
Figure 3.16
Problem Possible Solution
Little or no mist
comes out.
Turn the mist level to a higher setting.
Fill the water tank.
There may be too much water in the base chamber. Empty the base chamber. Refill the water tank
(not the base chamber) and place the water tank properly onto the base.
Make sure the air inlet on the bottom of the base is not blocked. The humidifier should not be set on
carpet or other surfaces that may block the air inlet.
Make sure the nozzle is not blocked or clogged.
Make sure the humidifier is on a level surface.
The water temperature may be too low. Turn the mist level to the highest setting and let the
humidifier run for a while, then adjust to the desired setting.
If the water tank or base was washed with detergent, rinse thoroughly with clean water to remove
any detergent.
Clean the water filter assembly (see page 8) or replace it with a new one (see page 4).
Humidifier doesn’t
turn on, or turns o
unexpectedly.
Plug in the humidifier and turn it on.
Add purified or distilled water to the water tank.
Humidifier produces
an unusual smell.
If the humidifier is new, unplug and rinse all parts, then place in a cool, dry place for 12 hours.
Clean the water tank and base chamber (see Care & Maintenance, page 8).
Humidifier makes
a loud or unusual
noise.
Make sure the water tank is properly in place (see Getting Started, page 6).
Set mist level to a lower setting.
Empty the base chamber. Refill the water tank (not the base chamber) and place the water tank
properly onto the base.
The humidifier may be malfunctioning. Stop using the humidifier and contact Customer Support (see
page 4).
White scale (mineral
buildup) appears
around the humidifier.
We recommend using purified or distilled water to fill the humidifier. Avoid using water with high
mineral content.
Clean the humidifier (see Care & Maintenance, page 8).
Water leaks from the
humidifier.
Make sure the silicone sealing ring around the water outlet valve is secure.
Avoid running the humidifier in a room with high relative humidity.
Wipe any excess water o the top and bottom of the base.
Do not shake the humidifier.
Make sure to place the humidifier on a flat, level surface.
Check the water tank for leaks. If there are leaks, contact Customer Support (see page 4).
Condensation forms
around humidifier or
windows.
Humidity may be too high. Turn down the mist level, turn o the humidifier, or open a door or window
in the room.
Mould grows inside
the humidifier.
Clean the water tank and base chamber regularly (see Care & Maintenance, page 8).
Refill Indicator Light
turns on.
Fill the water tank.
Place the water tank properly on the base.
Clean the water filter (see page 8) or replace it with a new one. To request a new water filter, contact
Customer Support (see page 4).
6. Flip the tank over and remove the noise
silencer. To remove the noise silencer, press
the release tabs and gently pull away from the
humidifier. Figure 3.10
4. Replace the water
tank cover.
Figure 1.10
Note:
Make sure the
nozzle on the water tank
cover is placed over
the mist tube, or the
humidier may not work
correctly. Figure 1.10
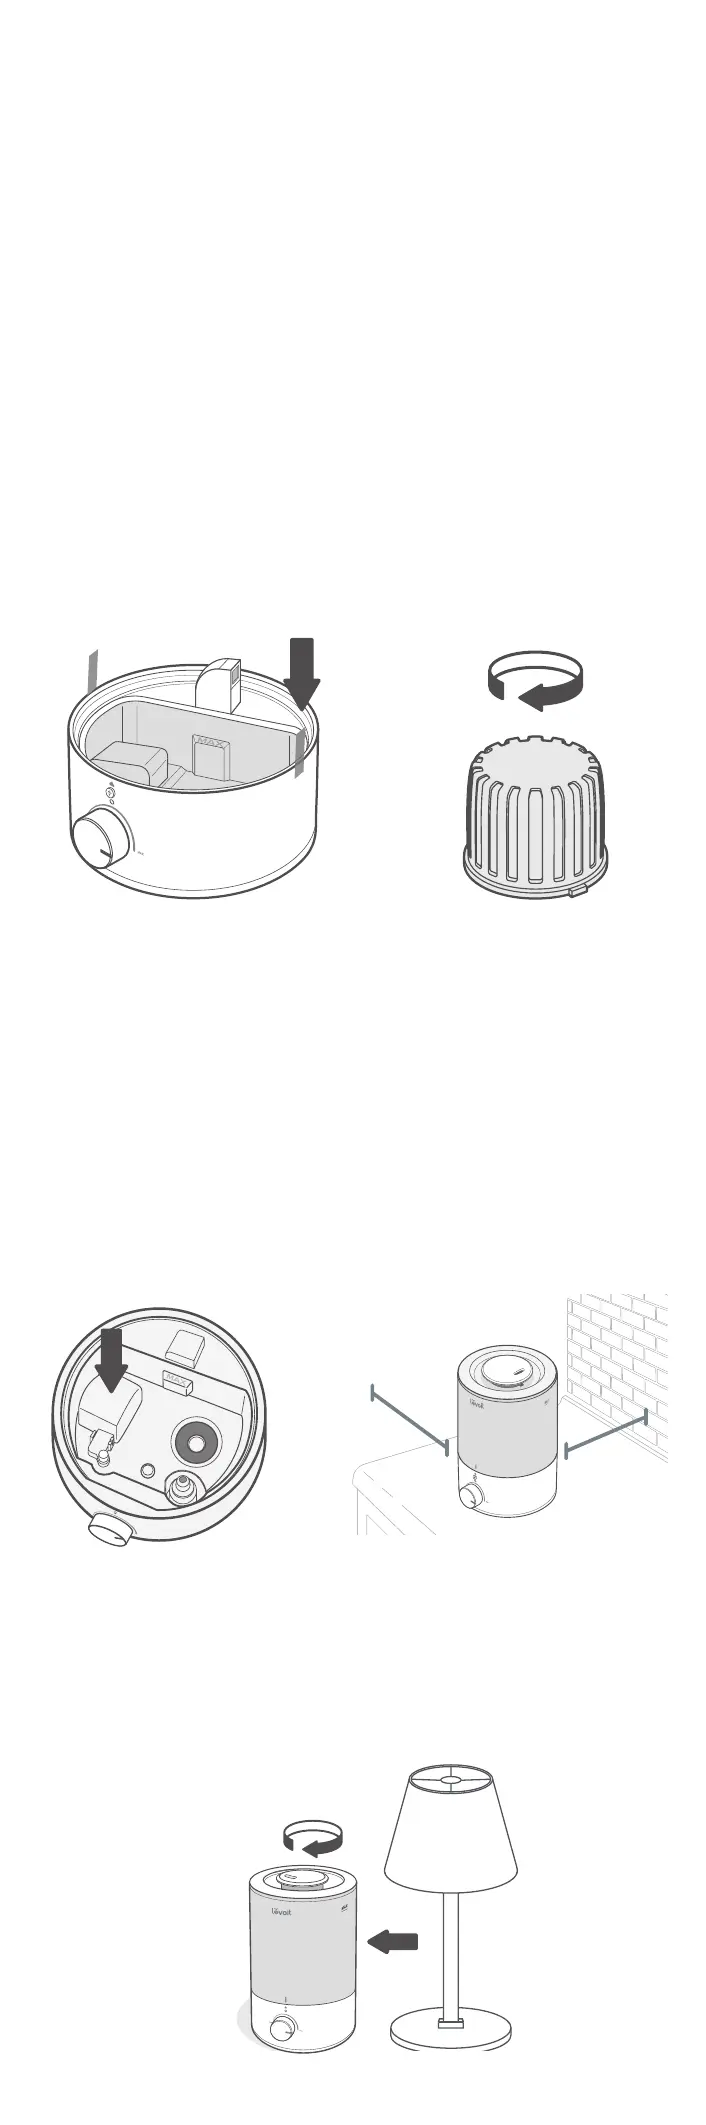
GETTING STARTED
1. Remove all packaging.
2. Take the water tank o of the base and
remove all tape. Figure 1.1
3. Rinse and reassemble all parts before first use
(see Cleaning, page 8).
Figure 1.3
Figure 1.1
Figure 1.4
Figure 1.5
Figure 1.2
Note:
• Check to make sure that the water lter
is correctly in place. If not, then rotate
the lter clockwise to secure it in place.
Figure 1.2
4. Choose a hard, flat location for the humidifier
at least 30 cm / 12 inches away from any
walls. The surface must be water-resistant.
Figure 1.4
5. Mist should be directed away from walls,
furniture, bedding, and appliances. Figure 1.5
• Check to make sure that the oat is
securely in place. Figure 1.3
30 cm /
12 in
30 cm /
12 in
Filling & Refilling
1. Turn the humidifier o.
2. Remove the water tank cover by holding the
nozzle and pulling upward. Figure 1.6
3. Fill the tank with room-temperature water.
Figure 1.7
Figure 1.6 Figure 1.7
Note:
• We recommend using puried or distilled water
to ll the tank.
• Do not ll past the tank’s max water line.
• Do not ll with hot water.
Figure 1.8 Figure 1.9
• Do not add water directly into the base
chamber. Figure 1.8
• Do not add water through the mist tube.
Figure 1.9
CAUTION
Note:
Make sure the water tank is clean before lling.
 Loading...