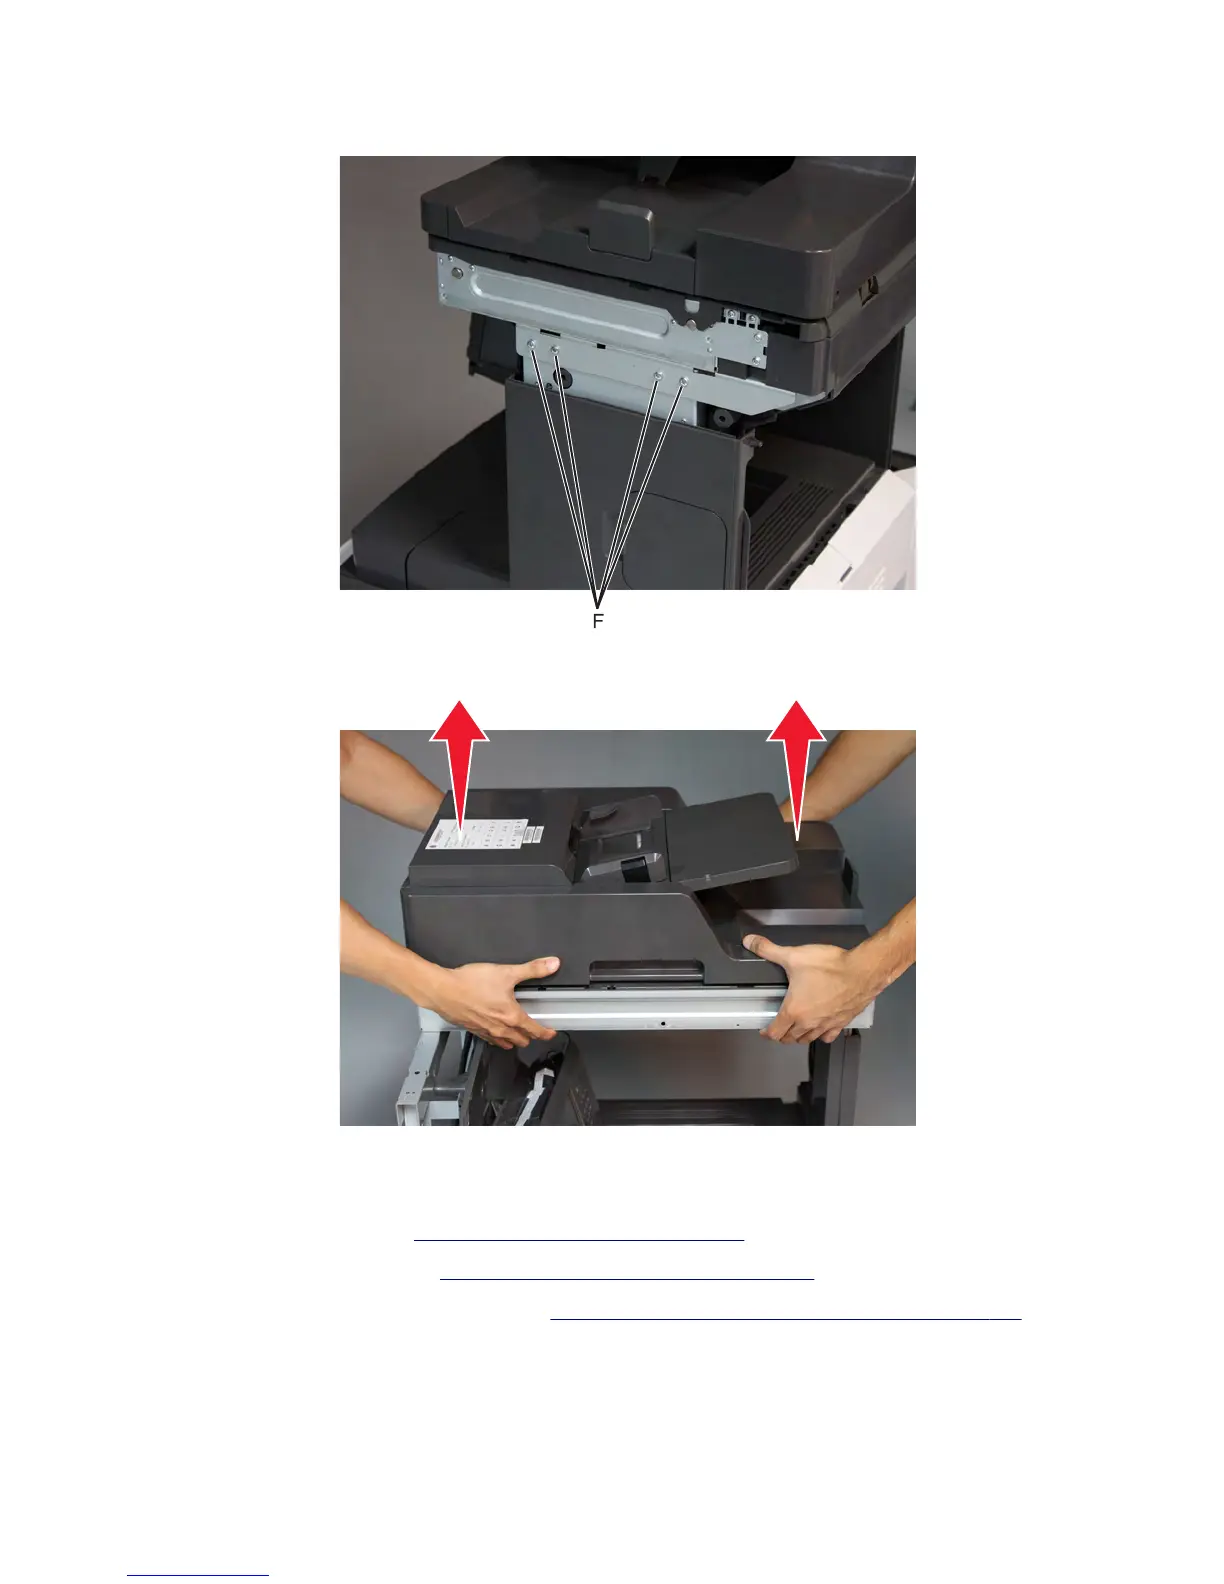
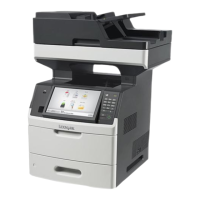
12 Remove the four screws (F) securing the flatbed scanner on the right of the machine.
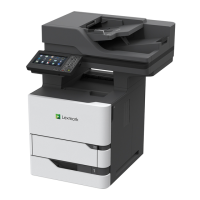
13 Remove the scanner unit assembly.
Flatbed scanner assembly removal
1 Remove the ADF assembly. See “ADF assembly removal” on page 576.
2 Remove the printer left cover. See “Left cover removal (MX71x)” on page 416.
3 Remove the controller board access shield. See “Controller board access shield removal” on page 424.
7463
Repair information
627


 To Next Page