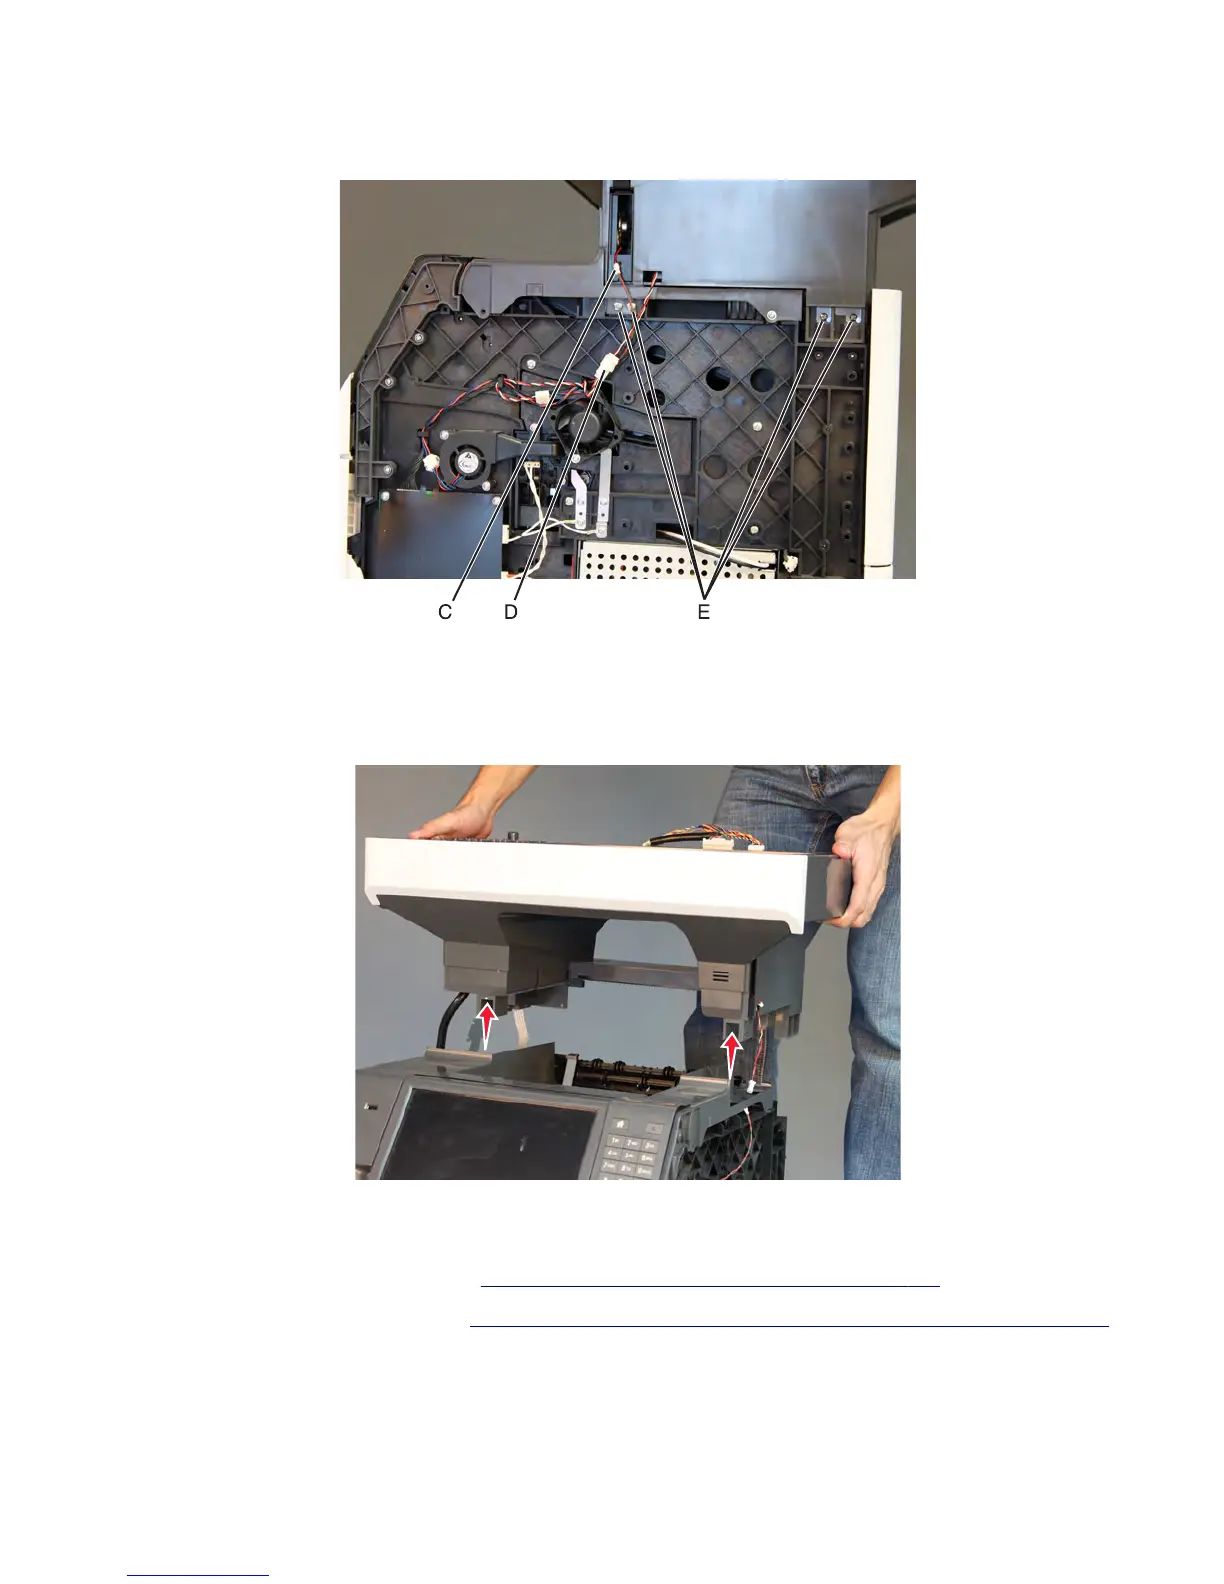
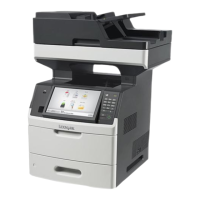
7 Disconnect the speaker cable (C) and bin LED cable (D), and then remove the four screws (E) securing the flatbed
scanner assembly on the right side of the printer.
8 Remove the four screws (E) securing the flatbed assembly on the right side of the printer.
9 Open the printer rear door.
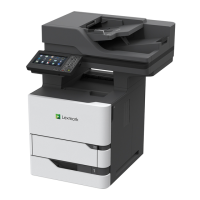
10 Lift the flatbed scanner assembly to remove.
Installation note: Make sure to perform the following scanner calibration procedure after replacing the flatbed
scanner assembly:
1 Register the flatbed and front ADF. See “Registering the flatbed and front ADF” on page 408.
2 Retune the flatbed magnification. See “Retuning the flatbed magnification (code P132 or greater)” on page 413.
7463
Repair information
629


 To Next Page