LEXMARK T650 SERIES • TONER CARTRIDGE REMANUFACTURING INSTRUCTIONS
3232 West El Segundo Blvd., Hawthorne, California 90250 USA • Ph +1 424 675 3300 • Fx +1 424 675 3400 • techsupport@uninetimaging.com • www.uninetimaging.com
© 2009 UniNet Imaging Inc. All trademark names and artwork are property of their respective owners. Product brand names mentioned are intended to show compatibility only. UniNet Imaging does not warrant downloaded information.
It should be noted that because of the play between the toner hopper and the OPC drum, a shipping lock should be installed in
every cartridge. This holds true even if you are going to hand deliver the cartridge. This lock keeps the pressure off the develop-
er rollers and helps prevent flat spots form occurring during storage.
Machine/cartridge troubleshooting as well as how to run test prints will be covered at the end of this article.
REQUIRED TOOLS
1. Toner approved vacuum
2. Small screwdriver (common style)
3. Phillips head screwdriver (#1)
4. Needle nose pliers
5. Spring hook
REQUIRED MATERIALS
1. T650 toner
2. Drum padding powder
3. Cotton swabs
4. Isopropyl alcohol
5. Cotton pads
6. Long life OPC drum (optional)
7. Wiper blade
8. Shipping lock
9. Recovery blade (optional)
10. Retaining blades (optional)
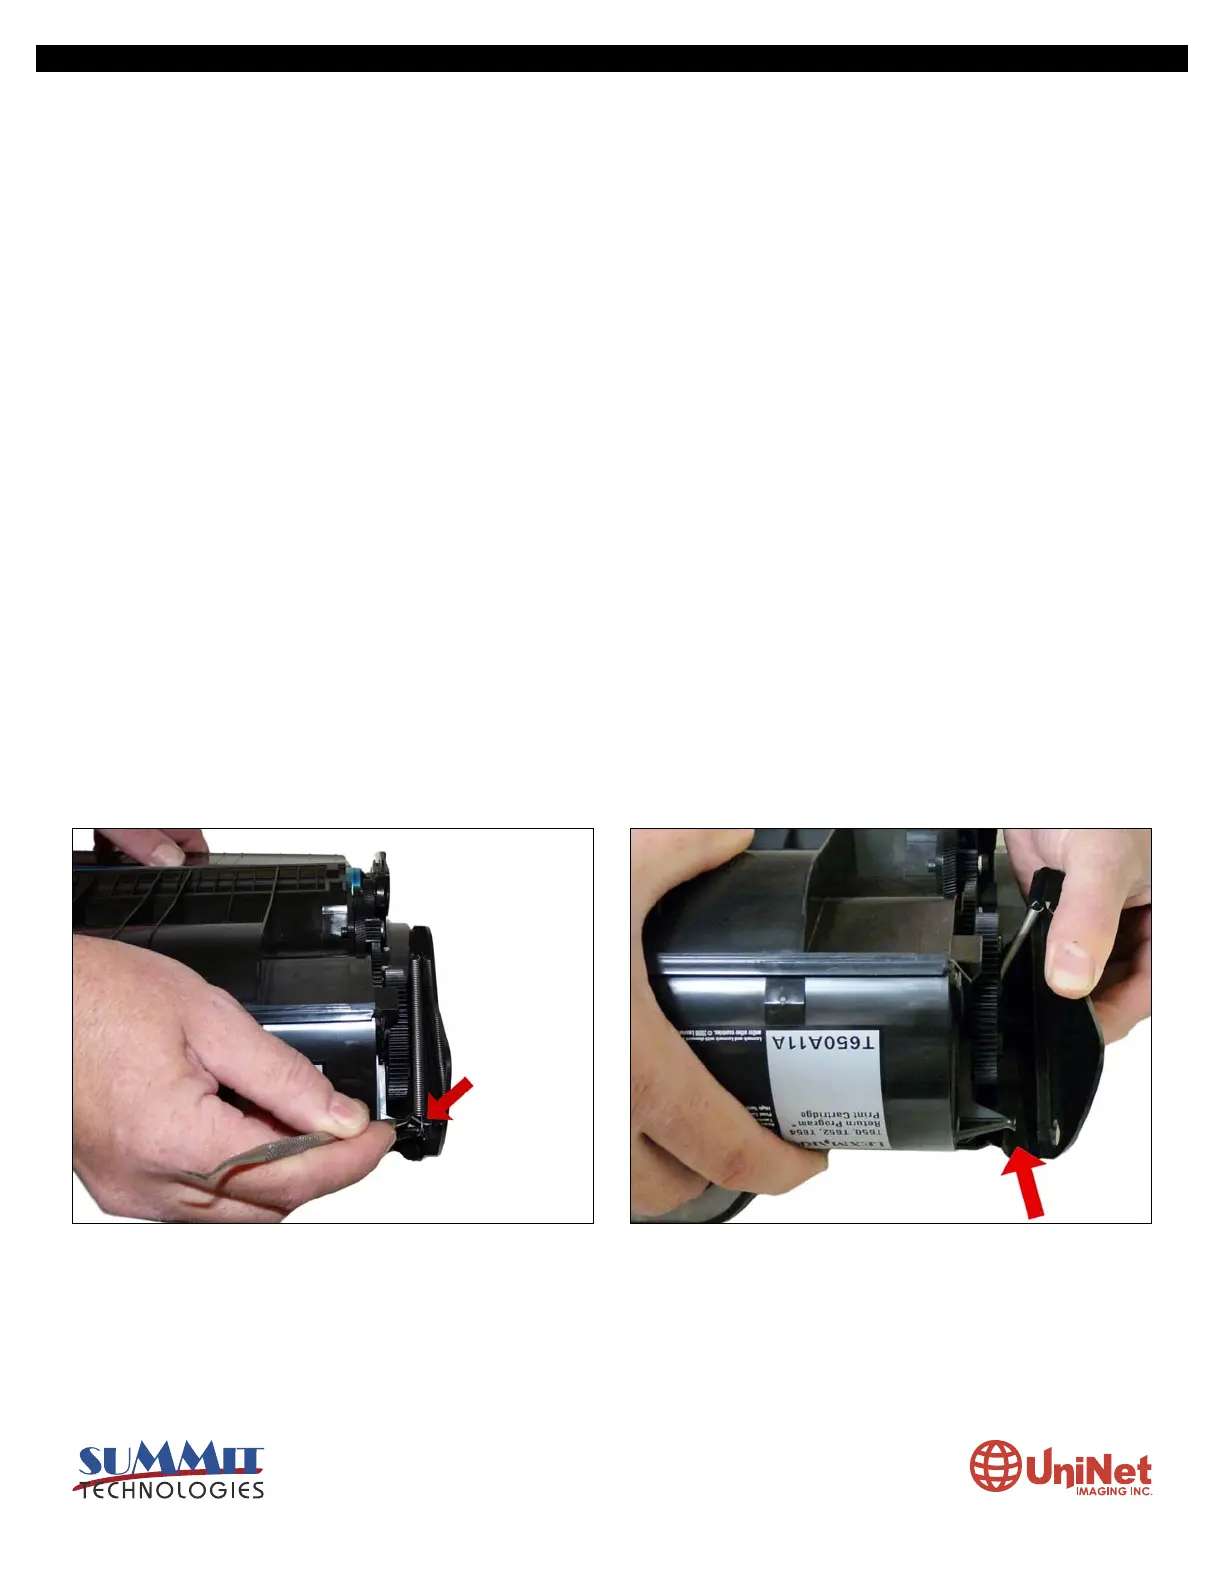
1. Vacuum the exterior of the toner cartridge. Be careful of the
drum. Place the cartridge on the bench drum-side up (label
face down) with the toner supply towards you. With a spring
hook, remove the two springs from each end of the cartridge.
2. There are two plastic posts from the hopper that fit into the
cartridge shell. Pull the edge of the shell out to release the
posts, and lift up the hopper so that the posts are free.
 Loading...


