3. Slide the hopper to the right, and remove from the cartridge.
Pull it out so that the large white bearing comes free. Place the
hopper aside.
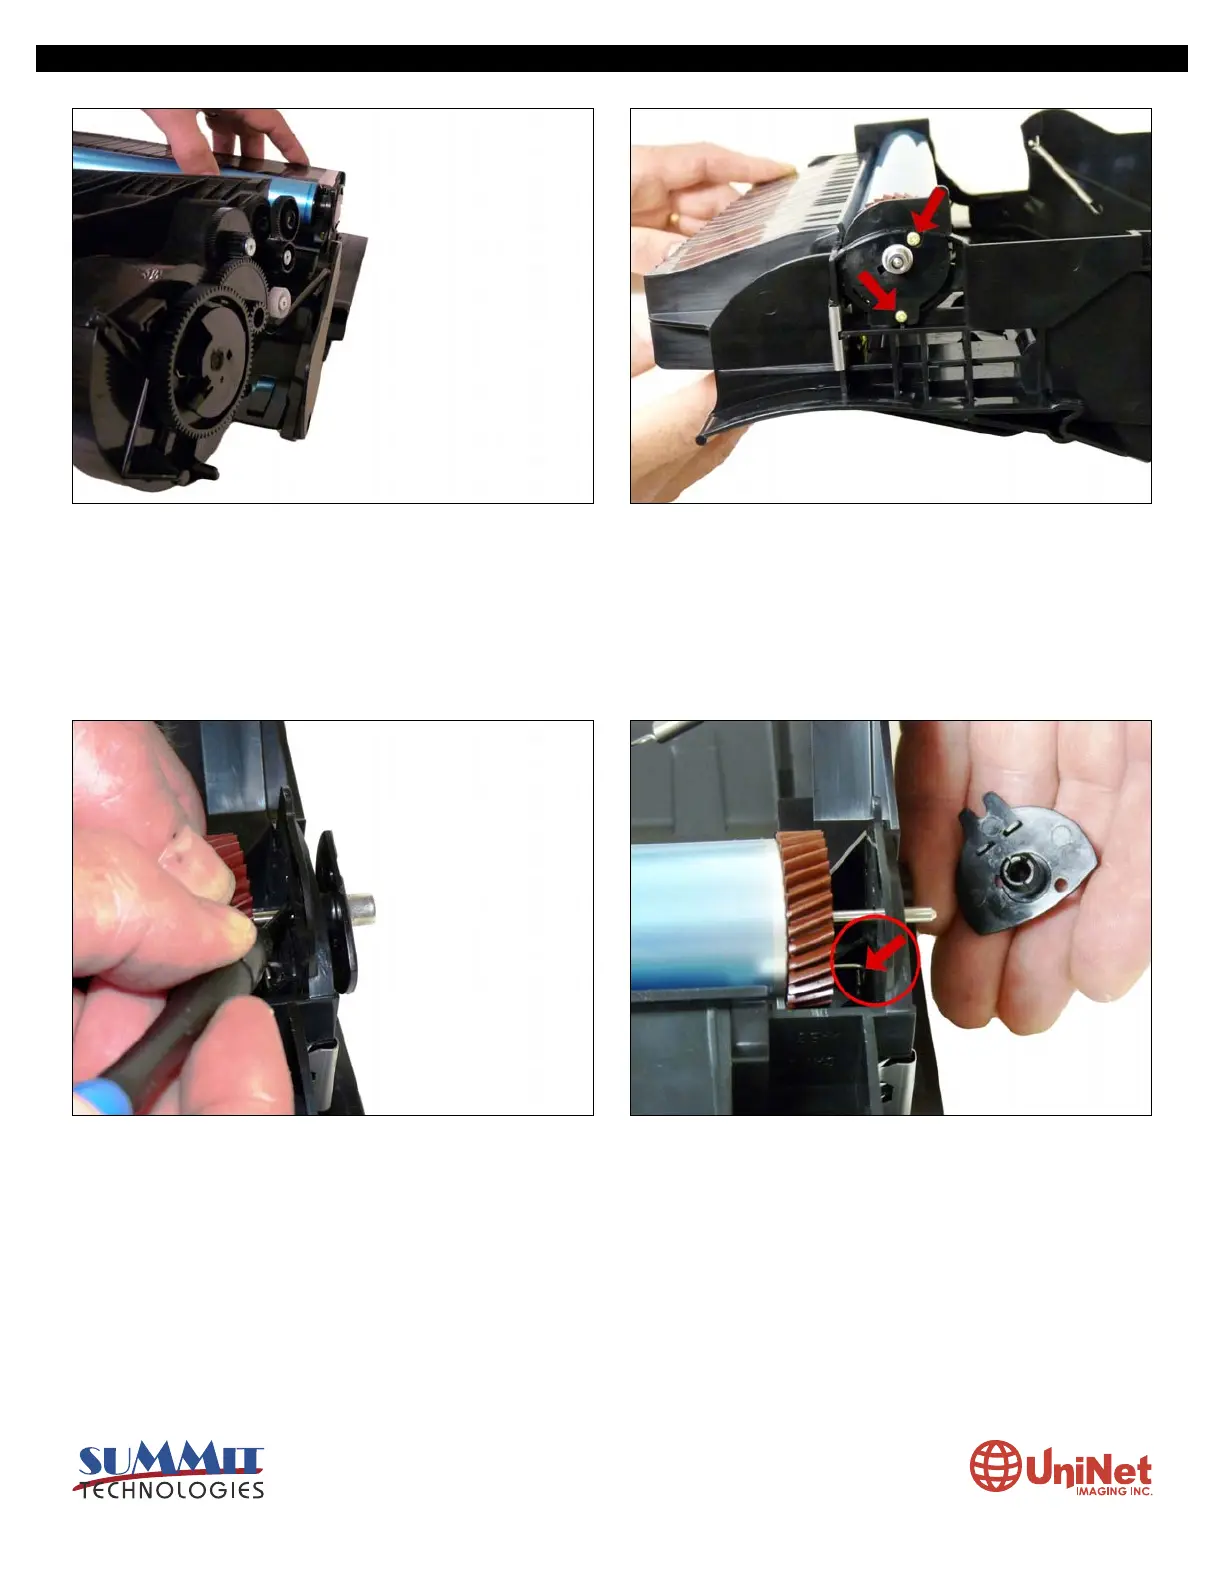
4. Remove two small screws from the drum axle plate.
5. Press the drum axle plate out from the inside of the cartridge.
Hold the small helical gear while pulling it out so that the drum is not damaged in the process. Note the location of the spring.
LEXMARK T650 SERIES • TONER CARTRIDGE REMANUFACTURING INSTRUCTIONS
3232 West El Segundo Blvd., Hawthorne, California 90250 USA • Ph +1 424 675 3300 • Fx +1 424 675 3400 • techsupport@uninetimaging.com • www.uninetimaging.com
© 2009 UniNet Imaging Inc. All trademark names and artwork are property of their respective owners. Product brand names mentioned are intended to show compatibility only. UniNet Imaging does not warrant downloaded information.

 Loading...


