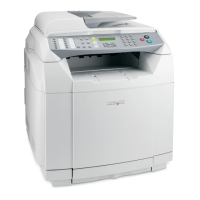
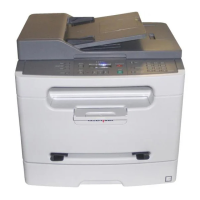
How to Reset the Photoconductor Page Count on the
Lexmark X463, X464, & X466 Multifunction Printers
Step Action
1
After installing the new pc unit and restarting the machine, leav
e the printer powered on and open
its front cover.
2
With the front cover open, press and hold the stop/cancel ( ) button.
3 Watch the LCD screen. When you see the message "Resetting PC Counter", let go of the button.
4
Close the front cover.
Note: If you wish to confirm that the photoconductor page count has reset, print a menu settings
page.
1.
) button to enter the printerWith the printer at the Ready state, press the Menu (
menus.
2. Press Reports.
3. Press Menu Settings Page.
On the menu settings page(s), look for an entry called PC Kit. If the counter has been reset
correctly, the PC Kit should read Ok.
Error messages
A Photoconductor (PC) Life Warning or an 84 – PC Kit life message indicates that the photoconductor unit is
nearing the end of its functional life and should be replaced soon. The recommended action is to replace the
button to clear this message and
photoconductor unit or have an extra one in stock. You can press the
continue printing.
A Photoconductor Exhausted or an 84 – Replace PC Kit message indicates that the photoconductor unit has
run through its functional life. At this point, you must replace the photoconductor unit and reset the
photoconductor page count to clear this message. IMPORTANT! The printer will stop working once this message
appears. You cannot clear it without replacing the photoconductor unit and resetting the photoconductor page
count.