Installation Manual 19
ENGLISH
Installation
Dip Switch Setting
For Multi V Models, DIP switch 1, 2, 6, 8 must be set OFF.
CAUTION
Function Description Setting Off Setting On Default
SW1 Communication N/A (Default) - - Off
SW2 Cycle N/A (Default) - - Off
SW3 Group Control
Selection of Master or
Slave
Master Slave Off
SW4
Dry Contact
Mode
Selection of Dry
Contact Mode
Wired/Wireless remote
controller
selection of Manual or Auto
operation Mode
Auto Off
SW5 Installation
Fan continuous
operation
Continuous operation
Removal
- Off
SW6 Heater linkage N/A - - Off
SW7
Ventilator
linkage
Selection of Ventilator
linkage
Linkage Removal Working
Off
Vane selection
(Console)
Selection of up/down
side Vane
Up side + Down side Vane
Up side Vane
Only
Region
selection
Selection tropical
region
General model
Tropical
model
SW8 Etc. Spare - - Off
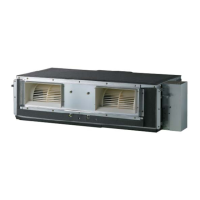
1. Indoor Unit
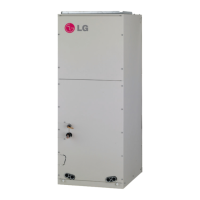
2. Outdoor Unit
In case that the products meet specific conditions, “Auto addressing” function can start automatically
with the improved speed by turning the DIP switch #3 of the outdoor unit and resetting the power.
※ Specific conditions:
- All names of the indoor units are ARNU****4.
- The serial number of Multi V super IV (outdoor units) is after October 2013.
DIP switch 7 segment
 Loading...