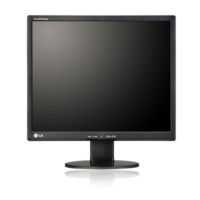
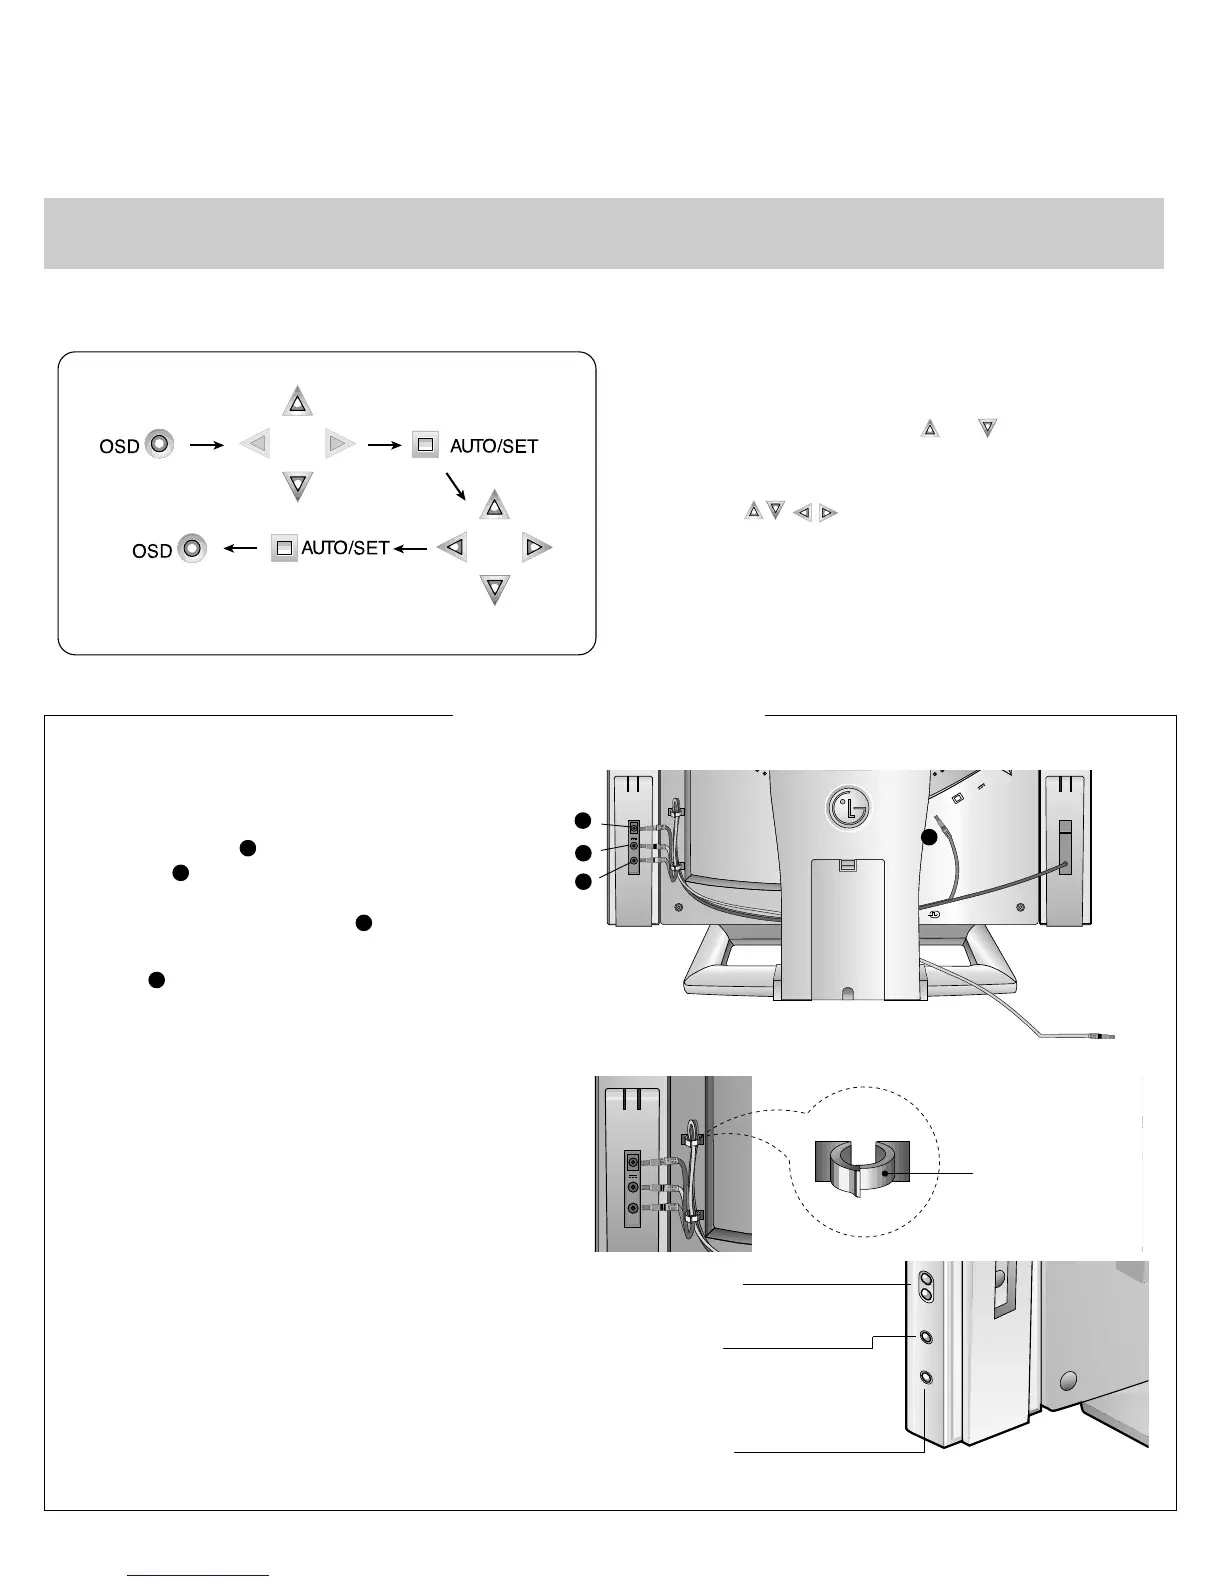
1. Connect the speaker as described in below picture.
2. Connect the one end of Audio DC power
cable,which is attached on the speaker to AUDIO DC
OUT connector and the other end to DC 24V
connector on the back of the speaker.Then connect
the audio cable port which is directly connected to the
speaker to AUDIO L-OUT port .
3. Connect the audio cable from the Speaker’s AUDIO
IN port to the audio output port of your computer’s
sound card.
4. After connecting both cables, fix them with cable
fixed holder (extra cable fixed holders are
shipped with the speaker).
24V
AUDIO
IN
AUDIO
L-OUT
24V
AUDOI
DC OUT
Cable fixed holder
24V
AUDIO
IN
AUDIO
L-OUT
1
2V
A
U
D
O
I
D
C
O
U
T
PC
5.
Turn on the speaker with power button and
adjust volume to proper level.
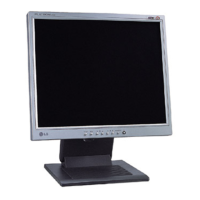
Mute Botton
Volume Botton
Used to turn ON/OFF mute
function.
Power Botton
Used to adjust volume.
Used to turn ON/OFF audio.
- 6 -
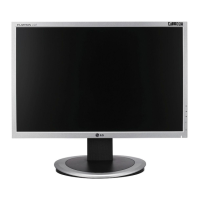
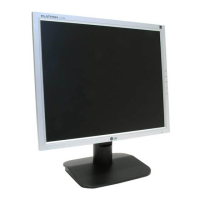
On Screen Display (OSD) Control Adjustment
Making adjustments to the image size, position and operating parameters of the monitor are quick and easy with the On
Screen Display Control system. A quick example is given below to familiarize you with the use of the controls. Following
section is an outline of the available adjustments and selections you can make using the OSD.
NOTE
Allow the monitor to stabilize for at least 30 minutes before making image adjustment.
To make adjustments in the On Screen Display, follow these steps:
1. Press the OSD Button, then the main menu of the
OSD appears.
2. To acces a control, use the or Buttons. When
the icon you want becomes highlighted, press the
SET Button.
3. Use the Buttons to adjust the item to the
desired level.
4. Accept the changes by pressing the SET Button.
5. Exit the OSD by Pressing the OSD Button.
Connection the Audio
 Loading...